About
Fold a Origami Bouncy Cube
I'm not sure what this is actually called, so for now, it will be known as the origami bouncy cube ;)
If you're a nerd like me, you may even take one look at this and think "companion cube"!
But I digress.
This cube is made from 6 separate modules that are assembled at the end. Perhaps you can figure out a way to make the cube without glue, but I find that the modules don't like to stay together without some help.
Tags
-
 Tam C. added Origami Bouncy Cube to i need to do this
13 Nov 12:46
Tam C. added Origami Bouncy Cube to i need to do this
13 Nov 12:46
-
 pink favorited Origami Bouncy Cube
23 Nov 07:11
pink favorited Origami Bouncy Cube
23 Nov 07:11
You Will Need
-
 Step 1
Start with a square! As always, you can use any size square you like, but if you're new to origami, I'd suggest using a larger piece of paper for this project.
-
 Step 2
Crease some guidelines...
-
 Step 3
...so you can fold the corners into the center.
-
 Step 4
Then fold those corners into the center.
-
 Step 5
And once more, corners to the center again.
-
 Step 6
Then unfold it to the point where you just have one "corners to the center"
-
 Step 7
And flip it over.
-
 Step 8
Then, following the creases you made before, fold the corners in to the center in the opposite direction you did the first time. Then unfold them again.
-
 Step 9
Take the center point of the edge of one of the sides, and fold that in to the center.
-
 Step 10
Do the same with an adjacent side.
-
 Step 11
Squish the protruding square flat, following the creases that should be in the paper.
-
 Step 12
Repeat for the other sides.
-
 Step 13
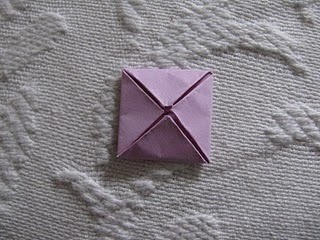
Turn it over now. You should see four triangles on the back...
-
 Step 14
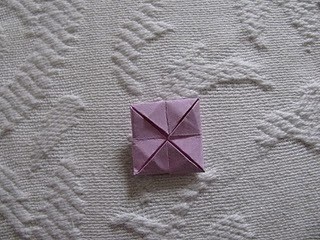
Fold these out flat. They will be your tabs. You'll use them to connect this module to the others in the cube.
-
 Step 15
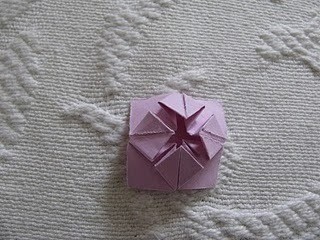
Now turn the piece over to the front again.
-
 Step 16
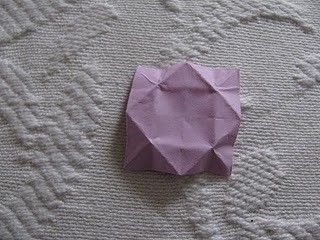
Fold the inner corner of one of the squares out to the outer corner.
-
 Step 17
Repeat for the others.
Now the assembly...
-
 Step 18
This is actually the easiest part of the cube. Just put some tape or glue onto the tab that will go under...
-
 Step 19
Put the tab from the other piece right over the tab from the "under" piece, and stick.
-
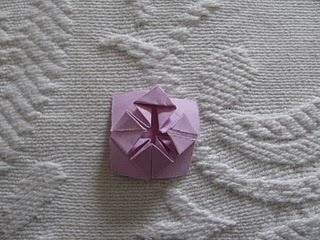
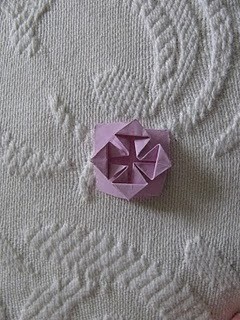
 Step 20
Ta-daaa!
Possible uses:
Make this in pretty colors and hang it in front of a window
Save it for the holidays to hang on a Christmas tree
Bounce it!
Have your kitty chase it as you bounce it -- just make sure she doesn't eat it.
Be a nerd and change it up so you get said companion cube! (send me pics if you do!)