


About
Quick and Easy Denim Aprons
-
 Rhonda G. favorited One Pair Of "Mommy Jeans" 4 Aprons: Part 1
21 Sep 19:52
Rhonda G. favorited One Pair Of "Mommy Jeans" 4 Aprons: Part 1
21 Sep 19:52
-
 so.unique added One Pair Of "Mommy Jeans" 4 Aprons: Part 1 to kitchen
13 Apr 08:55
so.unique added One Pair Of "Mommy Jeans" 4 Aprons: Part 1 to kitchen
13 Apr 08:55
-
 debzannclarke favorited One Pair Of "Mommy Jeans" 4 Aprons: Part 1
26 Jul 21:04
debzannclarke favorited One Pair Of "Mommy Jeans" 4 Aprons: Part 1
26 Jul 21:04
-
 Brandy U. favorited One Pair Of "Mommy Jeans" 4 Aprons: Part 1
09 Jul 14:09
Brandy U. favorited One Pair Of "Mommy Jeans" 4 Aprons: Part 1
09 Jul 14:09
You Will Need
-
 Step 1
PART 1: The Bib Apron
Supplies needed:
One pair of high waisted jeans—the larger the size, the larger the aprons
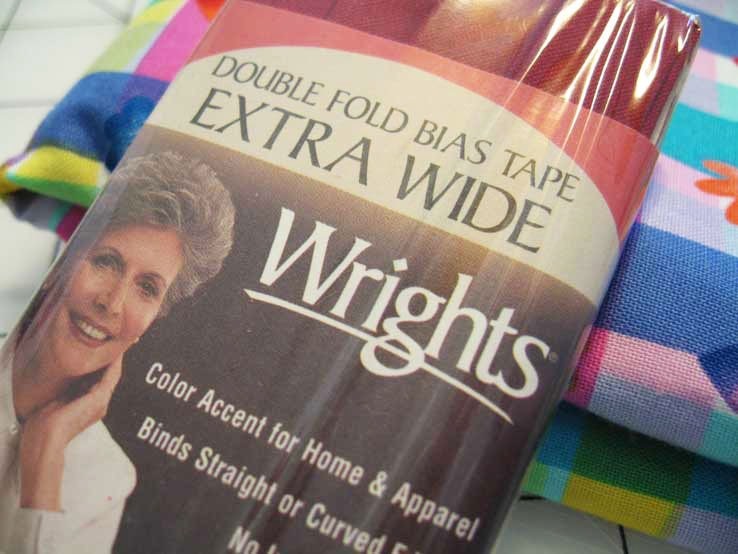
Double Fold Extra Wide Bias Tape—2-3 packages or make your own
Any extra trims, buttons, or tulle that you desire to use for embellishments -
 Step 2
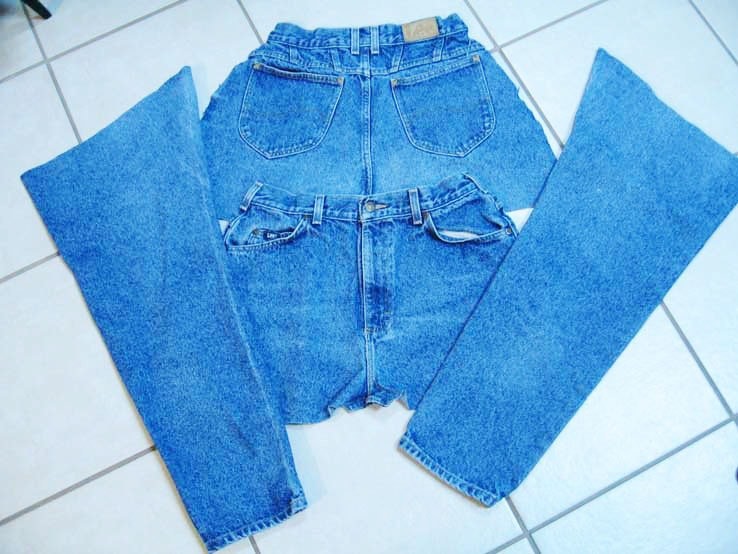
Cut the jeans into 4 sections: Front, Back, and 2 Legs
Save the front and back for PART 2 and the other leg for Apron #2 -
 Step 3
Using one leg portion, open one of the seams the full length of the leg. I usually leave the topstitched seam intact and open the other seam. I use a seam ripper and/or small scissors.
-
 Step 4
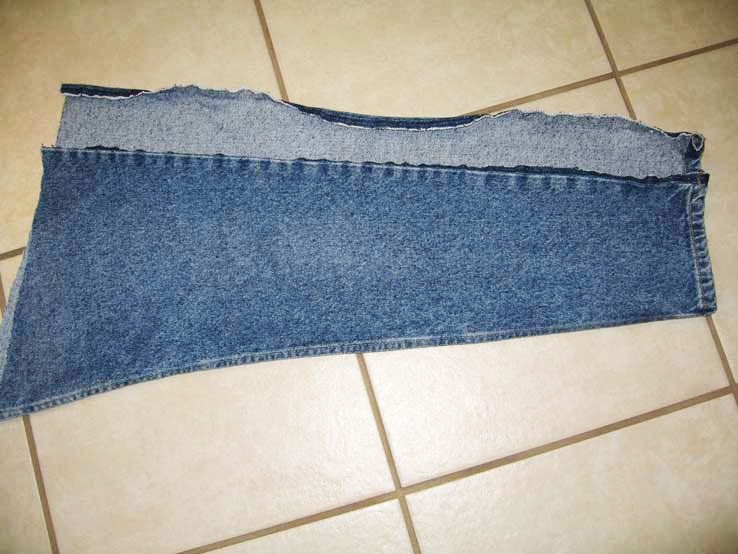
The hemmed edge will become the bib/top portion of the apron. Cut off the hem and fold in half with the intact seam as the center of the fold. Cut out the curve portion for the “arm” area. Shorten the leg to the length you desire and cut the bottom of the apron to your desired shape. In my example, I made this apron 24” in length and “curved” the hem.
-
 Step 5
Apply bias tape to the top and around the bottom portion of the apron. I decided to make my own bias tape using instructions I found on the web.
-
 Step 6
Cut 2 pieces of bias tape to serve as the ties for the apron. The length is based on your own preference of whether you want the ties long enough for making bows. I like long ties at both the neck and the waist. My bias tape strips are each 60” long. I measured the “arm” curve (10”) and added 20” for the neck section of the tie and added 30” for the waist section, hence 10” + 20” + 30” = 60”.
Pin the strips in place, and attach by sewing. I just turn the ends inward and stitch them down to finish. -
 Step 7
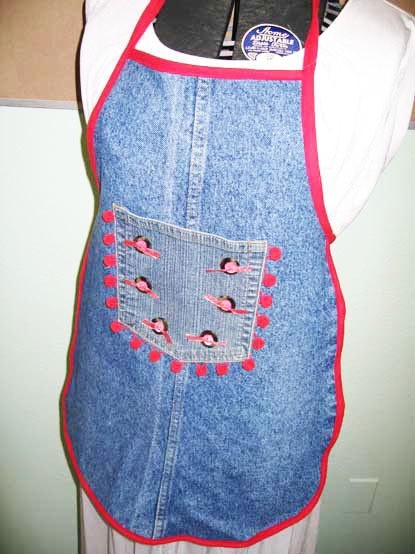
Now you are ready to add embellishments. I fashioned a pocket from the portion of the leg that I cut off in Step 3. I added bias tape around its perimeter, and then attached it to the apron. Note: I try to allow a little “hand room” when attaching.
-
 Step 8
I then covered some buttons and added to the top! Here’s the finished apron.
-
 Step 9
Look at what I made from the other leg part of the jeans! Now go search for those old jeans and make some aprons! Part 2: half/waist aprons coming soon!


Dee p.