


About
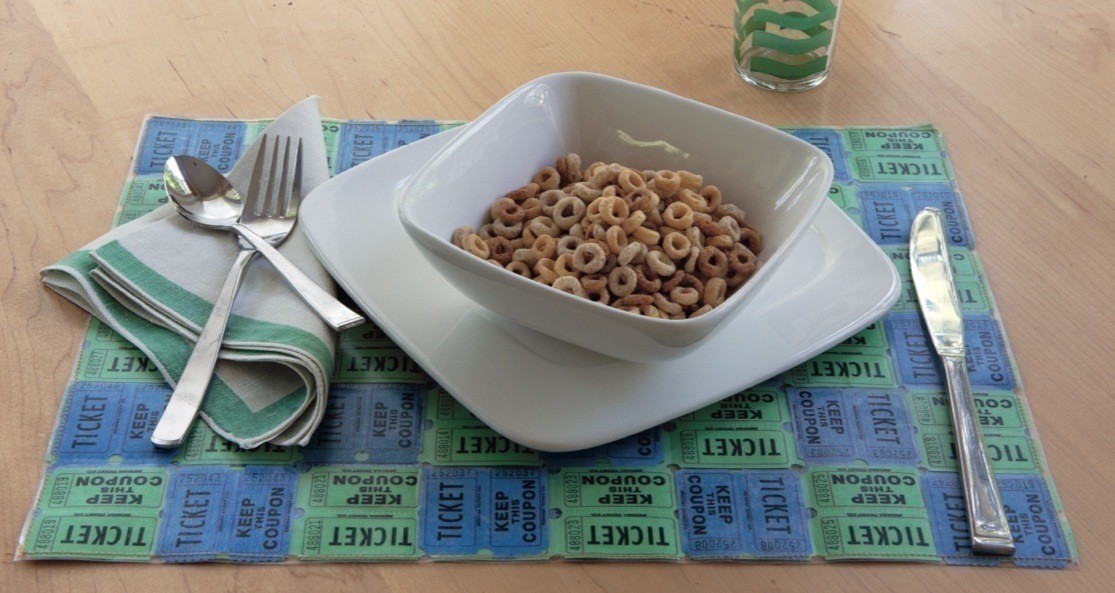
This project is just the ticket for crafting with little ones!
I have recently officially added raffle ticket rolls to my ever-growing roster of incredibly-versatile-found-papers-to-make-things-with. This project is just the ticket for crafting with little ones—working with
strips of raffle tickets is particularly simple because they’re already cut perfectly straight and are easy to tear. Plus kids (of all ages) will be proud to use their work and eat their breakfast cereal off these place mats. Talk about a meal ticket!
From PAPER MADE by Kayte Terry. Pick up a copy of the book now from Workman »
-
 Christine P. added One Way Ticket Place Mat to Christmas Gift Ideas/Crafts
28 Sep 05:13
Christine P. added One Way Ticket Place Mat to Christmas Gift Ideas/Crafts
28 Sep 05:13
-
Alecia B. favorited One Way Ticket Place Mat
01 Aug 16:00
-
 Pam ^_^ favorited One Way Ticket Place Mat
12 Sep 03:51
Pam ^_^ favorited One Way Ticket Place Mat
12 Sep 03:51
-
Step 1
Rip off eight strips of six tickets from one ticket roll. Rip off six strips of eight tickets from the other ticket roll.
-
 Step 2
On a clean surface, lay out the longer strips of tickets lengthwise and tape them down along the left edge.
-
 Step 3
Start weaving in the shorter strips. Take one strip and weave under and over until you reach the opposite edge. Push the short strip close to the taped edge.
-
 Step 4
Weave the next strip over, then under, until you reach the opposite edge. Push this strip as close as you can to the first strip.
-
Step 5
Continue weaving the short strips until you reach the end of the long strips. Your place mat should be six strips high by eight strips across.
-
Step 6
Roll out a piece of clear contact paper and remove the paper backing. Carefully press the back of the woven tickets to the contact paper.
-
 Step 7
Leaving a 1?4" allowance on all sides, cut around the contact paper with a craft knife on a cutting mat.
-
 Step 8
Roll out a second piece of clear contact paper and remove the paper backing. Flip the woven mat and carefully press it against the contact paper, making sure the contact paper seals together at the edge. Leaving a 1?4" allowance, trim around the contact paper to line up with the first side. Optional: Stitch around the place mat with a 1?4" seam allowance.


