


About
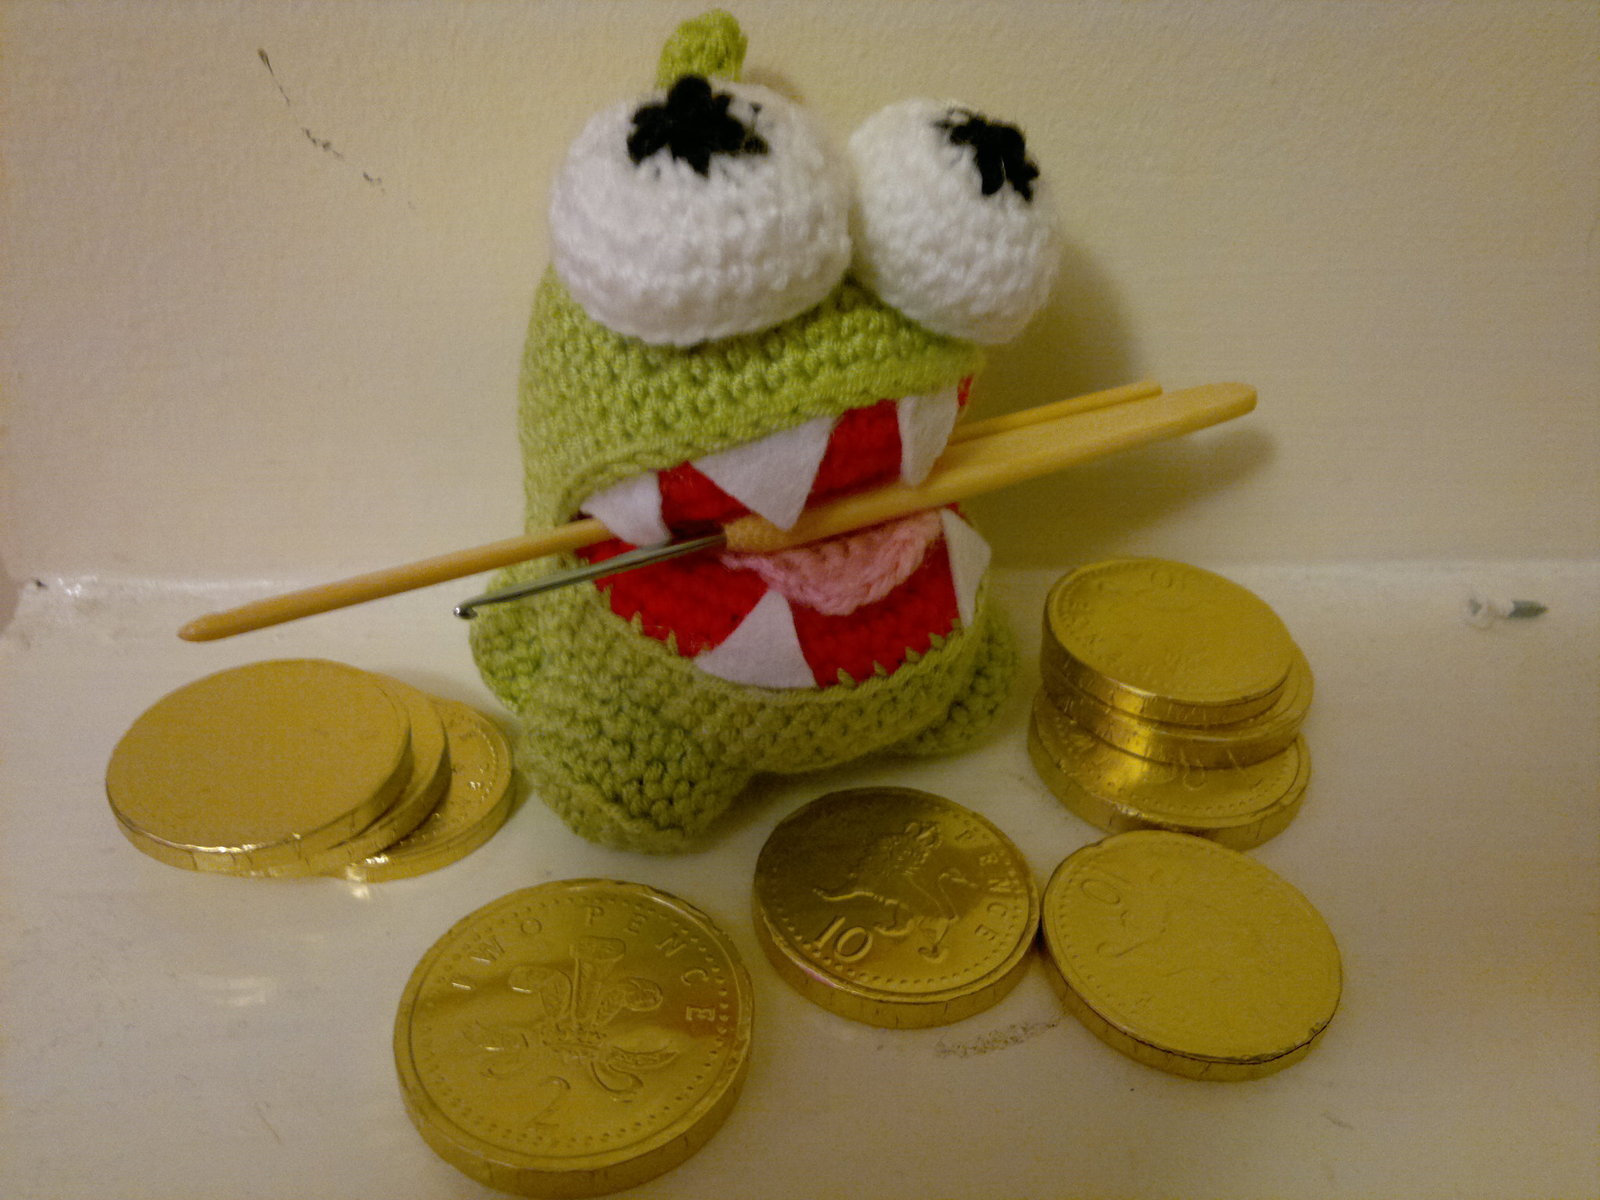
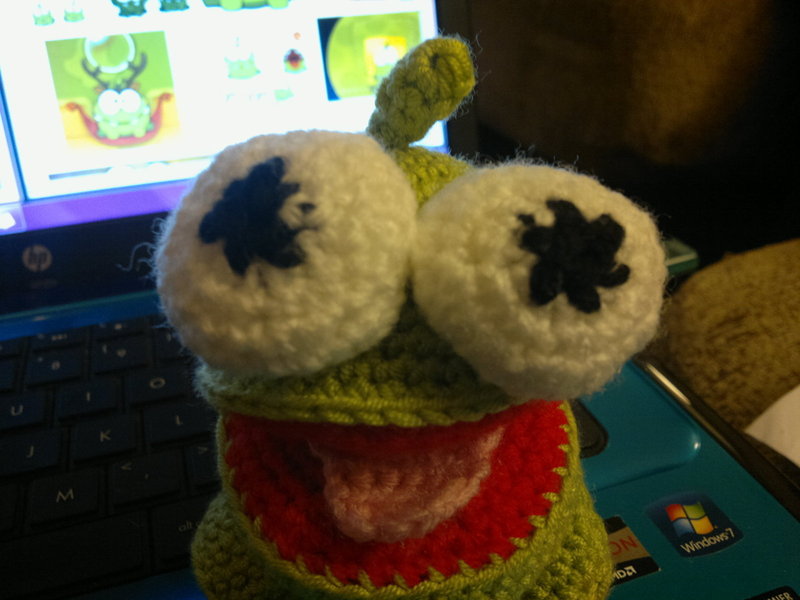
From the game 'Cut the Rope'
Cut the Rope is a cute little Android game where you have to cut ropes to feed candy to an adorable little green alien thing called Om Nom. It was big in the UK about a year ago, but I only discovered it last month - it’s amazing how much sitting around there is when your house floods (between panicked mopping, bailing out buckets full of water, and frantically calling your landlord, parents and the water board of course). So I nabbed my other half’s phone and got a little addicted to feeding Om Nom. And from addiction very rapidly came this amigurumi, which I have to admit is one of my proudest makes ever.
Tags
-
 Neko-San K. favorited Om Nom Crochet Pattern
31 May 20:17
Neko-San K. favorited Om Nom Crochet Pattern
31 May 20:17
-
 Allison B. favorited Om Nom Crochet Pattern
29 Aug 15:59
Allison B. favorited Om Nom Crochet Pattern
29 Aug 15:59
-
 lagrimasDmimo favorited Om Nom Crochet Pattern
04 Jul 02:22
lagrimasDmimo favorited Om Nom Crochet Pattern
04 Jul 02:22
-
 littleknitters added Om Nom Crochet Pattern to amigarumi
17 Apr 17:59
littleknitters added Om Nom Crochet Pattern to amigarumi
17 Apr 17:59
-
 TwinkleTime added Om Nom Crochet Pattern to Crochet
22 Nov 22:00
TwinkleTime added Om Nom Crochet Pattern to Crochet
22 Nov 22:00
-
 rachel.oheren commented on Om Nom Crochet Pattern
22 Jul 23:36
rachel.oheren commented on Om Nom Crochet Pattern
22 Jul 23:36
-
rachel.oheren favorited Om Nom Crochet Pattern
22 Jul 23:35
-
 CrazyCatCouple added Om Nom Crochet Pattern to crochet that!
11 Jul 21:07
CrazyCatCouple added Om Nom Crochet Pattern to crochet that!
11 Jul 21:07
- JaydeyLikesMac&Cheese favorited Om Nom Crochet Pattern 29 Jun 02:26
-
 blinkini favorited Om Nom Crochet Pattern
08 May 01:23
blinkini favorited Om Nom Crochet Pattern
08 May 01:23
-
Step 1
The Essentials:
Hook: 3.5mm (makes the size shown, but I’m sure any hook size would work and scale up or down accordingly).
Wool: DK in green, red, pink, white and black.
Also needed: White felt, glue gun, optional pink felt.
Finished Size: 4″-5” tall.
Terms:
CH = Chain
SC = Single Crochet
INC = Increase
DEC = Decrease
SL ST = Slip Stitch
BLO = Back Loops Only
BPO = Back Post Only
YO = Yarn Over
-
 Step 2
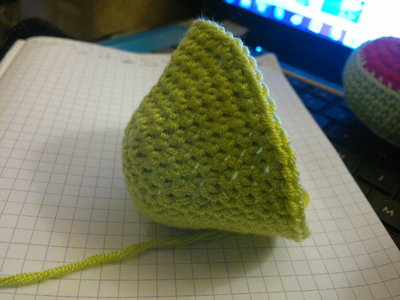
Om Noms body is crocheted in two parts.
Base body
Magic ring/ Ch2 in green.
Round 1: 6sc into magic ring/ second chain from hook [6]
Round 2: INC around [12]
Round 3:{1sc, INC} around [18]
Round 4:{2sc, INC} around [24]
Round 5:{3sc, INC} around [30]
Round 6:{4sc, INC} around [36]
Round 7: {5sc, INC} around [42]
Round 8: Sc around BLO [42]
Rounds 9-12: Sc around both loops [42]Change to red in last YO of round 12.
In red:Round 13: Sc around BLO [42]
Round 14: {5sc, DEC} around [36]
Round 15: {4sc, DEC} around [30]
Round 16: {3sc, DEC} around [24]
Round 17: {2sc, DEC} around [18]
STUFF
Round 18: {1sc, DEC} around [12]
Round 19: DEC around [6]Finish off and tie in the loose ends. Looks kinda like a half watermelon! The BLO bits are what turn the crochet at a 90 degree angle – you can’t see it clearly in the photo (because it was took pre-squishing ) but the base isn’t actually curved, it’s flat. It’s clearer on the main finished photos.
-
 Step 3
Before you do the second part of the body (the head I suppose) you need to do the tongue. I’m not too pleased with my crocheted tongue, so I’d probably suggest just making it out of pink felt, but here’s how I’ve done it in case you want to try improve the pattern.
Tongue
Ch2/ magic ring in pink.
Round 1: 6sc into magic ring/ second chain from hook [6]
Round 2: INC around [12]
CH2
Round 1: 6sc into magic ring/ second chain from hook [6]
Round 2: INC around [12]No that’s not a misprint – you’ll end up with two joined circles:
Alternatively, crochet two separate circles and stitch them together.
Round 3: 18sc around both circles (sc into 9 stitches from each circle continuously, skip three when they join) [18]
Row 4: 6Sc [6] Ch1, turn
Row 5: 6Sc [6] Ch1, turn
Row 6: DEC three times [3].Finish off and sew up any hole where the two circles are joined, then sew in place in the centre of the red circle, so that the tongue lolls towards the front edge. It looks kinda like a skull to me at the mo. As I said, you’re probably better using pink felt for a better tongue!
-
 Step 4
Top body/ head
Magic ring/ Ch2 in green.
Round 1: 6sc into magic ring/ second chain from hook [6]
Round 2: INC around [12]
Round 3:{1sc, INC} around [18]
Round 4:{2sc, INC} around [24]
Round 5: Sc around [24]
Round 6:{3sc, INC} around [30]
Rounds 7-8: Sc around [30]
Round 9:{4sc, INC} around [36]
Round 10: Sc around [36]
Round 11: {5sc, INC} around [42]
Round 12: Sc around [42]
Round 13: {6sc, INC} around [48]Finish off, leaving a very long tail for sewing.
-
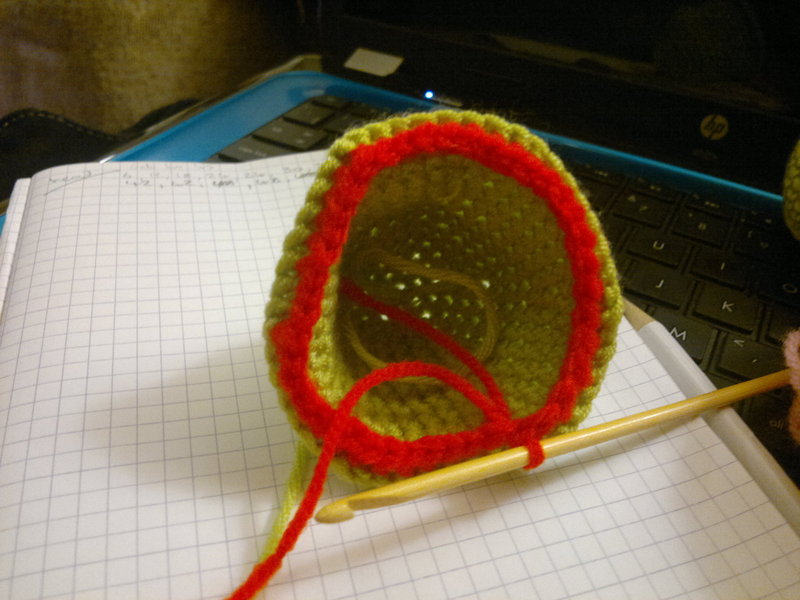
 Step 5
On the inside, find the back posts of Row 12.
-
 Step 6
You’ll be crocheting into these. YO through your first one in red then continue:
Round 14: Sc around BPO [42]
NB: If you end up with 48 just add in an extra round here of ‘{6sc, DEC} around’ to the get to 42. -
 Step 7
Round 15: {5sc, DEC} around [36]
Round 16: {4sc, DEC} around [30]
Round 17: {3sc, DEC} around [24]
Round 18: {2sc, DEC} around [18]
STUFF
Round 19: {1sc, DEC} around [12]
Round 20: DEC around [6]Finish off and tie in the loose ends.
-
 Step 8
Top view of above.
-
 Step 9
This will now need sewing to the base. Plonk your body top/ head on top of your base body with the tongue pointing to the front. Sew from just before half way between the front and the back on either side. I’ve chosen to make a wide open mouthed Om Nom, but if you want your more closed mouth then simply sew further round towards the front – you can close the mouse fully by sewing all the way round. I didn’t photograph this stage but you can see what I mean here.
That’s the complicated bits done, onto the easier bits!
-
 Step 10
Feet (make four)
Magic ring/ Ch2 in green.
Round 1: 6sc into magic ring/ second chain from hook [6]
Round 2: INC around [12]
Round 3:{1sc, INC} around [18] Join with SL ST, Ch1
Round 4: Sc around BLO [18] Join with SL ST, Ch1
Rounds 5-6: Sc around both loops. [18]Finish off and leave a long tail for sewing.
-
 Step 11
Stuff them a little so they keep their shape, then sew them to the body in this formation.
-
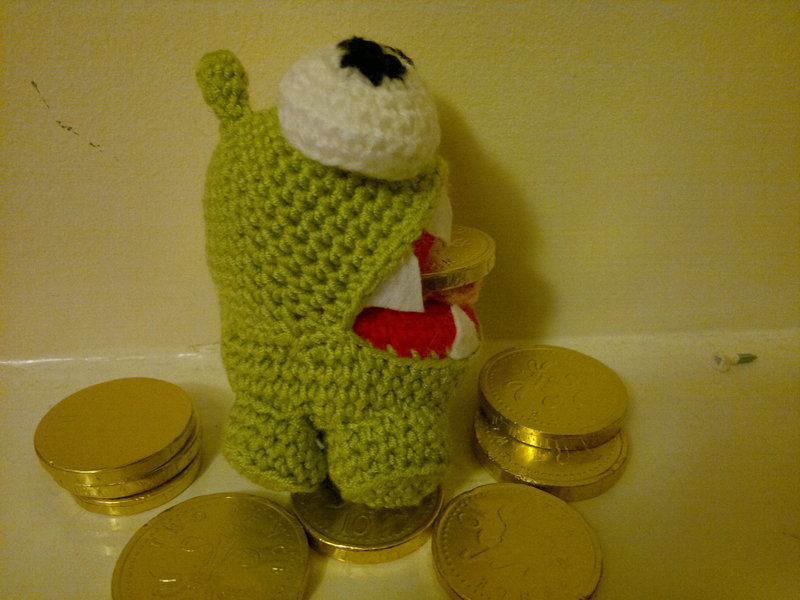
 Step 12
Standing upright, he looks like this.
-
 Step 13
While we still have the green wool out lets do the
Antena
Magic ring/ Ch2 in green.
Round 1: 6sc into magic ring/ second chain from hook [6]
Rounds 2-3: Sc around [6]
Round 4: DEC around [3]Finish off and sew on the top of the head, slimmest part down.
-
 Step 14
Eyes (make two)
Magic ring/ Ch2 in white.
Round 1: 6sc into magic ring/ second chain from hook [6]
Round 2: INC around [12]
Round 3:{1sc, INC} around [18]
Round 4:{2sc, INC} around [24] Join with SL ST, Ch1
Round 5: Sc around BLO [24] Join with SL ST, Ch1
Round 6: Sc around [24]
Round 7: {2sc, DEC} around [18]
STUFF
Round 8: {1sc, DEC} around [12]
Change to black in the last YO of round 8.
In black.
Round 9: DEC around [6]Finish off, take the yarn tail through the the back.
-
 Step 15
Sew your eyes in place - first use the tail of black to secure the centre, then use a length of white yarn to secure it properly by sewing all around the edges.
-
 Step 16
A final bit of finishing now!
Teeth
Cut six small triangles from white felt (size dependant on how open your mouth is – if you’ve totally closed the mouth only do the top four.
Glue gun the teeth in place, behind the lip ridge formed by the BPO on the top, and the BLO on the bottom, as shown.
-
 Step 17
And there you have your very own Om Nom!
I hope he’s liked – please send me a photo if you make him to amiguruthi[at]hotmail[dot]co[dot]uk (ditto for any pattern corrections or photos of amis made from my other patterns). And add a version on here of course!
Because I took lots of posed photos this time, there’s the full gallery on Om Nom's page at my blog Amiguruthi (see above for the link)


Comments


