


About
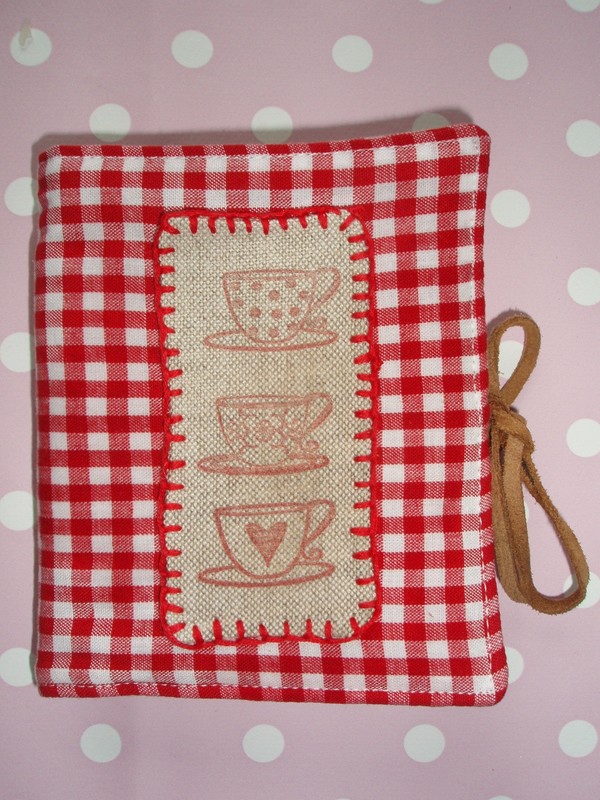
Give a boring notebook a fancy look!
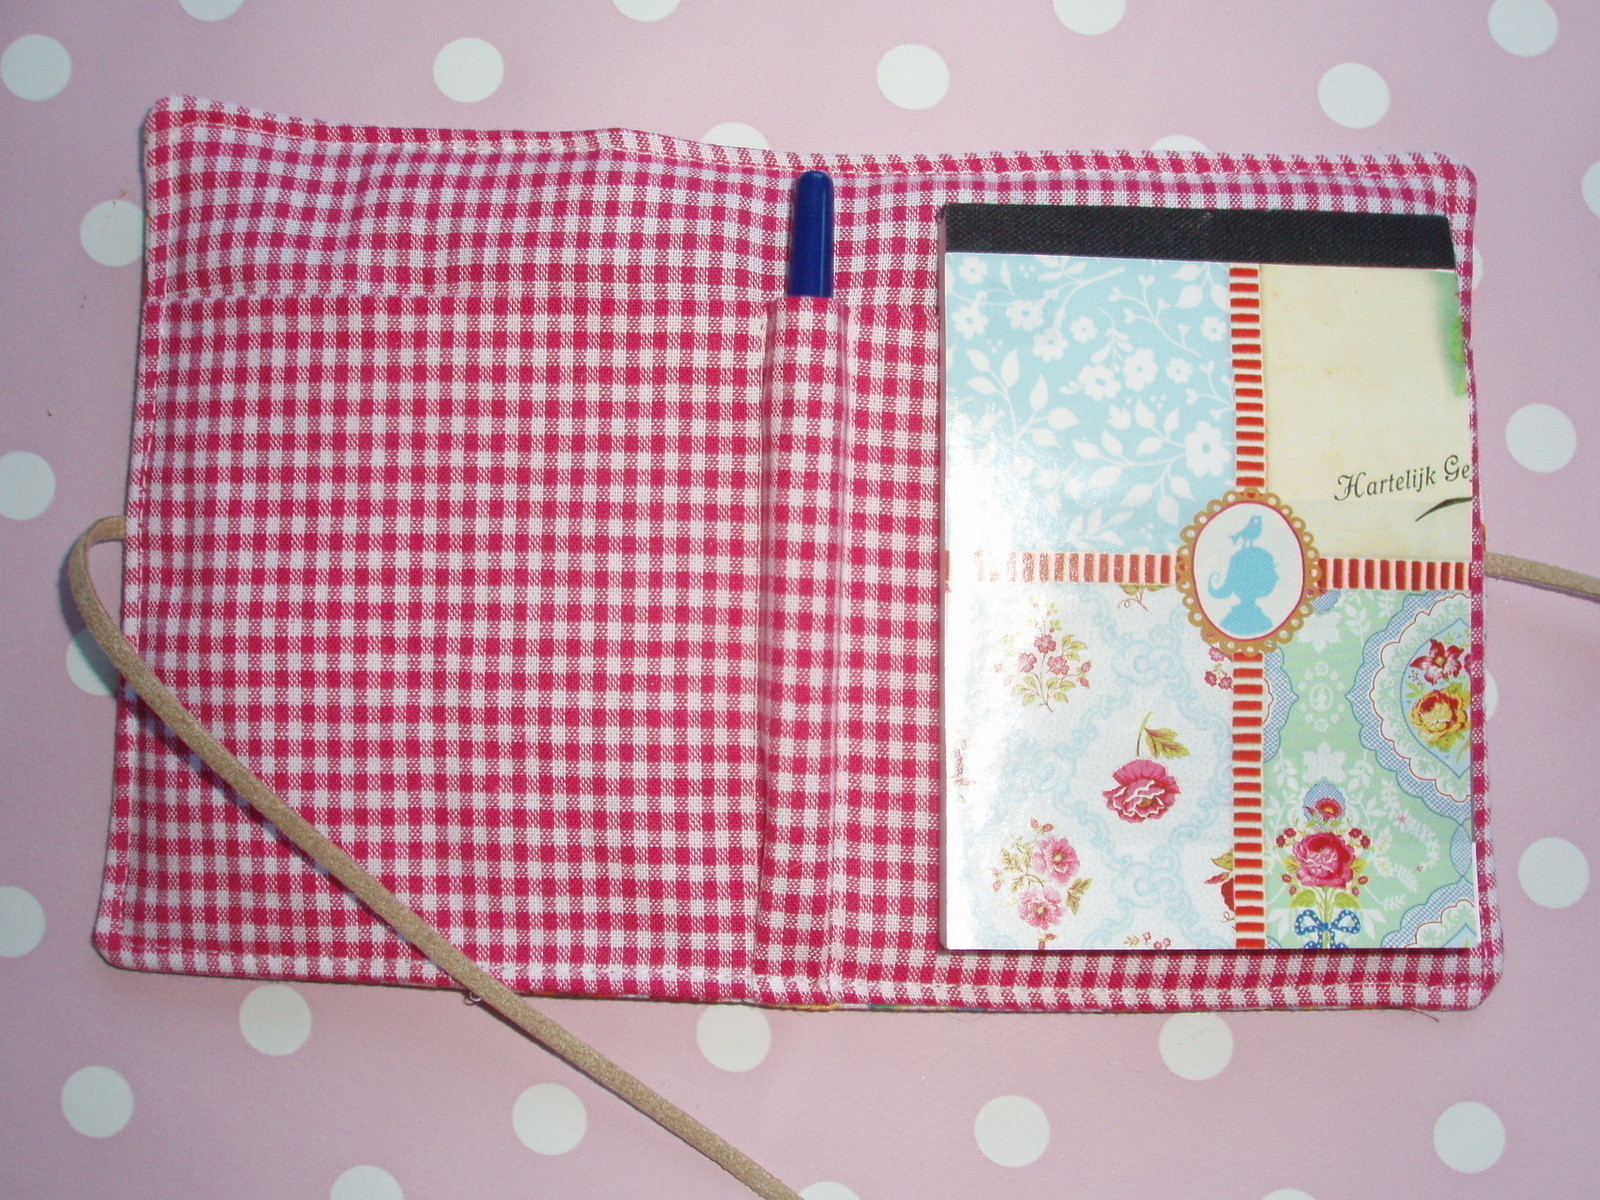
This notebook cover is suitable for a size A7 notebook. It can hold your note book, a pen and some loose notes.
-
 Key West Witch favorited Notebook Cover
08 Sep 11:12
Key West Witch favorited Notebook Cover
08 Sep 11:12
-
 Nankita favorited Notebook Cover
01 Sep 23:16
Nankita favorited Notebook Cover
01 Sep 23:16
-
 Ana M. favorited Notebook Cover
14 Feb 02:01
Ana M. favorited Notebook Cover
14 Feb 02:01
-
 Raashi favorited Notebook Cover
09 Aug 14:34
Raashi favorited Notebook Cover
09 Aug 14:34
-
 aleksandraxoxoxo favorited Notebook Cover
08 Jul 02:56
aleksandraxoxoxo favorited Notebook Cover
08 Jul 02:56
-
 Lianne C. favorited Notebook Cover
27 Jun 21:15
Lianne C. favorited Notebook Cover
27 Jun 21:15
You Will Need
-
 Step 1
You'll need:
Outside fabric 23 x 13,5 cm plus seam allowance
Lining fabric 23 x 13,5 cm plus seam allowance
Batting 23 x 13,5 cm plus seam allowance
One piece 24 x 10,5 cm plus seam allowance
Fusible interfacing 24 x 10,5 cm plus seam allowance
Leather string -
 Step 2
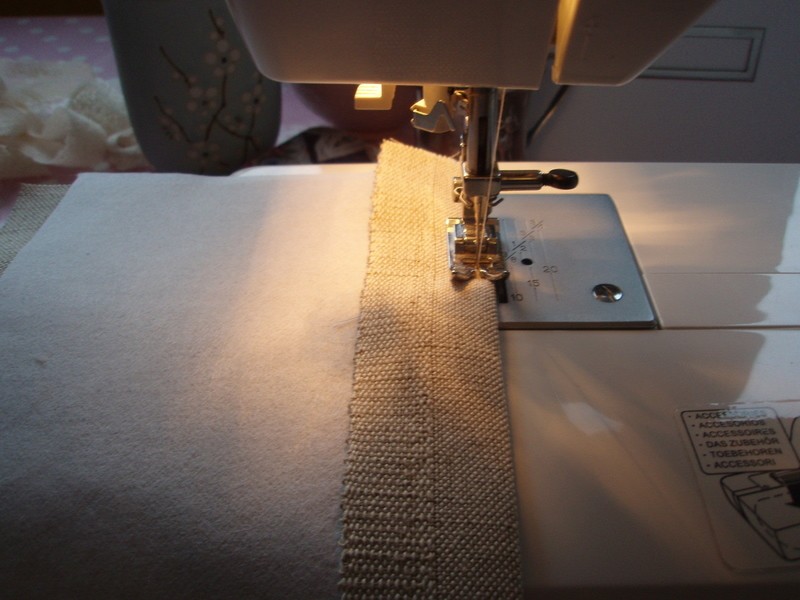
Iron the interfacing on the wrong side of the 24 x 10,5 cm strip, leaving room on the top to make a hem.
Fold the hem over the interfacing and top-stitch it.
-
 Step 3
Lay down your lining fabric good side facing up and put the strip you just made on it, also good side facing up.
Decide the exact middle of the strip. Mark a line with pencil 7 mm to the left from the middle. Sew a seam from top of strip to bottom.
-
 Step 4
Sew the line and press a pen against the seam you just made. Mark where the second seam should be and make a straight line with pencil. Sew a seam from top of strip to bottom.
-
 Step 5
Put your pieces of material down in this order:
1. batting;
2. lining fabric with the strip on it, good side facing up;
3. outside fabric, good side facing down.Put half of the leather string in between the fabric on the right side of your project.
Instead of the batting you could also use interfacing. Just iron it on the fabric.
-
 Step 6
Sew your project together but leave an opening on the left side of appr. 6 cm.
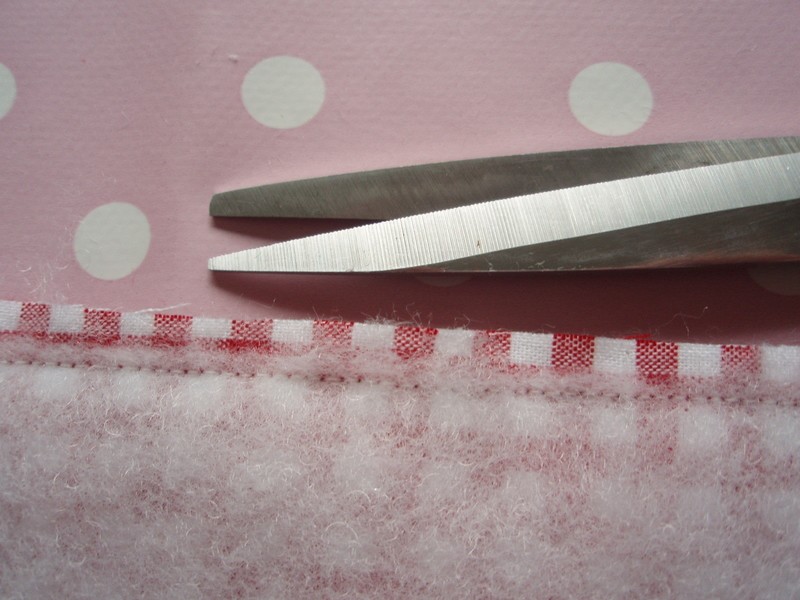
Cut off excess fabric.
Cut off excess batting really close the the seams.
-
 Step 7
Turn your project inside out, put the other half of leather string between the fabric in the gap and topstitch the entire cover.
-
 Step 8
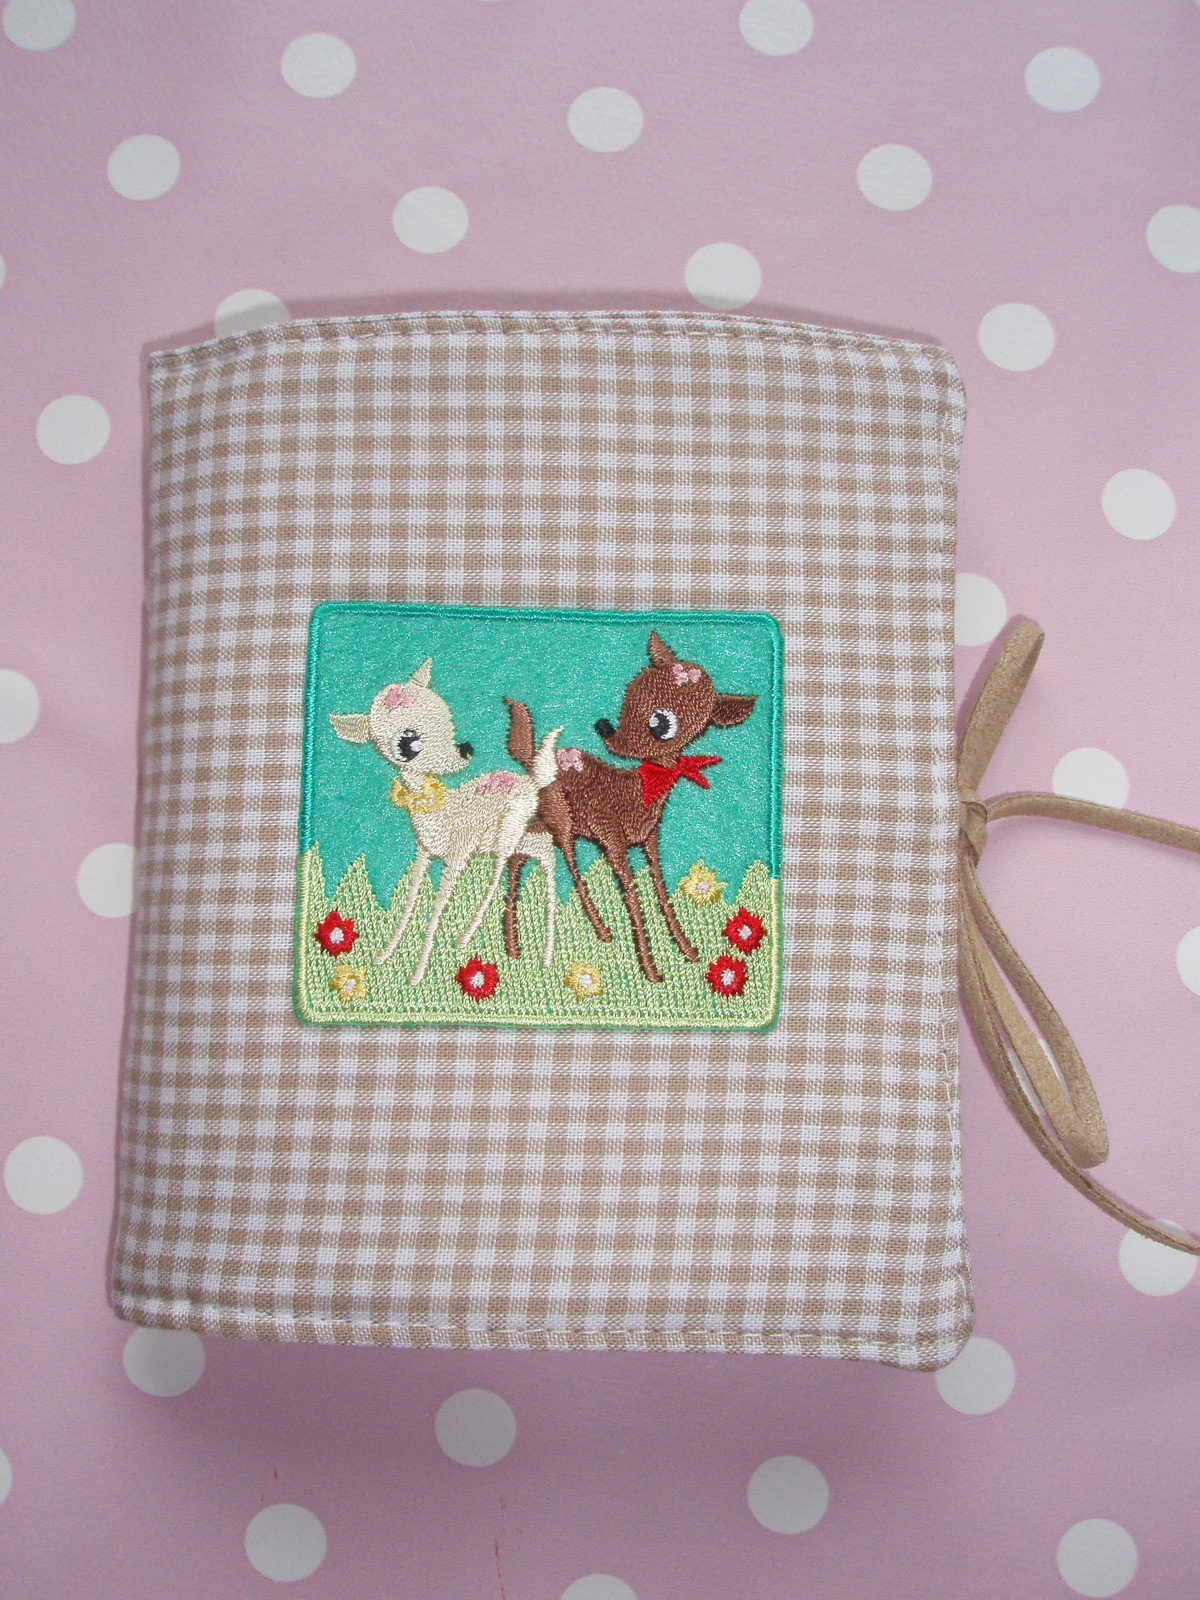
Your cover is now ready, if you want you can embellish it.


Good job!
CO + K User