


About
So much friendlier for the ears than those battery noise toys...
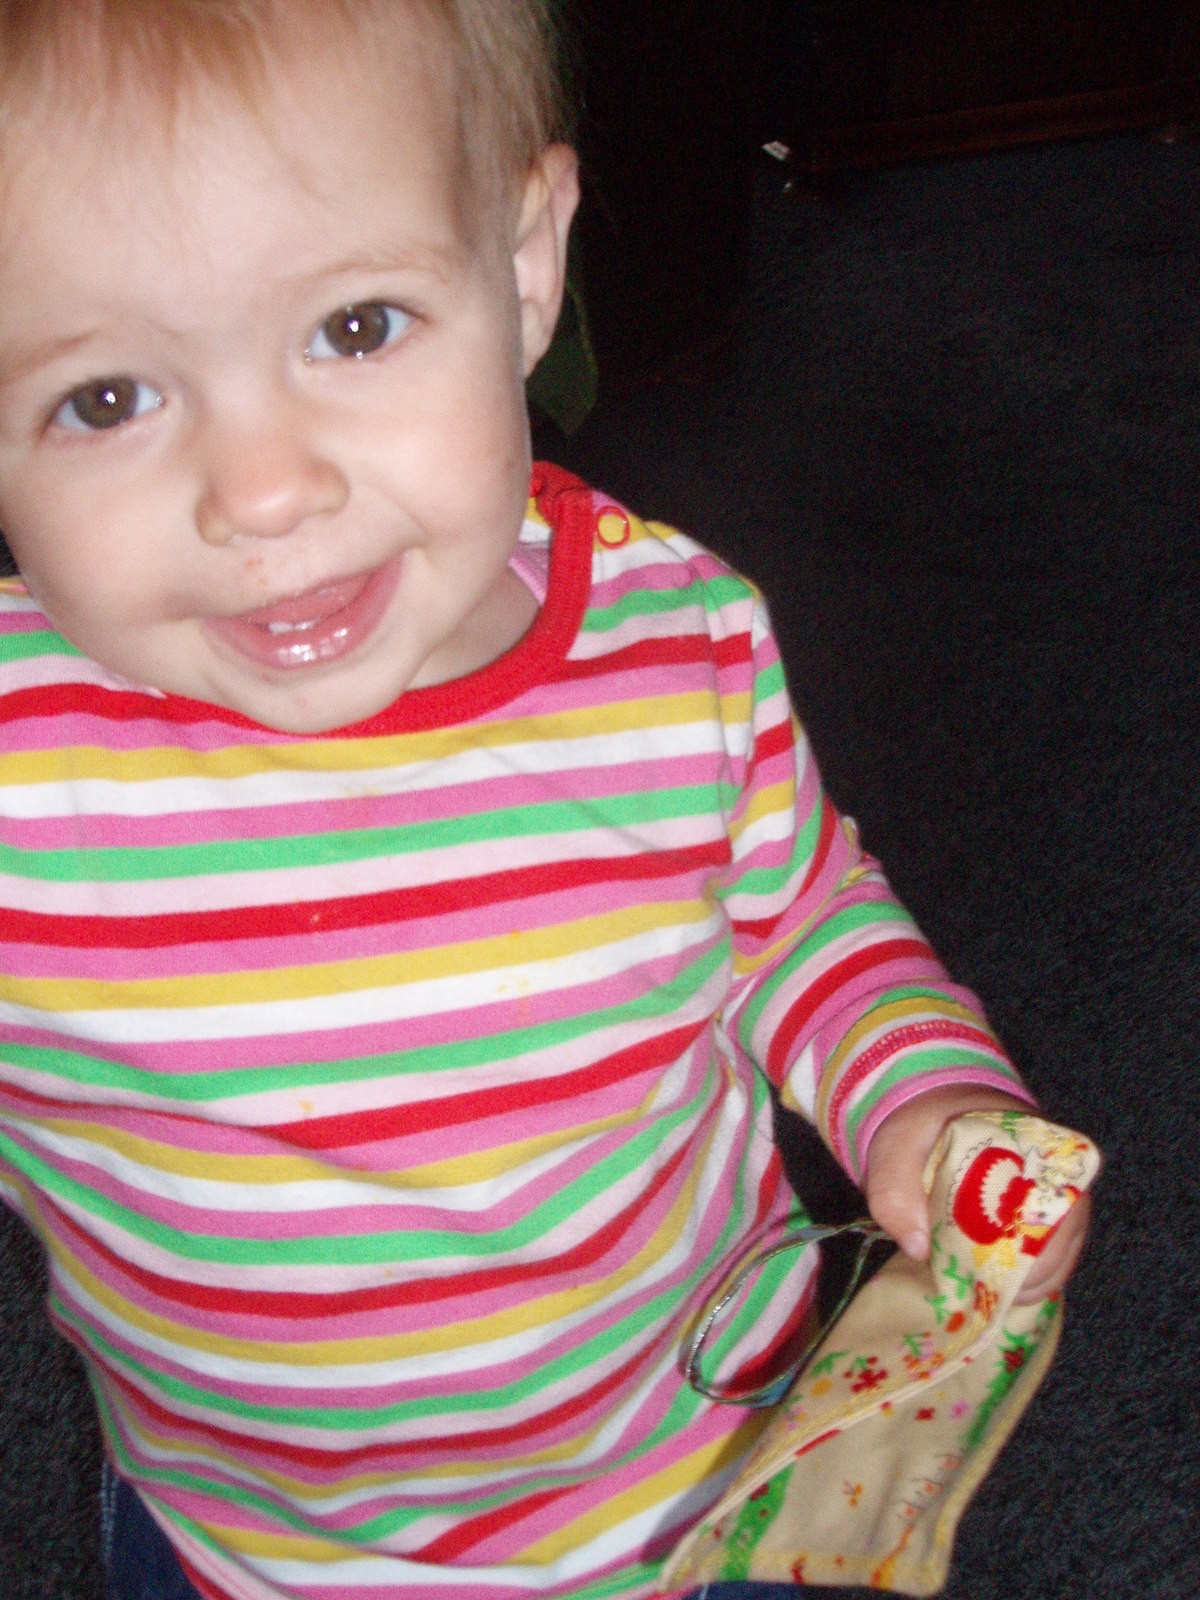
I was babysitting Milou and all the toys her parents gave me were those loud electronic toys with horrible sounds and music. My ears were in pain.
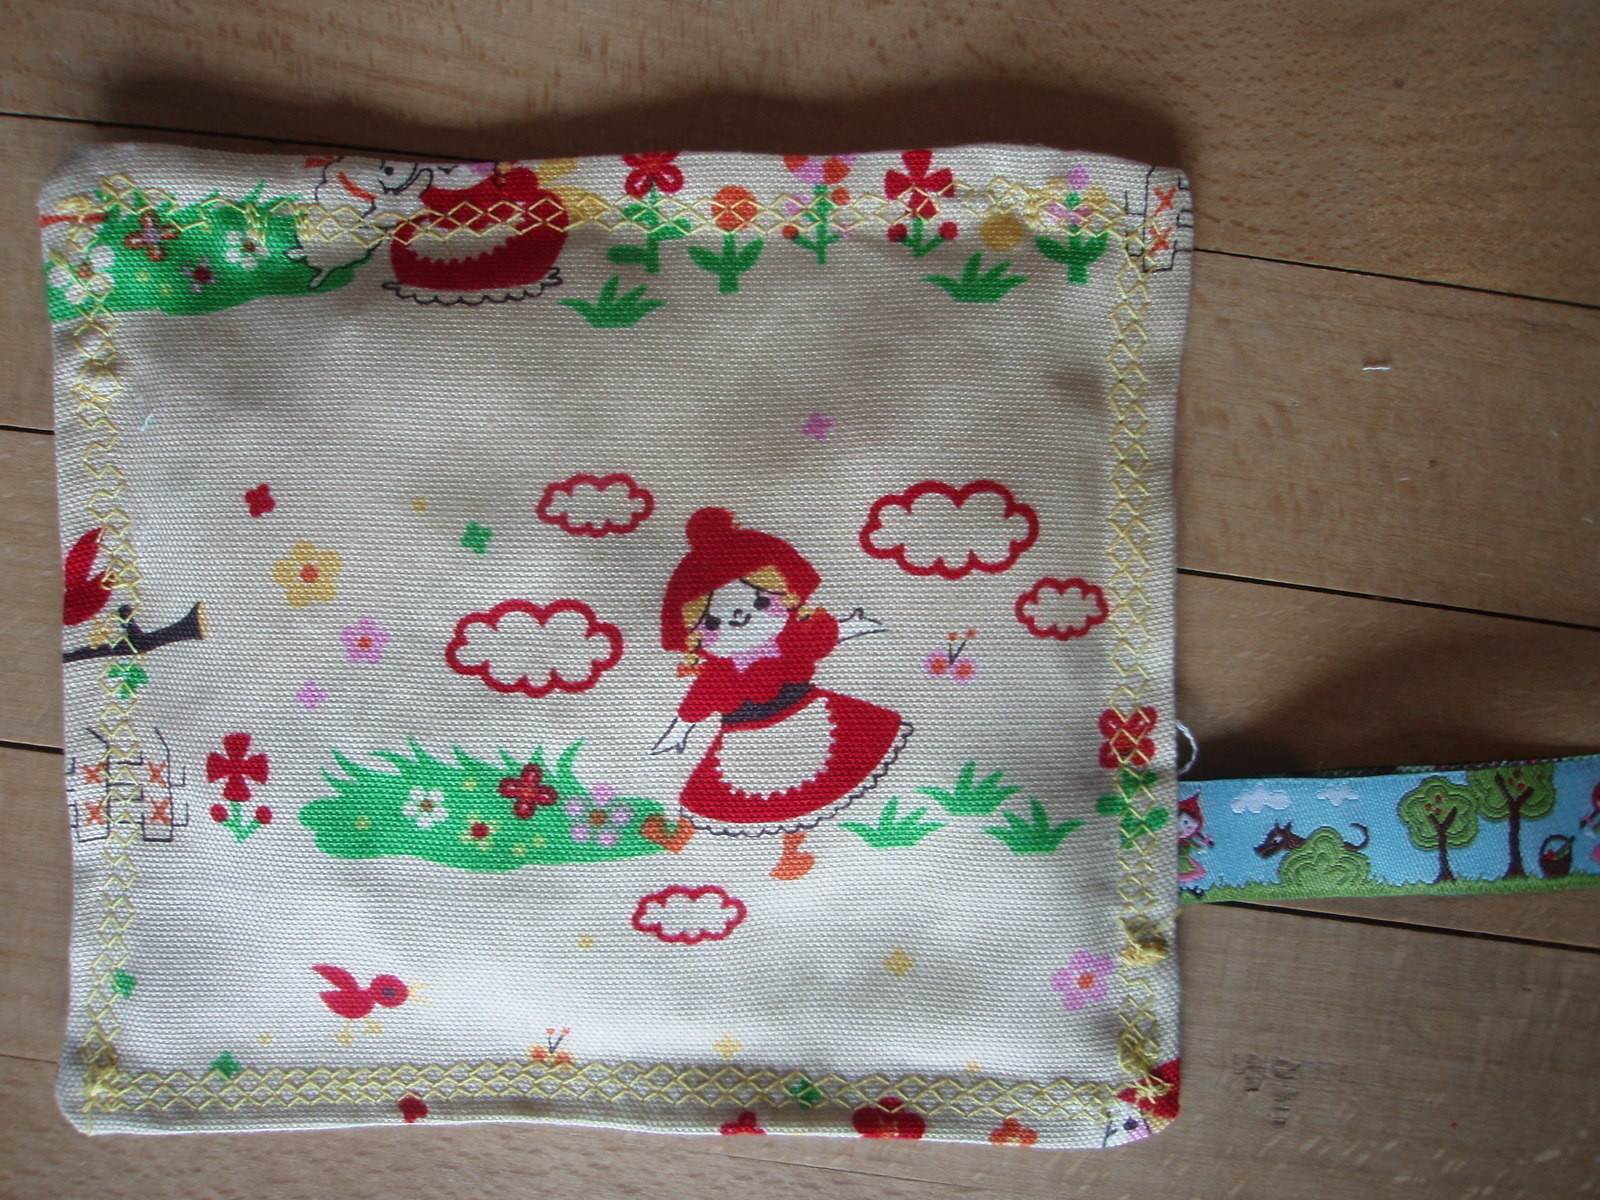
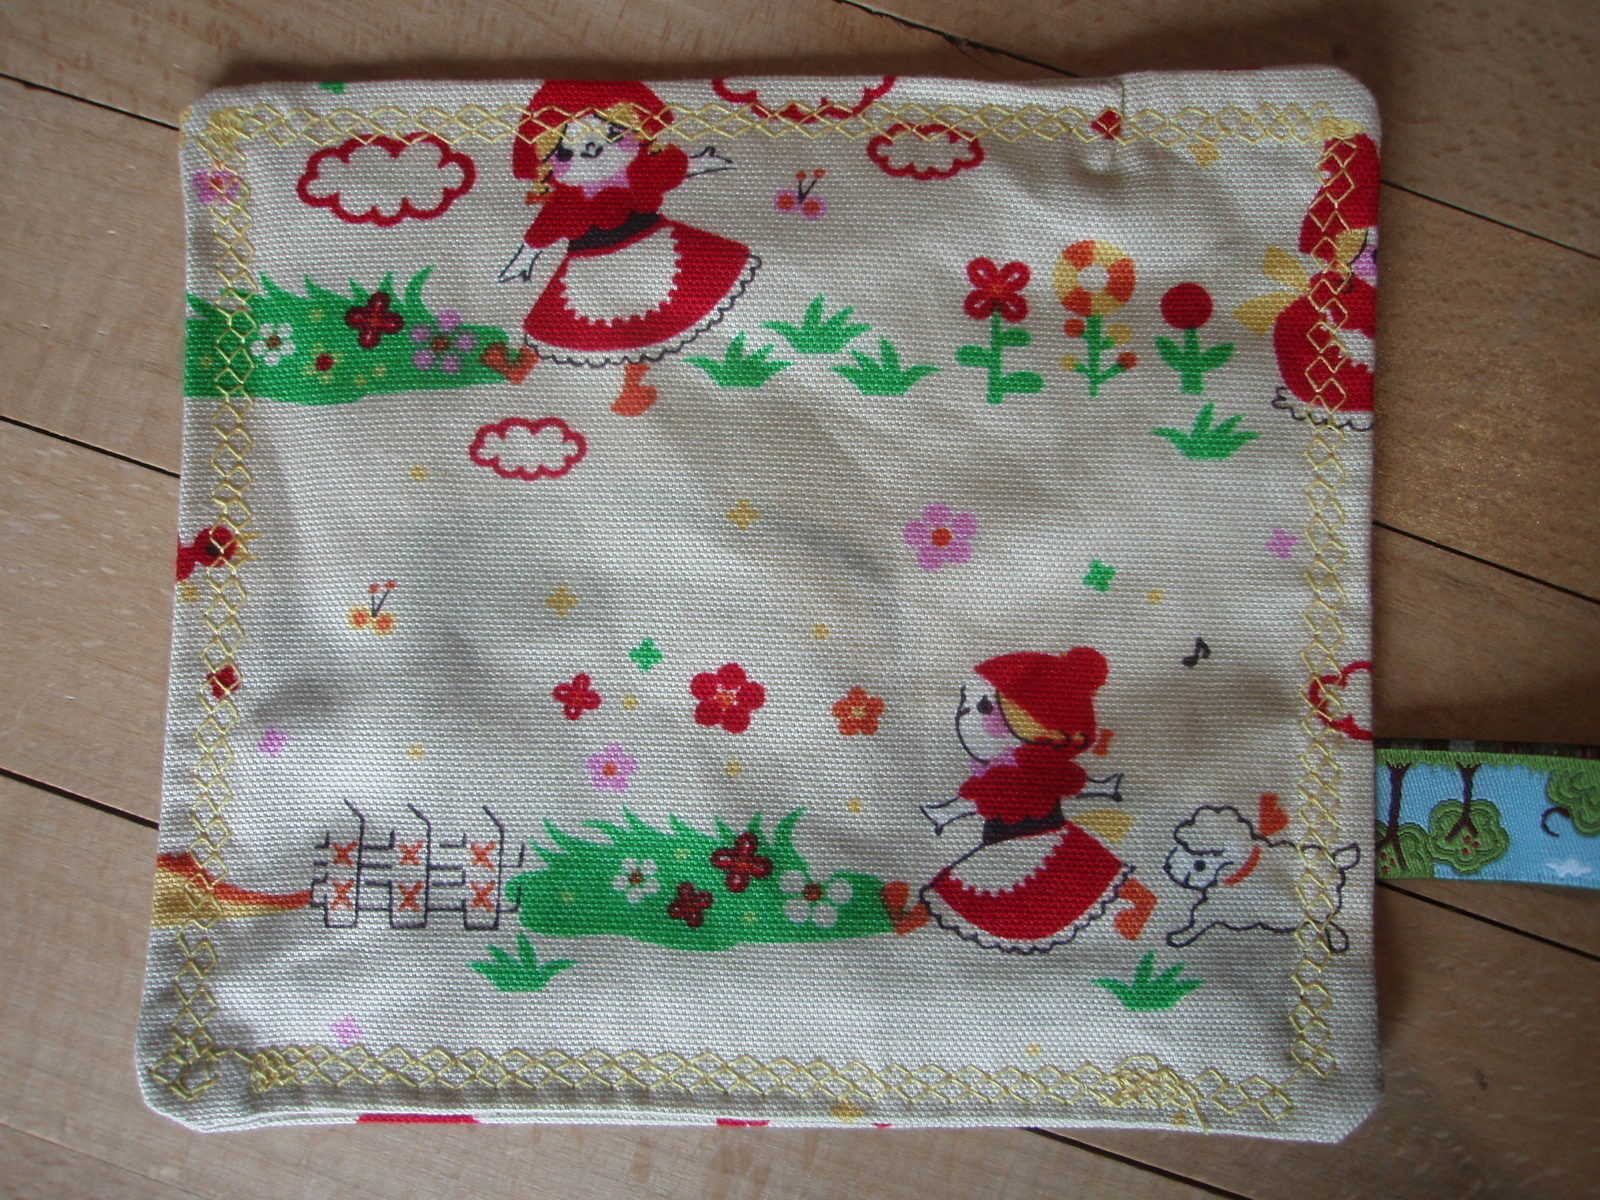
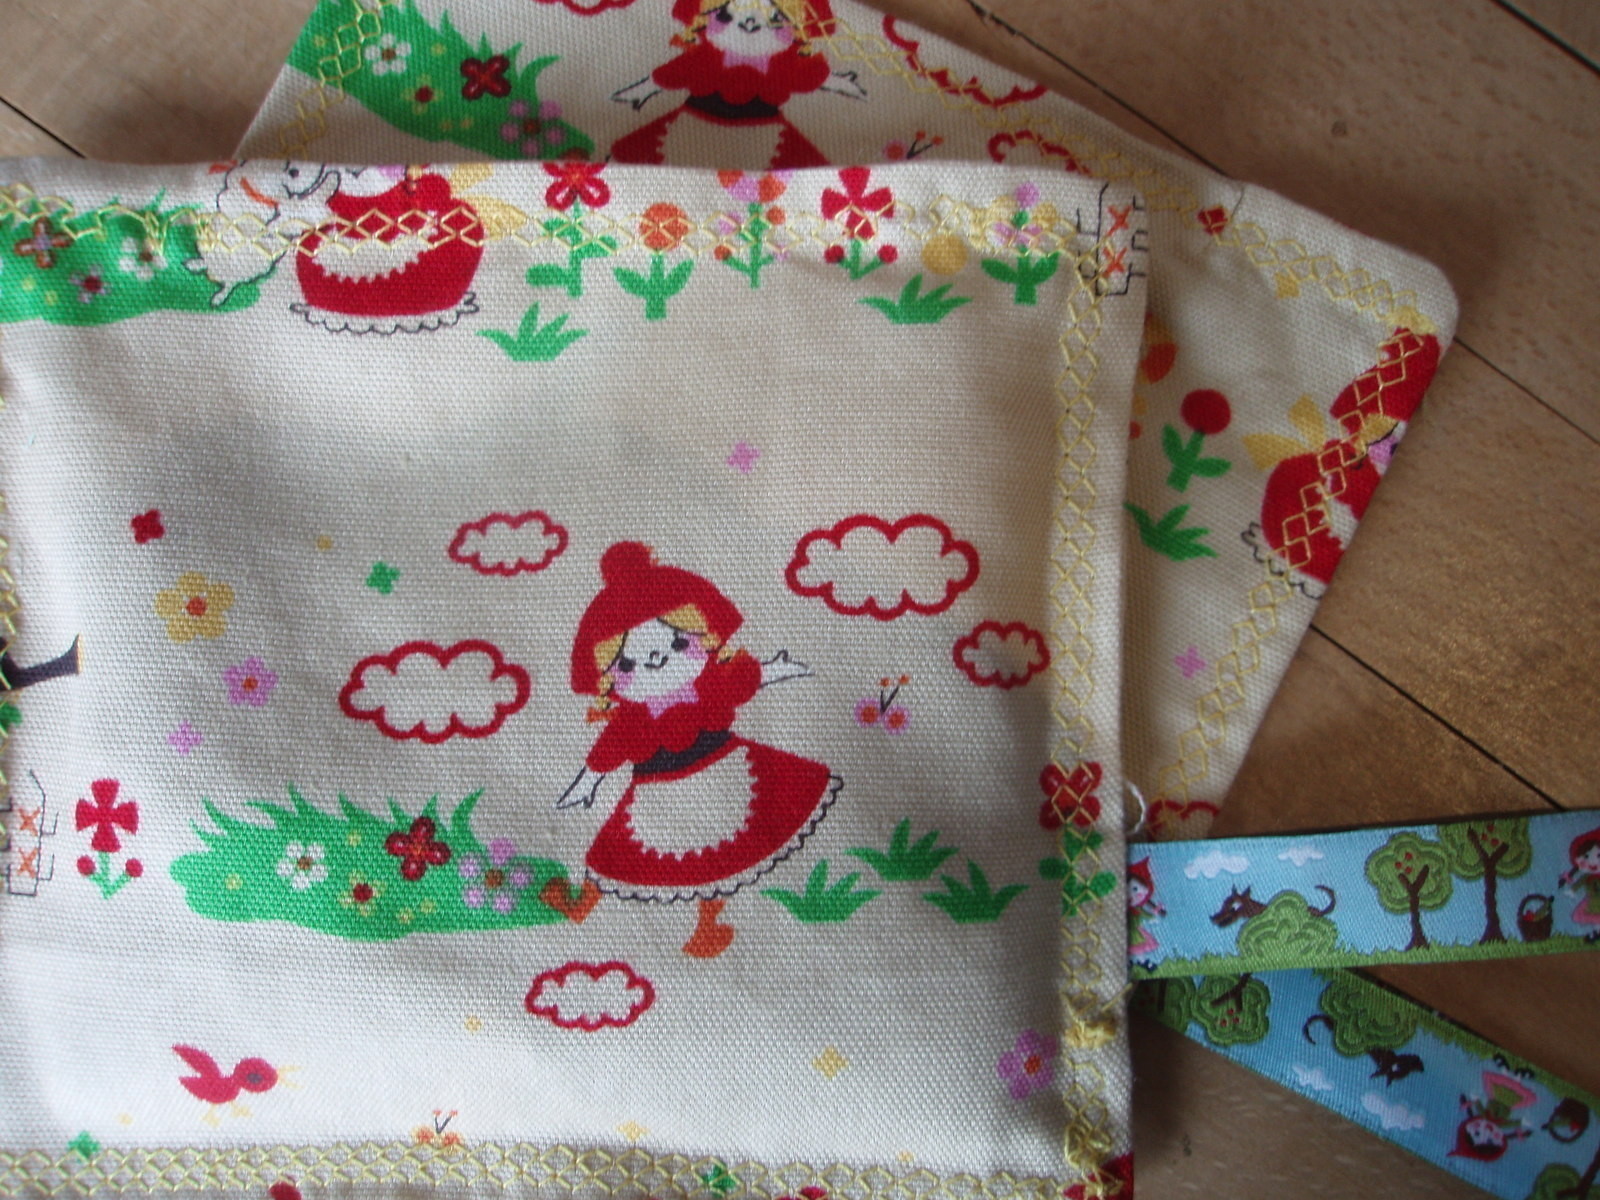
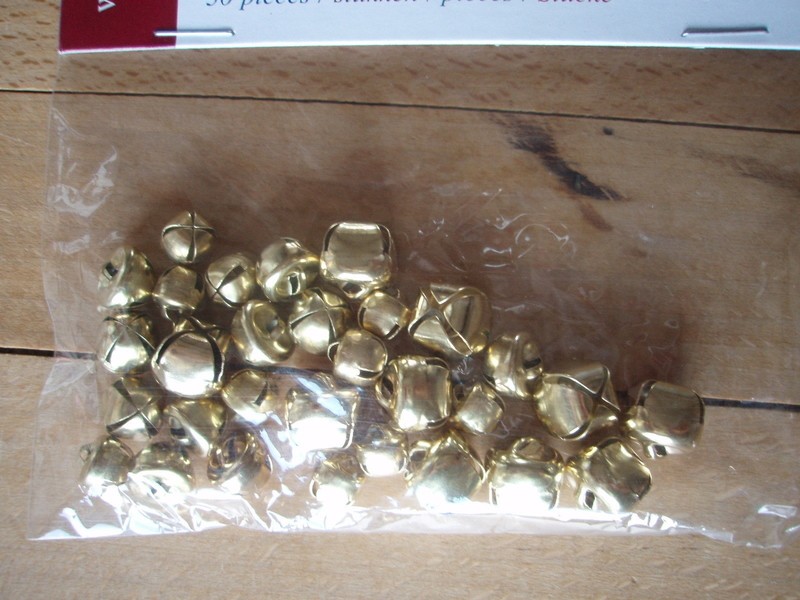
I was looking at this cute fabric wondering what to make and I came up with these. One bag is filled with rice and little bells, one with bells and buttons (feeling) and the other with a plastic sandwich bag. A much nicer sound in can tell you.
Tags
-
 Deanna S. added Noisy Play Bags For Toddlers to To-make list
06 Oct 00:27
Deanna S. added Noisy Play Bags For Toddlers to To-make list
06 Oct 00:27
-
 Ella Light added Noisy Play Bags For Toddlers to Baby Making
11 Aug 11:34
Ella Light added Noisy Play Bags For Toddlers to Baby Making
11 Aug 11:34
You Will Need
-
 Step 1
Version A rattle bag
Cut out two squares of appr. 15x15 cm + seam allowance.
Pin them together, right sides facing each other.
Add a little ribbon in between.
Sew but leave an opening of 5-6 cm.
Turn inside out and fill with rice and bells. (don't use too much rice, it should stay very flexible)
Topstitch whole square around the edges to finish. You can use a decorative stitch if you like.
-
 Step 2
Version B crackle bag
Cut out two squares of appr. 15x15 cm + seam allowance.
Put them together, right sides facing each other and place a plastic (sandwich) bag on top. Pin everything together. Cut off excess plastic.
Add a little ribbon in between.
Sew with the plastic facing down and leave an opening of 5-6 cm.
Turn inside out and topstitch around the edges it to finish. You can use a decorative stitch if you like.
-
 Step 3
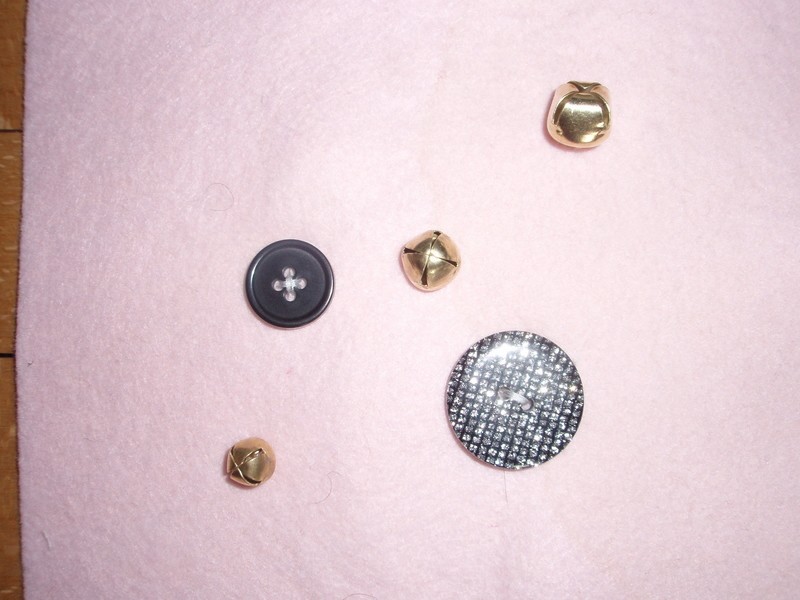
Version C feel bag
Cut out two squares of appr. 15x15 cm + seam allowance.
Cut out one piece of felt same size.
Sew some buttons on the felt on one side and maybe also some little bells. Stay at least 3-4 cm away from the sides.
-
 Step 4
Put the fabric together, right sides facing each other and place the felt square on top with the buttons facing up. Pin everything together. Cut off excess fabric.
Add a little ribbon in between.
Sew but leave an opening of 5-6 cm.
Turn inside out and topstitch whole square around the edges to finish. You can use a decorative stitch if you like.


Versions

Comments


