

About
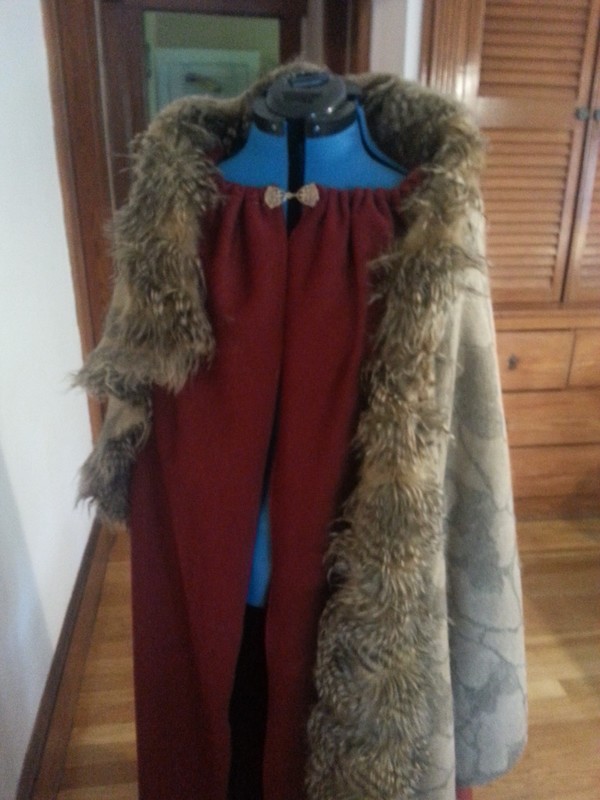
Detachable fur shoulders for your cloak!
I made a cloak for the Renaissance Faire and wanted to give it fur shoulders! The fur is detachable so you don't have to make a separate cloak B) You can even attach it to different cloak!
I got 3/4 yds of fur fabric, which was more then enough (Room for mistakes.) A 1/2 yd would be enough if you don't want to spend much. Stay away from 'fun' fur which is incredibly cheap and cheap looking! (Of course you can use it if you want too.)
Tags
-
 Key West Witch favorited No Sew Fur 'Pelt' For Your Cloak!
28 Jun 20:34
Key West Witch favorited No Sew Fur 'Pelt' For Your Cloak!
28 Jun 20:34
- Paris N. added No Sew Fur 'Pelt' For Your Cloak! to Cosplay Things 23 Feb 23:41
-
 sheletor s. favorited No Sew Fur 'Pelt' For Your Cloak!
25 Nov 07:58
sheletor s. favorited No Sew Fur 'Pelt' For Your Cloak!
25 Nov 07:58
-
 Maxine M. added No Sew Fur 'Pelt' For Your Cloak! to To-make list
25 Oct 14:23
Maxine M. added No Sew Fur 'Pelt' For Your Cloak! to To-make list
25 Oct 14:23
-
 Winter favorited No Sew Fur 'Pelt' For Your Cloak!
03 Oct 04:14
Winter favorited No Sew Fur 'Pelt' For Your Cloak!
03 Oct 04:14
-
 zoegirl221 added No Sew Fur 'Pelt' For Your Cloak! to Clothes
15 Sep 05:51
zoegirl221 added No Sew Fur 'Pelt' For Your Cloak! to Clothes
15 Sep 05:51
-
 Deven S. favorited No Sew Fur 'Pelt' For Your Cloak!
15 Aug 18:47
Deven S. favorited No Sew Fur 'Pelt' For Your Cloak!
15 Aug 18:47
-
 Devious_Insightful_Pixie favorited No Sew Fur 'Pelt' For Your Cloak!
14 Aug 00:00
Devious_Insightful_Pixie favorited No Sew Fur 'Pelt' For Your Cloak!
14 Aug 00:00
-
Abbey B. favorited No Sew Fur 'Pelt' For Your Cloak!
13 Aug 04:56
-
 mpanda favorited No Sew Fur 'Pelt' For Your Cloak!
09 Aug 22:29
mpanda favorited No Sew Fur 'Pelt' For Your Cloak!
09 Aug 22:29
You Will Need
-
Step 1
Figure out which way your nap is going! Nap is the direction fur grows in.
You want your nap to be 'growing' towards the ground.
-
 Step 2
Drape the fabric wrong side out onto your cloak. Leave enough fabric at the top that you'll be able to roll in when we flip the fur around. And make sure your nap is going in the right direction!
If you don't have a bust form, have a friend help you out.
-
 Step 3
Safety pin the fur to the cloak (Not your friend). Put about 3-4 around the top of the cloak so it sits still.
-
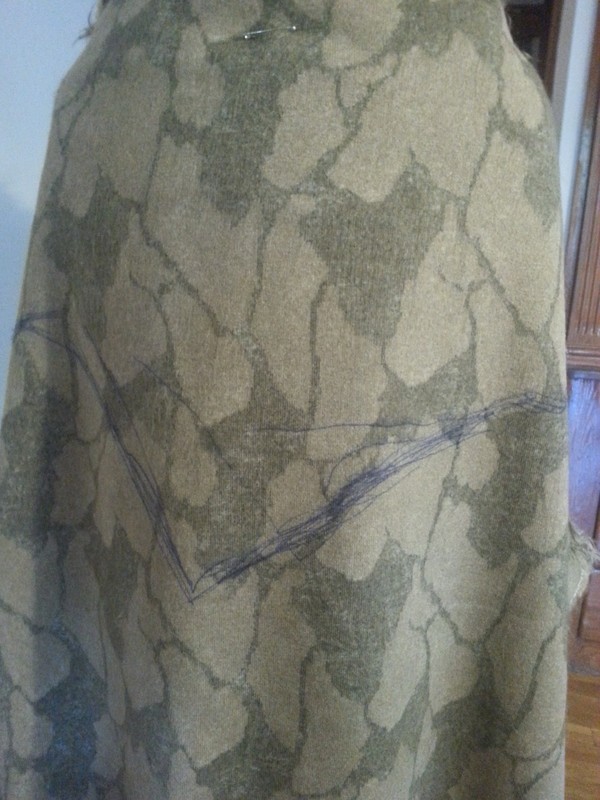
 Step 4
Take a marker and draw what you want your fur to look like!
-
Step 5
Unpin the fur and lay it upside down on a flat surface.
-
 Step 6
Cutting faux fur is tricky business. You want to avoid making the fur look 'shaved.' So you can't just cut on the lines you made. If you cut the backing the fur is on we can avoid the "shaved" look.
I suggest trying this on a scrap piece first!!
Start by slipping the scissors under the backing. The scissors don't need to be open all the way. Angle the scissors in the OPPOSITE direction of your nap. You're then going to hold the fabric with your free hand and glide in the direction you want to go. If your scissors jam, you're not doing it right.
If this doesn't make sense I definitely suggest looking up a video or another description and keep practicing on scraps until you get it.
-
 Step 7
It should look a bit like this after you cut. The fur will hide the cut edge.
-
 Step 8
Flip it over...TA DA. The fur hides the cut edges!!!
-
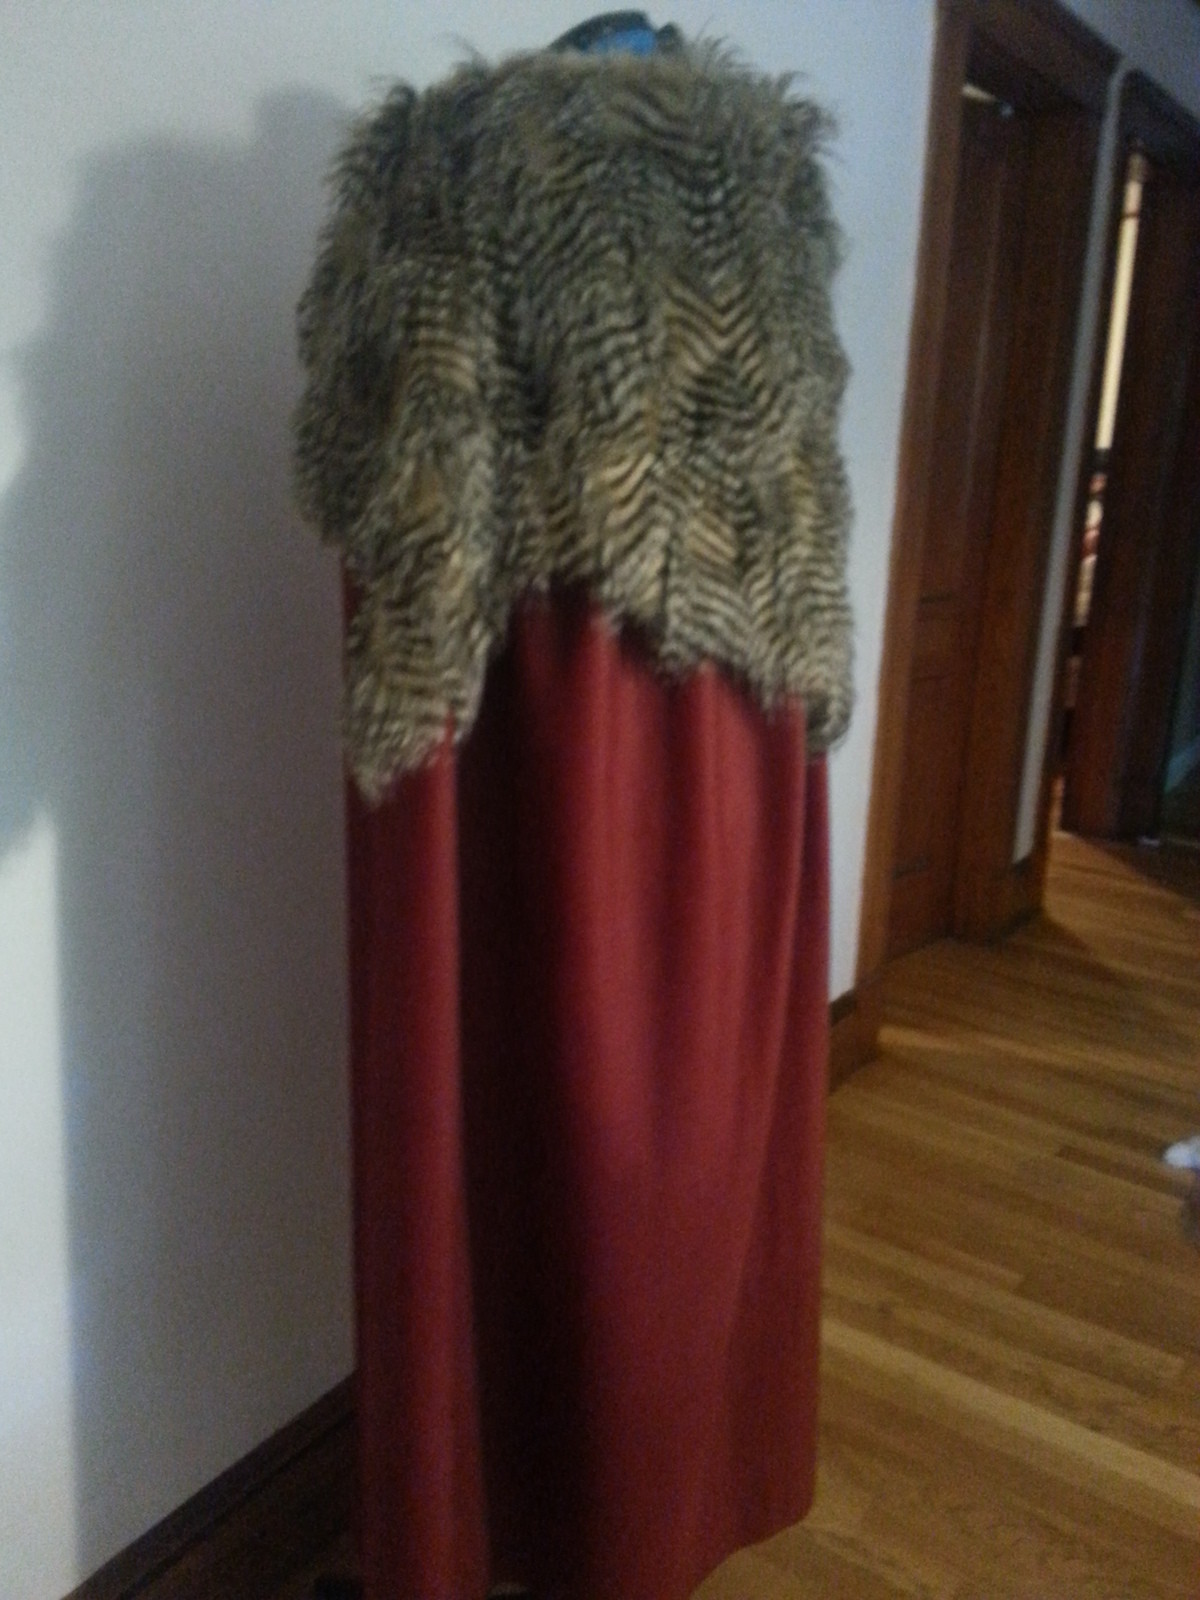
 Step 9
Drape the fur over your cloak again. Roll the top edges under to hide the cut edge and safety pin all around.
-
 Step 10
Almost done!! Now you just have to safety pin it onto the cloak. I suggest 3-4 close to the neck and where ever else you think needs to be held down.