


About
New Nightstands
Right now I have a very part time job (like 10 hours a week at most), and am taking 1 credit. That leaves me with a whole lot of free time. Suddenly, when I have free time, everything has the potential to be a project. I was wandering in hobby lobby when I came across this inspiration sheet and I decided it was time to give our DI nightstands a makeover!
-
 Cee B. commented on Nightstands
30 Jan 17:42
Cee B. commented on Nightstands
30 Jan 17:42
-
Cee B. favorited Nightstands
30 Jan 17:38
-
 Step 1
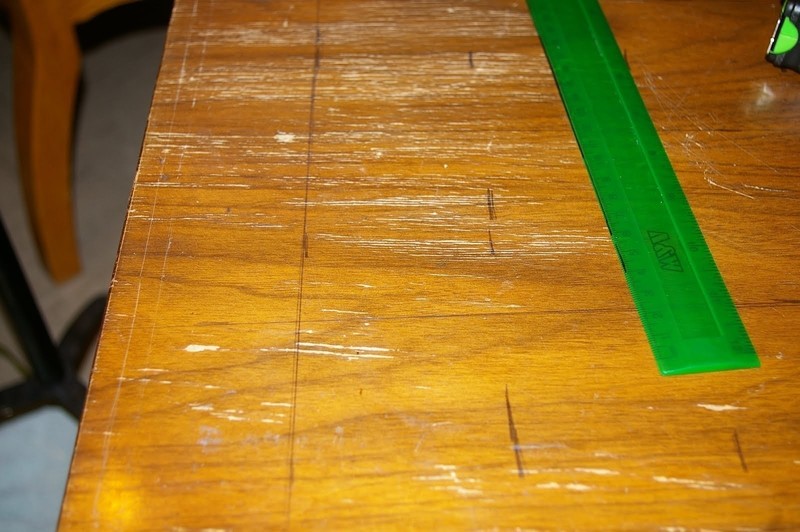
Before: a little scratched and dented.
I was thrilled to have them when I found a matching set,
but I figured I couldn't hurt them at this point. -
 Step 2
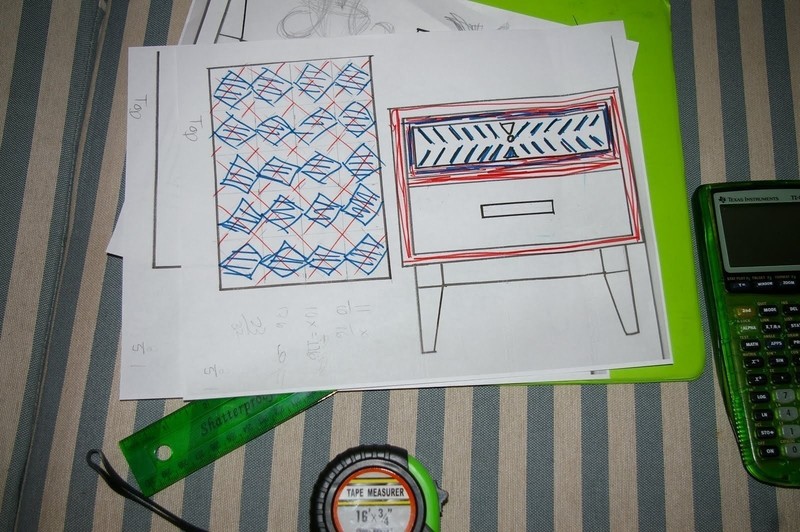
Before I even touched the nightstands, I drew a 1/4 scale model of them.
I used my handy measuring tape, calculator, and ruler to help me along.
I drew everything in pencil then traced it in sharpie.
I made lots of copies, and sketched a few ideas on my 1/4 scale models. -
 Step 3
I finally decided on argyle and my sketch gave me an idea
of what I wanted it to look like. As you'll see, I deviated a bit
from this in my actual production -
 Step 4
I used a pencil to mark the top of the nightstand into 8 sections horizontally and 4 sections verticially.
-
 Step 5
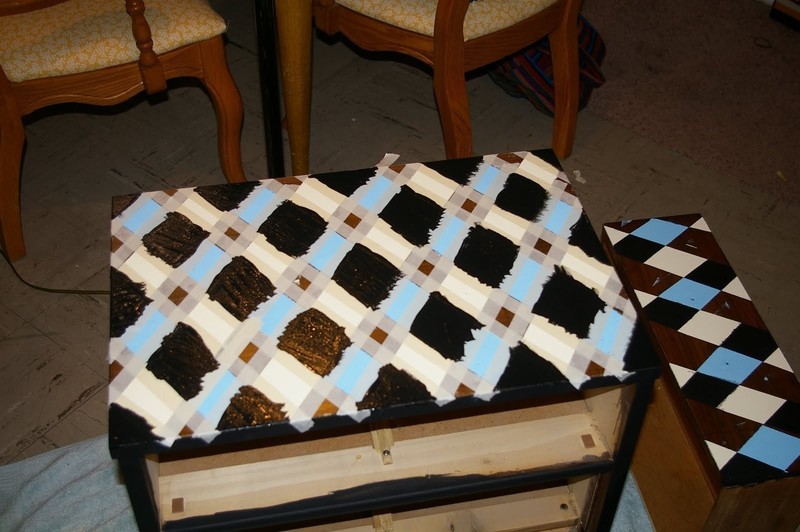
I connected my lines to make boxes.
-
 Step 6
I drew my diamonds within each box
-
 Step 7
...taped, and painted. (If anyone is actually doing this, I would reccomend
picking your background color and painting your entire nightstand first.
It would be a lot less work) -
 Step 8
When you remove the tape, you should hopefully have some clean lines!
-
 Step 9
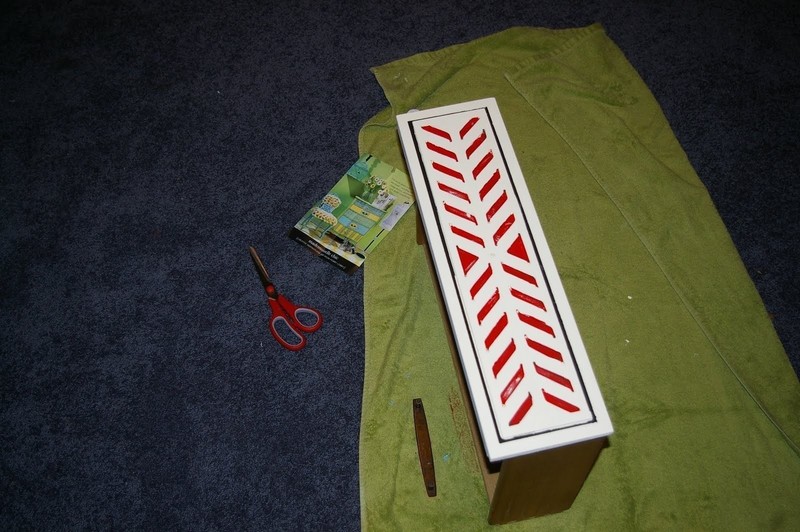
Tape the next section and start painting!
-
 Step 10
And tape and paint again....
-
 Step 11
Between coats of paint...
-
 Step 12
I worked on painting the drawers.
-
 Step 13
Ta-da!


Comments


