


About
My guide to creating the perfect base
The most common question I am asked in emails from readers concerns how to create a flawless foundation look. It has taken me years of experimenting, trying different products and tools and this post is to share all my tips.
It can be long and arduous finding your perfect foundation and even when you have found 'the one', you will find yourself being seduced by the latest fads and claims of advanced technology. I personally have two types of foundation in my collection. One fail safe for long days, special events and when I know I'm getting my photograph taken. The other is a more relaxed version of foundation which is light in texture with light to medium coverage and glow enhancing properties. In this post I will be sharing all of my tips for flawless foundation! I can't recommend specific products because everyone's preference/skin type is different, but I can tell you how to ensure you get an even and perfect finish.
-
 Sam-deep H. favorited My Tips For Flawless Foundation
13 May 00:24
Sam-deep H. favorited My Tips For Flawless Foundation
13 May 00:24
-
 Charlie. favorited My Tips For Flawless Foundation
25 Jul 21:27
Charlie. favorited My Tips For Flawless Foundation
25 Jul 21:27
-
 chelsie.kuskie added My Tips For Flawless Foundation to make-up
22 May 16:19
chelsie.kuskie added My Tips For Flawless Foundation to make-up
22 May 16:19
-
 Ladyred59 favorited My Tips For Flawless Foundation
29 Apr 07:51
Ladyred59 favorited My Tips For Flawless Foundation
29 Apr 07:51
-
 Millie H. added My Tips For Flawless Foundation to Cosmetics and nails
18 Mar 21:43
Millie H. added My Tips For Flawless Foundation to Cosmetics and nails
18 Mar 21:43
-
 Marylou P. added My Tips For Flawless Foundation to Make Up
09 Feb 07:19
Marylou P. added My Tips For Flawless Foundation to Make Up
09 Feb 07:19
-
 cristinakilljoyway favorited My Tips For Flawless Foundation
31 Jan 19:50
cristinakilljoyway favorited My Tips For Flawless Foundation
31 Jan 19:50
-
 Alezita G. favorited My Tips For Flawless Foundation
31 Jan 06:26
Alezita G. favorited My Tips For Flawless Foundation
31 Jan 06:26
-
 ModernXDayXVaudevillian favorited My Tips For Flawless Foundation
28 Jan 19:38
ModernXDayXVaudevillian favorited My Tips For Flawless Foundation
28 Jan 19:38
-
 Robin L. added My Tips For Flawless Foundation to To-make list
28 Jan 18:28
Robin L. added My Tips For Flawless Foundation to To-make list
28 Jan 18:28
You Will Need
-
Step 1
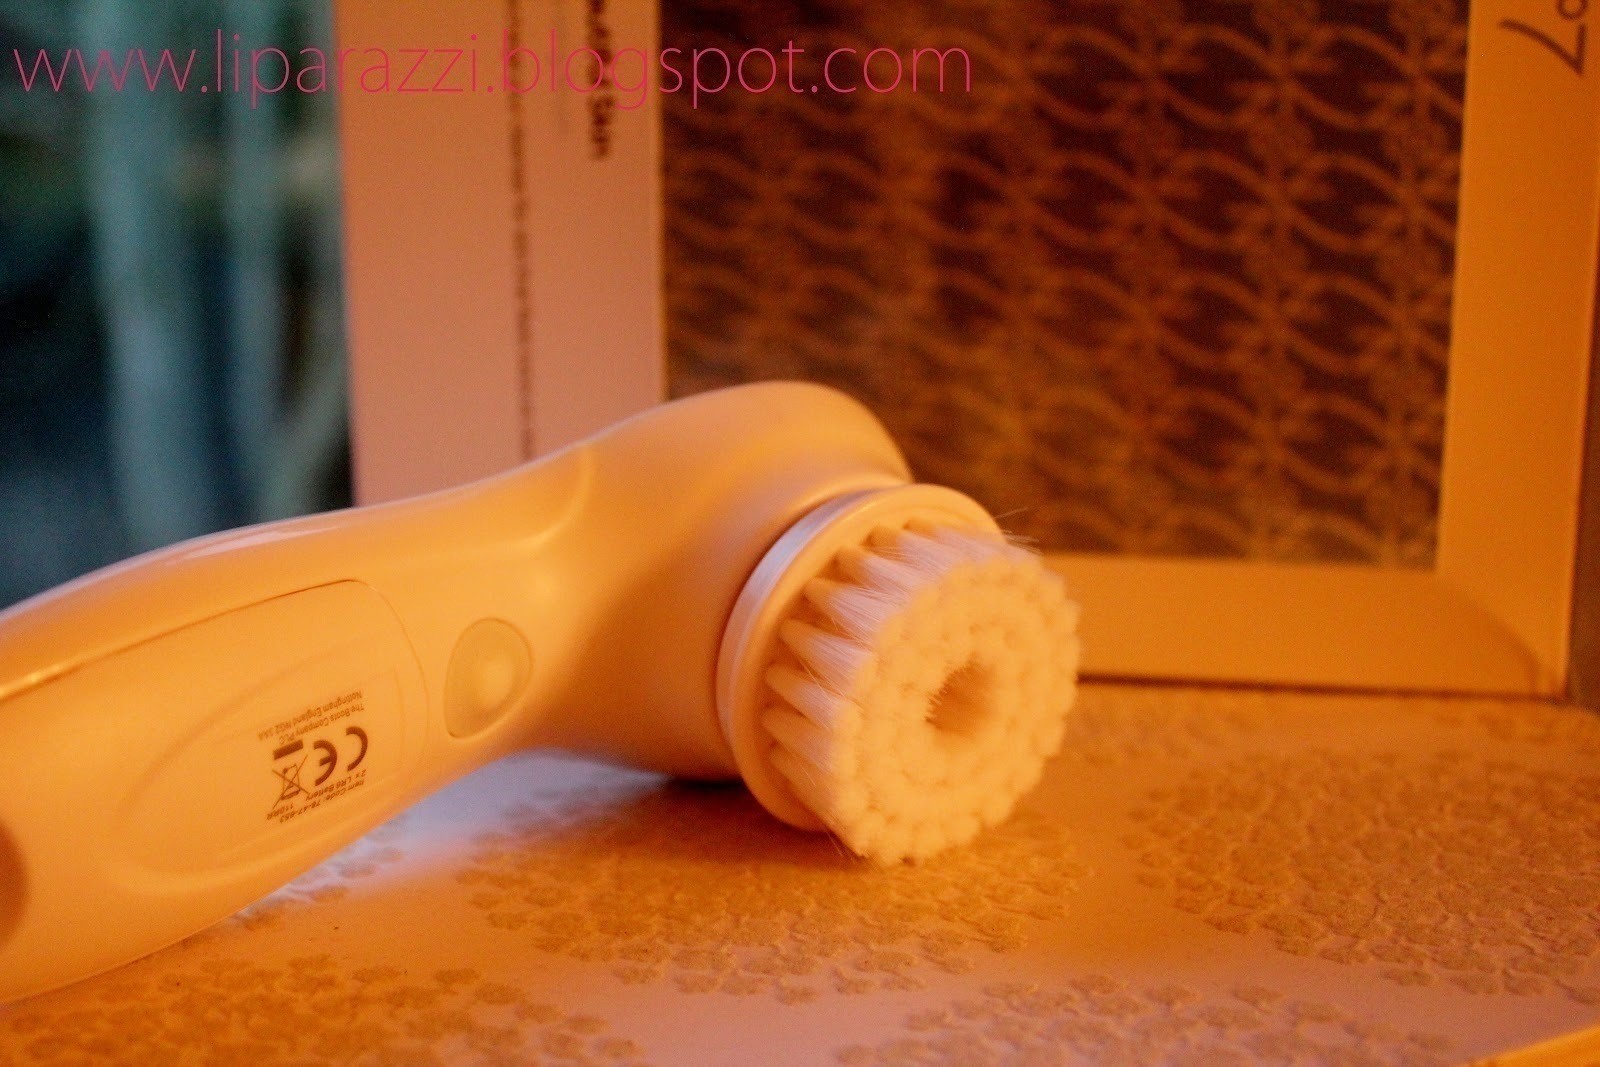
Exfoliate, Exfoliate, Exfoliate!
I can't really stress this point enough because exfoliation is what makes your skin glow from beneath your make-up. It removes any dirt, dry skin and improves skin texture and promotes more even overall skin-tone. I use my Clarisonic Mia every second night and it's made a huge difference to the overall appearance of my skin. However from the end of January you can pick up a cheaper alternative from Boots as No will be launching a dupe for just 25 pounds. Just remember to clean them after every use.
-
Step 2
Be Patient!
It's all too easy to rush things in the morning but it's really important to wait about five minutes to let your moisturiser fully absorb into your skin before applying foundation – this will prevent any tackiness or a patchy finish. Take the time to really massage the moisturiser into your face as it will increase the blood-flow to your skin and give you a natural glow. Your skin will appear plumper and feel more hydrated, too, so you get a more dewy glow from your foundation. Dry skin will just soak up the foundation if you don't spend this time moisturising. Obviously for summer time or for oily skin, it's best to use an oil-free moisturiser.
-
Step 3
Prime Time
I always use a radiance enhancing primer over my moisturiser to give my skin dimension and a healthy glow. It will even out your complexion and means you don’t have to use as much foundation to get an even appearance. Many formulas nowadays contain ingredients which smooth your skin and create a silky base to receive your foundation.
-
Step 4
Broad Daylight
Always apply your make up in daylight where possible. This allows you to see a true reflection of how it will appear outside in the unforgiving rays of the midday sun. By doing this, it will also prevent you from applying too much product. Artificial light generally makes make up appear paler so naturally you tend to apply more.
-
Step 5
Use The Correct Tool For The Job
Everyone has a preference for how they like to apply their foundation whether it be a brush, sponge or good old fingertips. Consider the consistency of the product you are using and which tool would lend itself better to your chosen foundation. Brushes are generally used to get slightly more coverage out of lighter textured foundations but aren't very suitable for thicker formulas. Some people feel that sponges give the most even finish however I use Estee Lauder Double Wear and I prefer to use my fingertips. The warmth of my hands and dexterity to get into all the little areas of my face means I can get a really flawless finish. Experiment with different tools to figure out which one is best for you.
-
Step 6
Blend
I always use a circular motion with my fingers to blend the foundation thoroughly into my skin. It’s important to spend that time because this is what will give you the really flawless appearance.
-
Step 7
Foundation Always Comes Before Concealer
Apart from the fact that you’ll move your carefully applied concealer if you follow with foundation, you’ll probably end up using more than you need to. Apply foundation first to see what coverage your foundation provides. Then apply the concealer, patting it in lightly to avoid wiping off the foundation underneath. Put the tiniest amount of concealer on any blemishes. Don’t just whack on a huge blob hoping it will cover everything, it will just make the blemish even more obvious. It’s all about building up VERY thin layers, that way you’re more in control of how much you’re applying to your skin. Remember, less is more – you don’t want to end up with too much make-up that draws attention to what you are trying to conceal. My favourite concealer of all time is Estee Lauder Maximum Cover. It conceals ANYTHING!
-
Step 8
Powder
Powder will help fix your make-up in place but brush it on very sparingly in small circular motions so as not to mattify away your radiant glow. Use a fat brush to sweep a little powder over the central cross of your face (that’s down your nose and chin and across your cheeks.)
Set it
I remember when I first heard about setting sprays, I almost recoiled in horror (overly-dramatic?). I couldn't understand why, after all that hard work applying and blending my foundation, I would want to ruin it by spraying liquid on my face. That is until I started using a setting spray. Despite my original preconceptions, the setting spray was the finishing touch to my make up that I had been looking for. You know once you have powdered your face, your skin has this layer of foundation, concealer and powder on it which isn't conducive with a natural appearance. Once you have sprayed the setting spray lightly on your face and dried it with a hair dryer (bear with me!) all of your make up fuses into your skin and they seem to become one. What you're left with is skin that looks like skin, not skin with make-up on top. My favourite setting spray has to be Urban Decay De-Slick.

