About
very cute and easy mummy nails
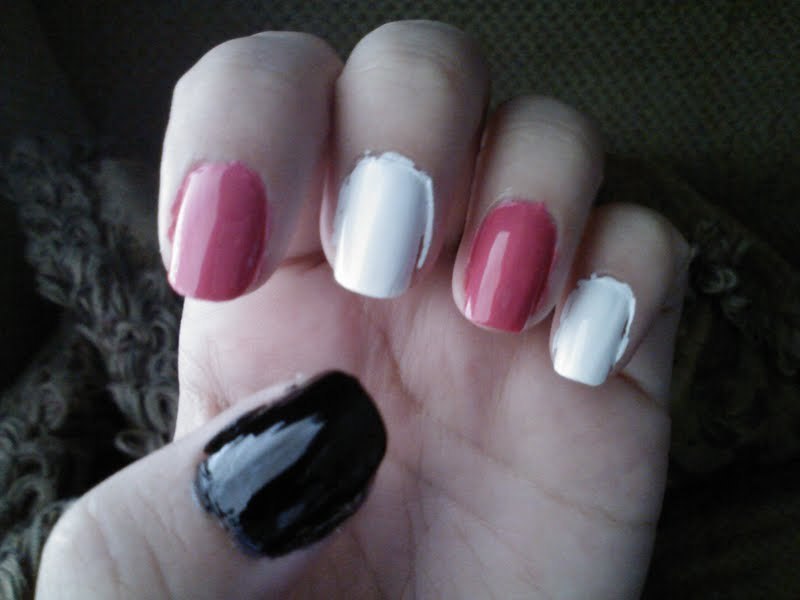
Nail polish:
Sally Hansen hard as nails hardener [natural pink tint] as base coat
wet n' wild wild shine [lavender creme 454d]
sinfulcolors [snow me white 1]
pure ice [fast lane 985]
top coat
other things used: make up sponge, sharpie, pen, paper for dabbing
-
 Lauren W. added Mummy Nails to how to nails
18 Dec 21:07
Lauren W. added Mummy Nails to how to nails
18 Dec 21:07
-
 Moony Moon favorited Mummy Nails
21 Oct 01:57
Moony Moon favorited Mummy Nails
21 Oct 01:57
You Will Need
-
 Step 1
apply base coat, let dry.
paint two coats of the white and pink on what ever fingers you want. let dry either 100% or almost 100%I originally was going to have my thumbs black but I changed my mind and painted them white.
-
 Step 2
Dab some goldish/bronzy color to the white nails for that old dirty, dusty look mummy's have.
-
 Step 3
I didn't have a striper so I just used a black sharpie to draw some random lines to make the bandages. Fill in a small box shape for the eyes and add two white dots, then a smaller pink dot and a tiny black dot, I used a pen. [optional.] top coat if you used a striper [top coat smears the sharpie, you can try it but BE CAREFUL]
I haven't decided what to do on my pink nails, I'll probably just leave them pink. And I kind of use the pink for Breast Cancer.
Check out my blog where I have more nail tutorials, DIYs and some random posts.
prettymarshmallow.blogspot.com