


About
Have extra ping-pong balls? Great!
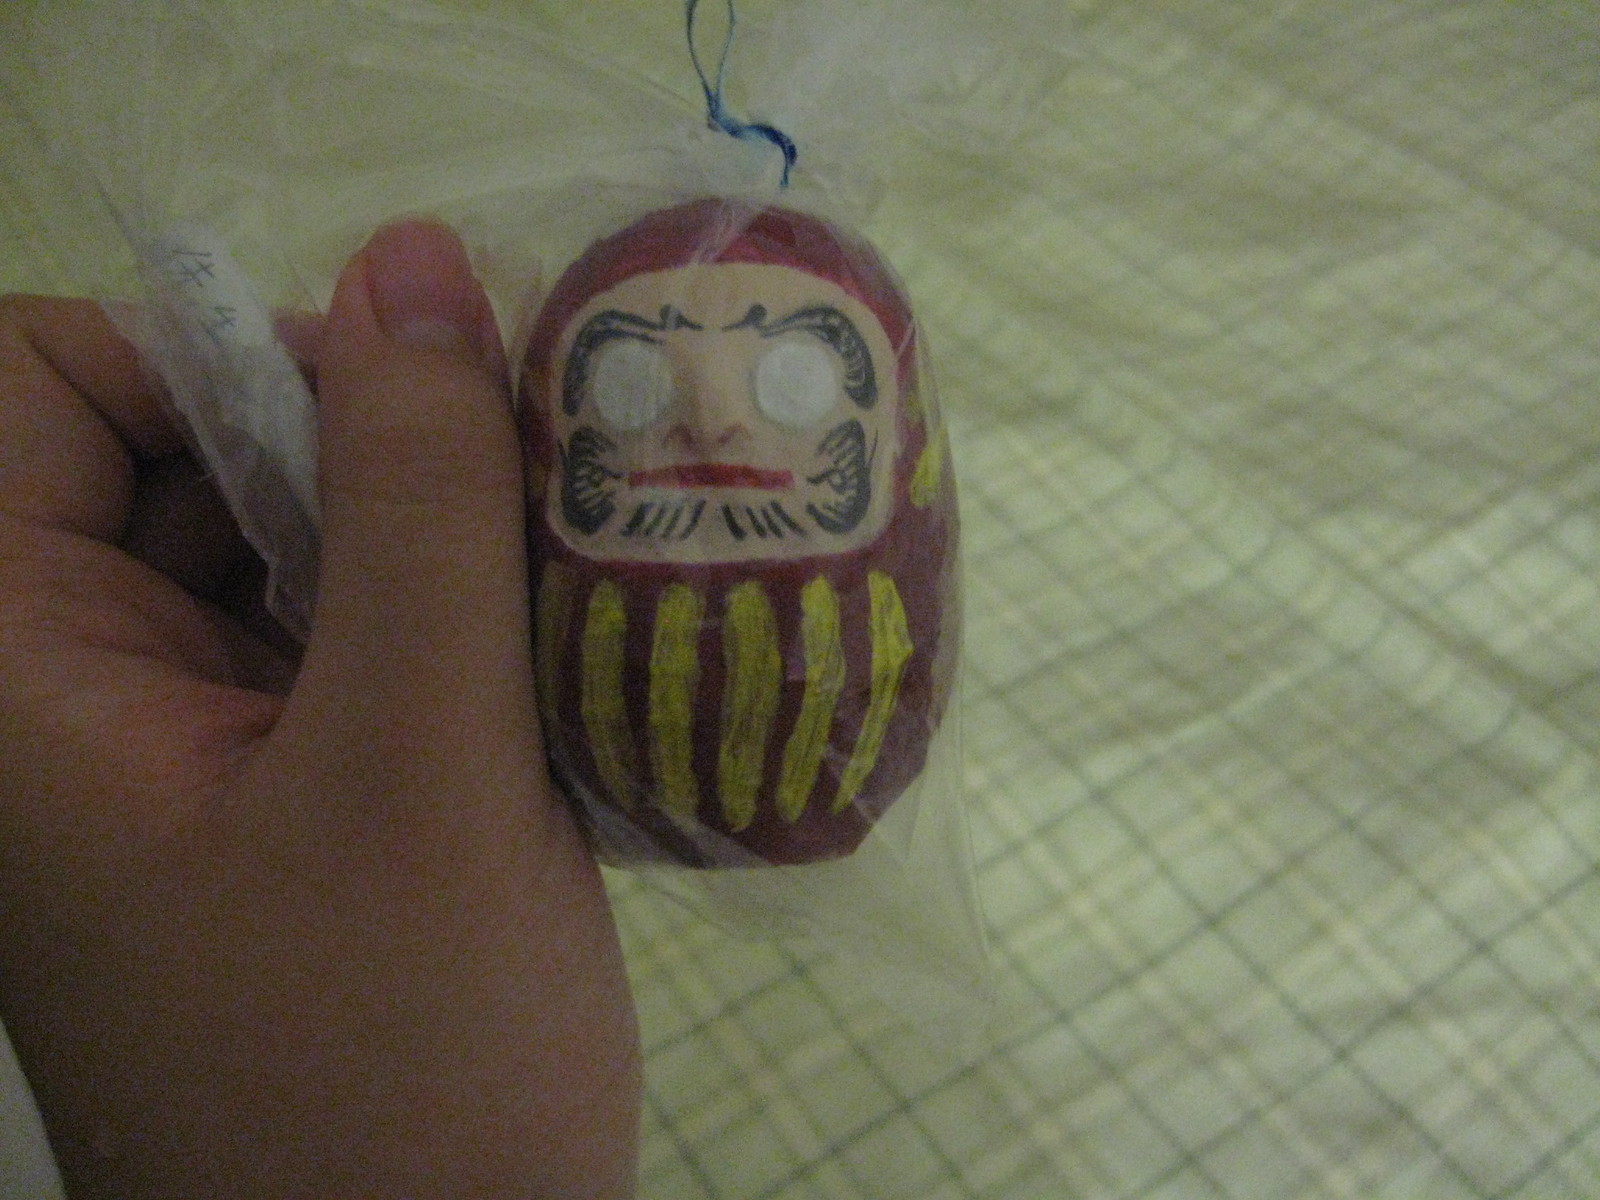
Daruma are associated with the Japanese proverb, "Fall down seven times, get up eight" -- no matter how you try to push over a daruma, it always gets back up.
Thus, a daruma is used to remind someone of their goal: when you first get a daruma, its eyes are blank. When you have a wish or a goal, you fill in one eye, and then you only fill in the other eye when you have achieved your wish or goal.
I made this for my sensei as a thank you gift. She didn't seem appalled by it, so I guess this daruma is a pretty good approximation of the real deal.
TIMEWISE it takes a while for the paper-mache to dry, so this project takes quite some time (I did it over the course of a week). You could take a hairdryer to it, but it's probably better to just give yourself a few hours over a week.
Tags
-
 AlterEgo Designs favorited Mini Daruma
15 Mar 13:27
AlterEgo Designs favorited Mini Daruma
15 Mar 13:27
-
 Meidhbhin N. favorited Mini Daruma
11 Dec 22:03
Meidhbhin N. favorited Mini Daruma
11 Dec 22:03
-
 psacissej favorited Mini Daruma
09 Nov 02:16
psacissej favorited Mini Daruma
09 Nov 02:16
-
 Alissa B. favorited Mini Daruma
22 Aug 22:28
Alissa B. favorited Mini Daruma
22 Aug 22:28
-
 Bonnie C. favorited Mini Daruma
26 Jan 07:39
Bonnie C. favorited Mini Daruma
26 Jan 07:39
-
 haru s. favorited Mini Daruma
07 Oct 00:05
haru s. favorited Mini Daruma
07 Oct 00:05
-
 WerewolfCas favorited Mini Daruma
16 Sep 10:12
WerewolfCas favorited Mini Daruma
16 Sep 10:12
-
 pandazzz88 s. favorited Mini Daruma
05 Sep 04:29
pandazzz88 s. favorited Mini Daruma
05 Sep 04:29
-
 Meaghan N. favorited Mini Daruma
22 Jul 22:50
Meaghan N. favorited Mini Daruma
22 Jul 22:50
-
 CazSteele favorited Mini Daruma
18 Jul 13:11
CazSteele favorited Mini Daruma
18 Jul 13:11
-
Step 1
Mix the white glue and water-- I did 1 part water and 2 parts glue.
--
Take one ping-pong ball, and press on it until there is a depression about the size of a penny. It should be big enough to fit your weight, but small enough that the daruma will still be unstable. -
Step 2
Do the same on exactly the opposite side and attach the 2nd ping pong ball there. I used rubber cement, but tape probably works.
DONT USE clay, fun-tak, or anything that has a significant weight. -
Step 3
Weigh down the bottom of the daruma. The heavier the base is, the better the daruma will work! Then put clay into any remaining space to add onto the weight. Flatten the base so the daruma can stand.
I used a coin and a metal washer in addition to the clay, but it was still not heavy enough. I'm going to try my next one with scrap metal wires, so will update when that is done.
-
Step 4
Your daruma should not have a fashionable waist when you start paper mache. It will help if you put some cotton in the gap between the ping pong balls. I took the glue and brushed a bit on the plastic before putting on the cotton.
--
!!! When cotton balls touch the glue, they get more compact = heavier. Just be very, very careful not to make the middle too heavy. -
 Step 5
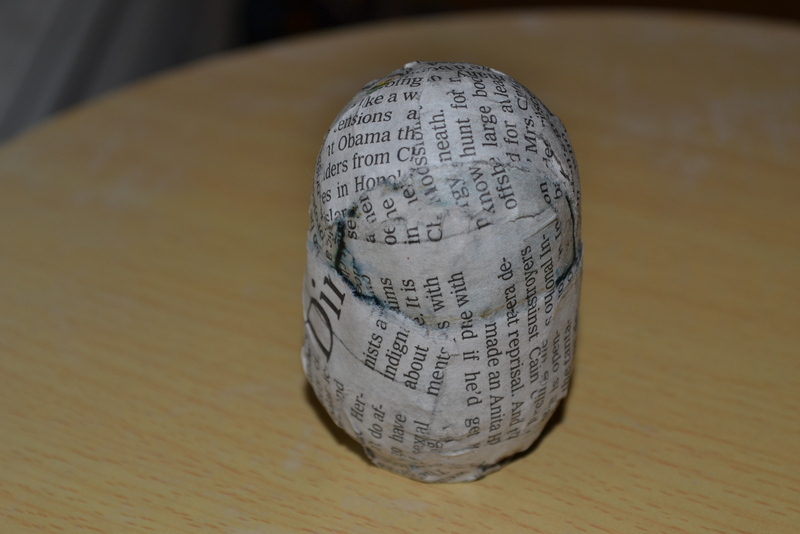
Paper mache time! Tear up the newspaper into tiny bits. Brush glue over them, and paste it onto the ping pong balls. Smooth out any awkward creases. Take a break every so often to let it dry (about 3-4 coats of an area). Build mostly around the middle.
After the first few coats, figure out where the face is. I drew a rounded trapezoid to mark the top half of the face. When staring at your daruma face to face, the bottom side of the trapezoid is near the middle, the top side is where the head is still fat, and the face should be pretty wide.
Continue pasting layers around it.
(You can't really tell from the photo, but the bottom line is actually a straight and near the middle.) -
 Step 6
Keep adding layers!
After a few more layers, add a jaw to the trapezoid you marked. (Where it looks like cheekbones, that's where the top half of the face ended).
Scrunch up a tiny piece of newspaper into a droplet shape. This will be the nose. Glue that on. Cover the face with 1 or 2 layers, and then continue building everywhere except the face. -
 Step 7
It should be the vaguely egg-ish shape all around. Feel free to test if it works. If it doesn't, you now know you need something heavier on the bottom next time.
--
Add on more layers until you feel it's done. -
Step 8
Paint on the liquid sealer. Paint on the flesh-colored face and paint on what you want the base color to be (mine was red). Then paint on another coat of sealer.
-
 Step 9
Make sure you practice before drawing on the face! It's really annoying to paint over the whole thing because you messed up on the lips or something.
--
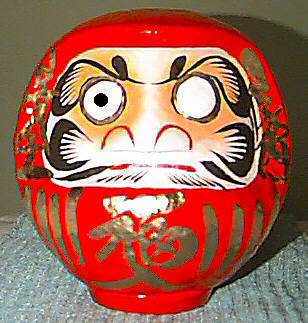
I used google images to find a picture with crane-ish eyebrows and a turtle-ish beard for a traditional-looking daruma. You can draw any face you want, as long as you have the blank eyes. I drew it in with the marker; pencil will smudge.
--
For the eyes, I traced paper that I hole punched before painting it in white. Alternately, you could just glue on the paper circle. -
Step 10
Paint sealer on the daruma if you want but I don't recommend it-- just pretend that your daruma can grow eyelashes by accident on rainy days.
If you really want to, TEST THE SEALER FIRST. Paint on a piece of scrap paper, draw on that with the marker, and then brush on the sealer.
-
Step 11
Finish decorating the rest of the daruma.
And you're done!


Comments

