

About
d.i.y. matryoshka doll charms (tutorial)
Happy Friday! I was not going to post a new tute until Sunday but I had this idea and I couldn't wait! I have always loved Nesting Dolls. I didn't even know until recently, that they are called Matryoshkas. My good friend, Elana, is from Russia. She went home to visit her family at Christmas and I asked her to bring me some nesting dolls. She just gave me a blank look until I described what I wanted, then she smiled and said, "Oh, you mean, matryoshka doll". Yes, that is exactly what I meant! And she did bring me back a beautiful set. (Thank you Elana. I love them!) I have been wanting to create some cute charms or do some illustrations of these beautiful, whimsical, colorful dolls ever since and, well, this is the first thing that "came out". I thought it would be pretty simple and it really is! Once again, I try to create projects that are versatile and that you can make your own. Make some big and some small, try different color schemes or make up a few different sizes and string them on a necklace - whatever you want. But, whatever you do, have fun!
Tags
-
 Sarah Sylvia S. favorited Matryoshka Doll Charms
25 Jul 04:51
Sarah Sylvia S. favorited Matryoshka Doll Charms
25 Jul 04:51
-
 Emma H. favorited Matryoshka Doll Charms
12 Jan 20:07
Emma H. favorited Matryoshka Doll Charms
12 Jan 20:07
-
 Zombie Babe favorited Matryoshka Doll Charms
03 Aug 01:40
Zombie Babe favorited Matryoshka Doll Charms
03 Aug 01:40
-
 maowtroshka favorited Matryoshka Doll Charms
29 Nov 02:47
maowtroshka favorited Matryoshka Doll Charms
29 Nov 02:47
-
 Step 1
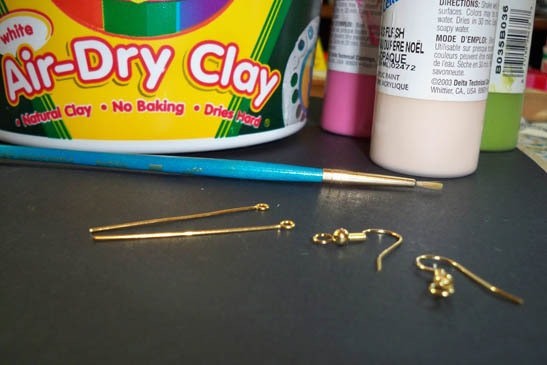
the supplies you will need for matryoshka doll charm(s)
-
 Step 2
get a pinch of air dry clay
-
 Step 3
about the size of a dime
-
 Step 4
roll your clay. you want to make a pear shape.
-
 Step 5
pinch it a bit. be gentle and use a bit of water if you need to smooth it, but only to moisten, you don't want it too wet.
-
 Step 6
it will look something like this...
-
 Step 7
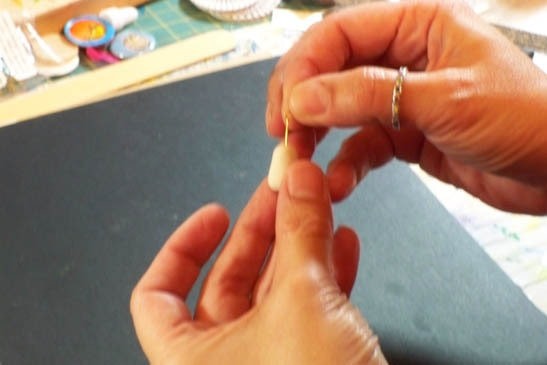
cut your eye pin down to approx. 1/2 inch.
-
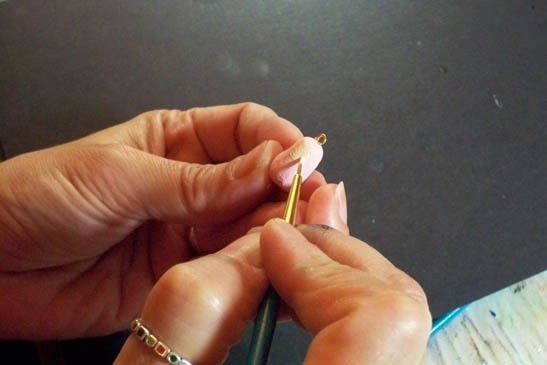
 Step 8
insert your eye pin into the top of your pear shaped, wet clay. let dry overnight or until completely hardened.
-
 Step 9
letting it dry overnight. tick tock, tick tock...... waiting is the hard part.
-
 Step 10
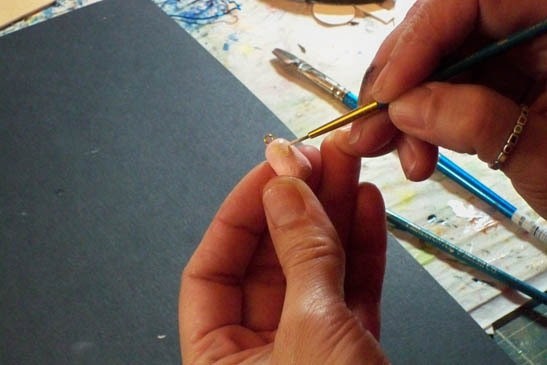
after it has hardened overnight, paint it in the base color of your choice.
-
 Step 11
paint the face. this is where you can get really creative! make her as simple or as detailed as you wish. maybe give her rosy cheeks and a little heart shaped mouth...black hair or blonde? If you are not sure, then make a few little sketches first. remember, if you make a mistake, you can always paint over it with your base color, let it dry and start over!
-
 Step 12
here is my example with her finished face and the start of the body design...
-
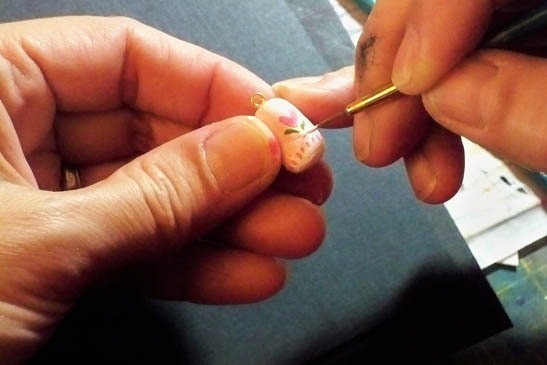
 Step 13
here she is with her body design completed, i used hearts, swirls, flowers and dots...
-
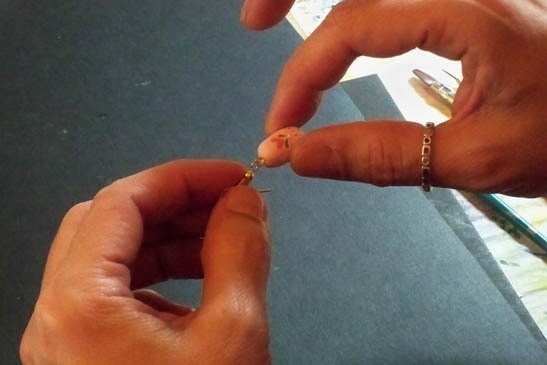
 Step 14
now add a little something to the back.
-
 Step 15
add your earring finding or a jump ring...(and I added one, quick coat of glossy mod podge.)
-
 Step 16
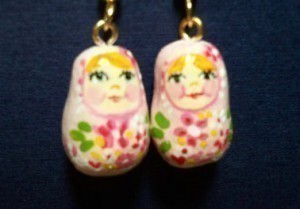
if you want earrings, make two!! awwwwww. pretty darn cute huh?
-
 Step 17
>* here is a view of the back and front!


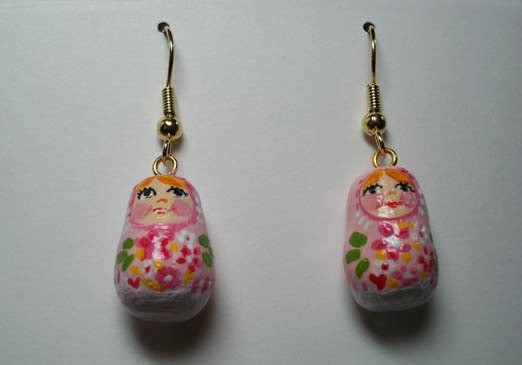


wonderful painting job esp the faces.
;)