

About
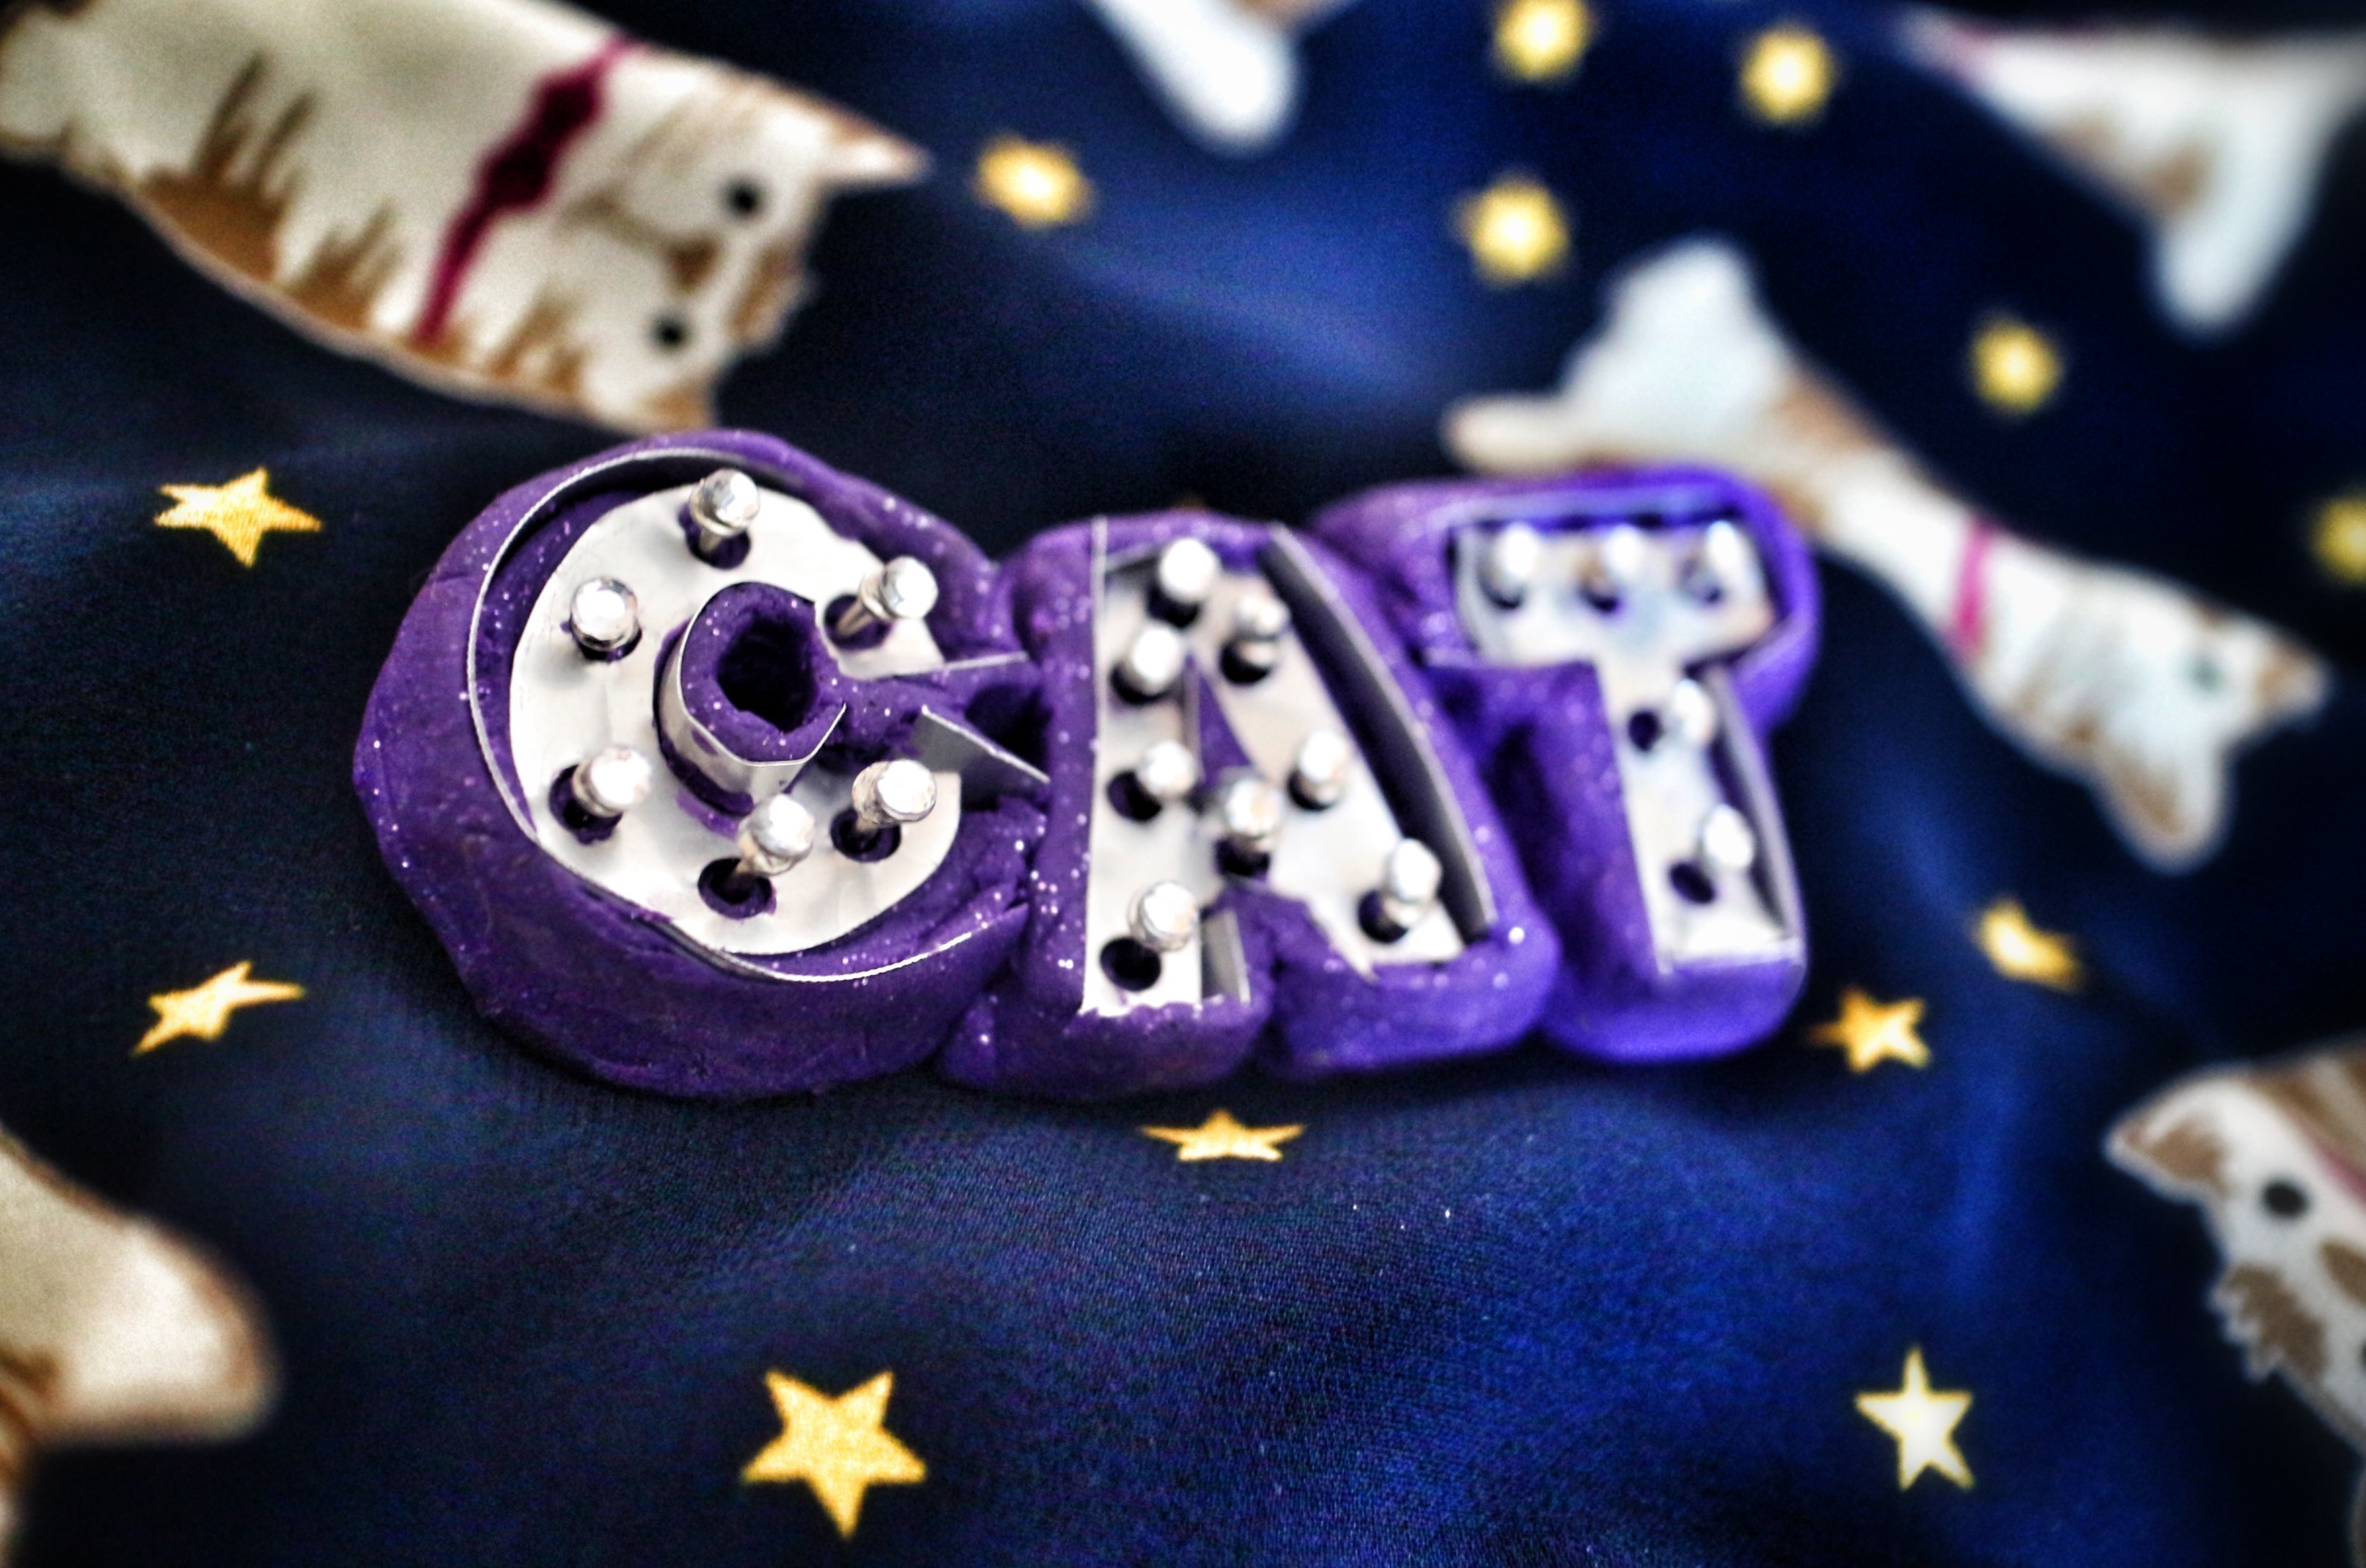
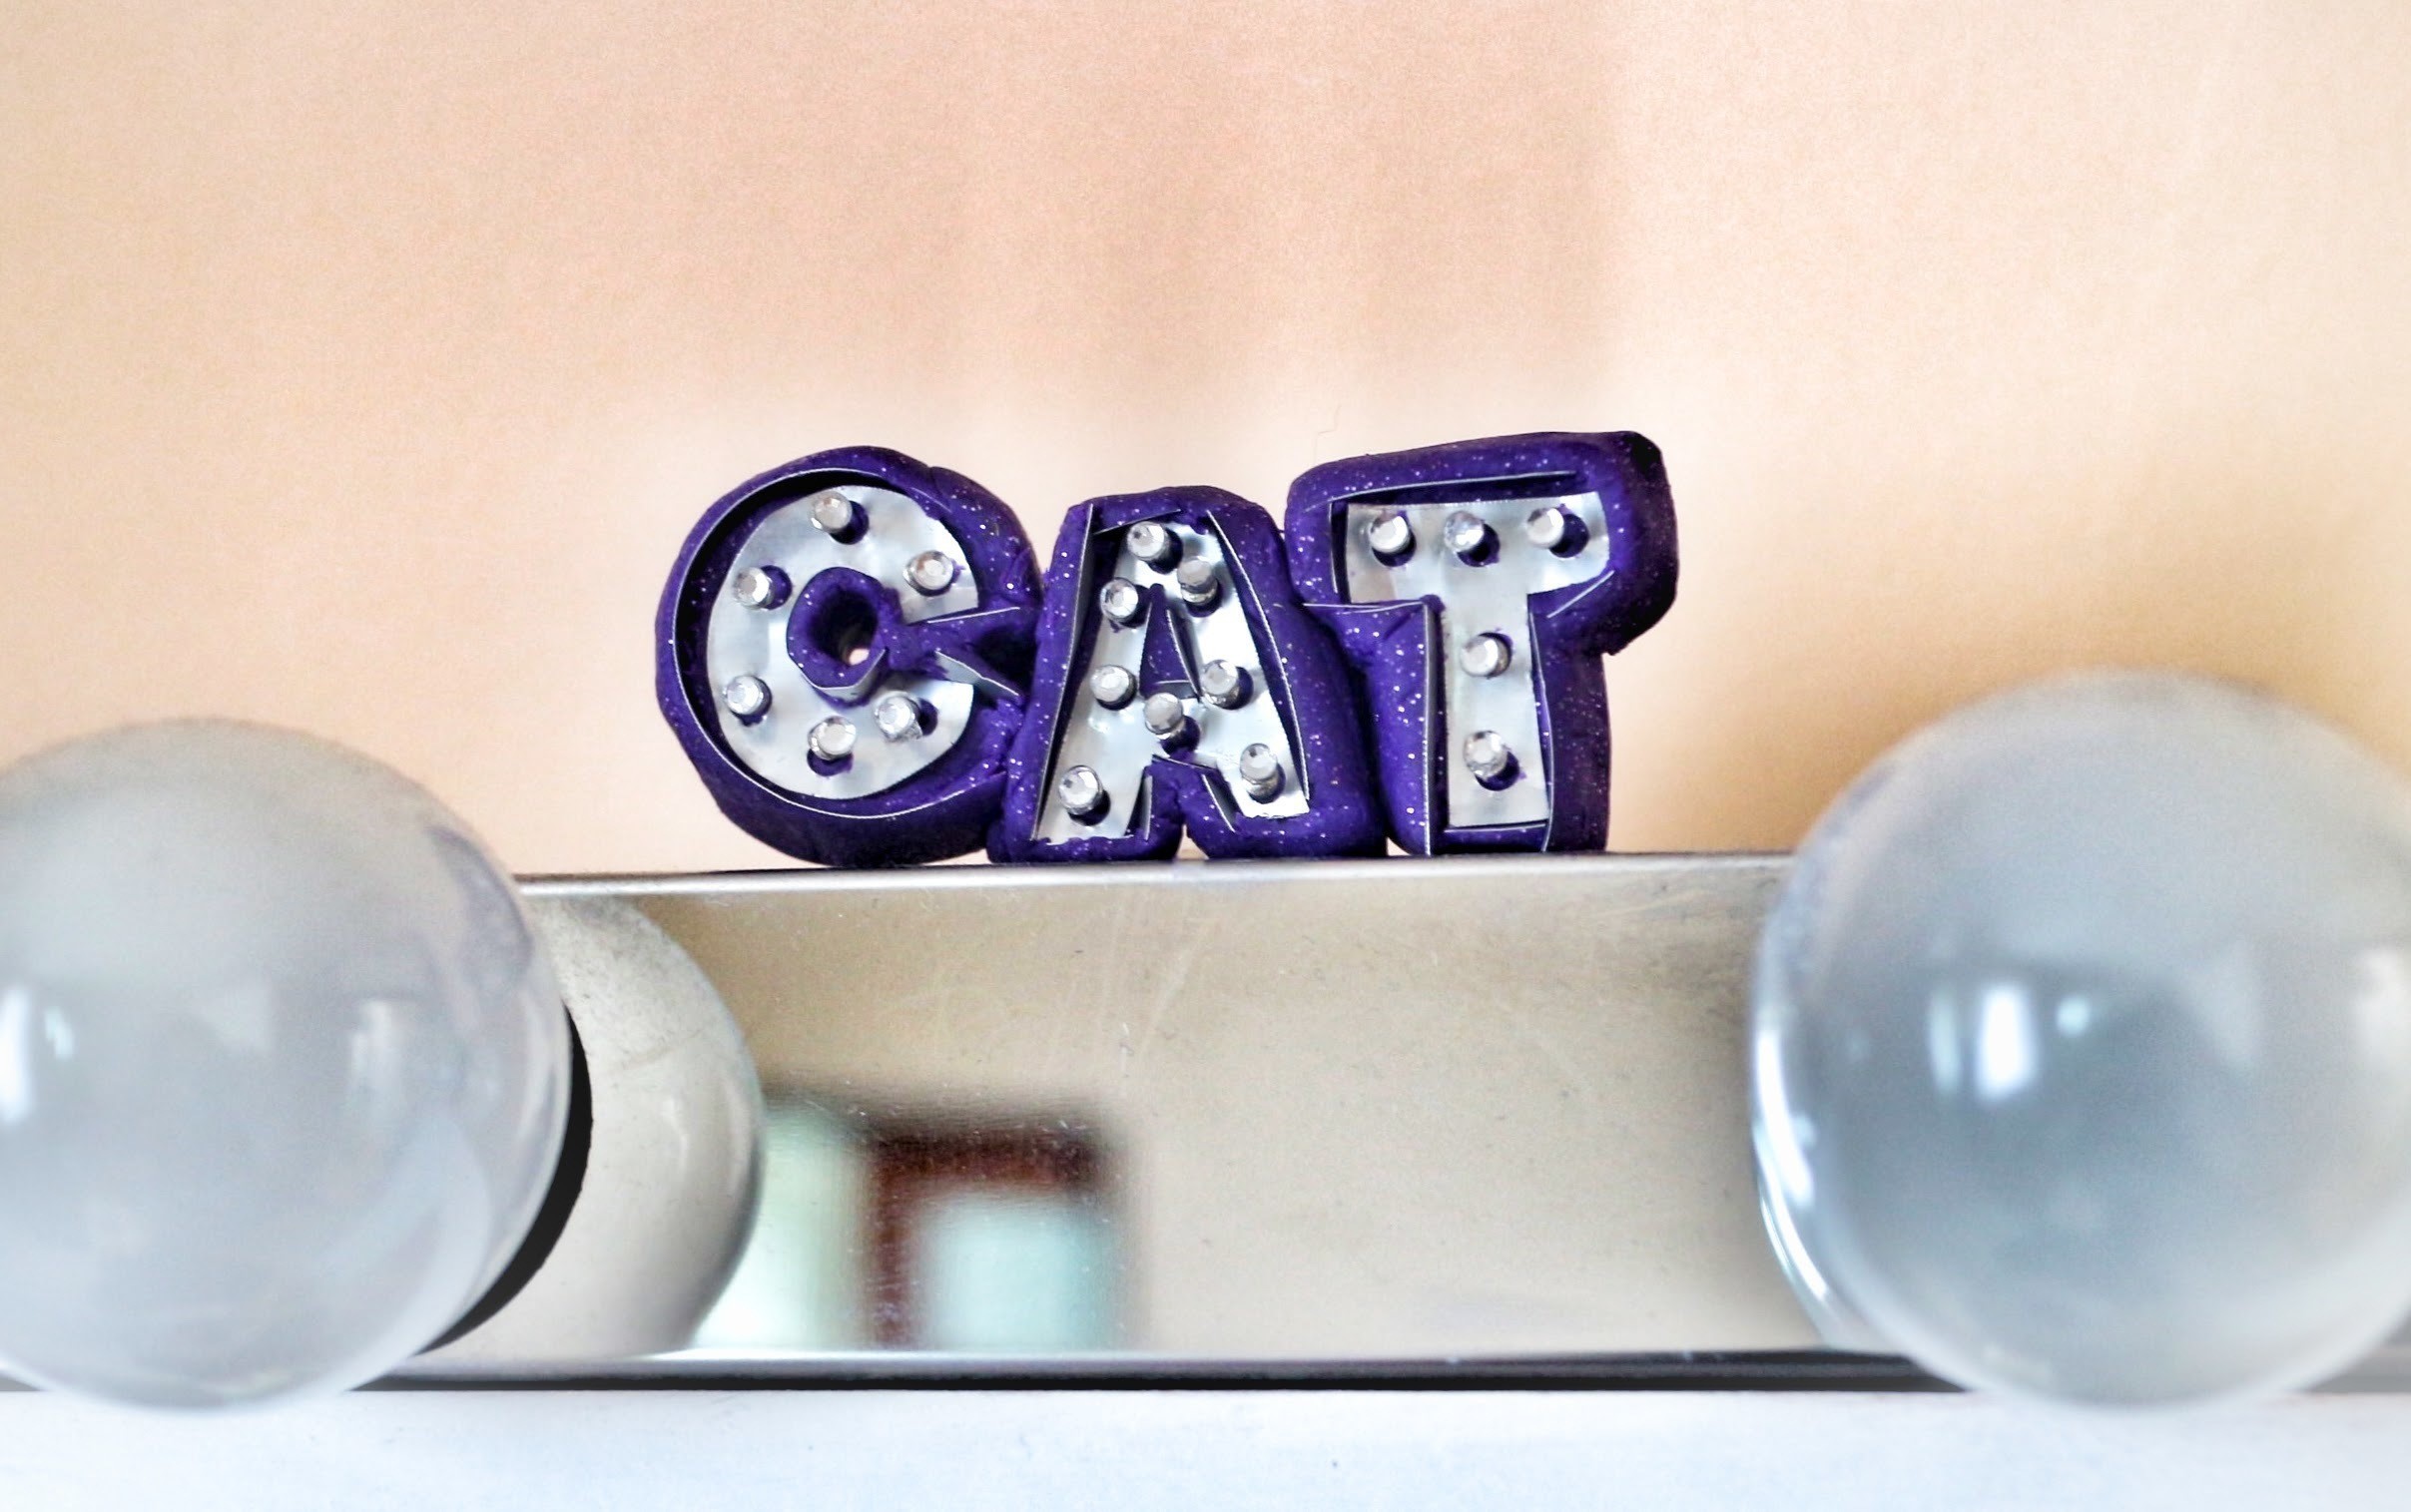
A clay & metal marquee inspired name brooch with crystal pin lights!
I tried to dream up the fiddliest project I could think of to put the Embellie Gellie to the test and these marquee letters with crystal embellished pin heads was as simple as could be.
-
 Alissa B. favorited Marquee Name Brooch
19 May 20:12
Alissa B. favorited Marquee Name Brooch
19 May 20:12
-
 Cat Morley replied to a comment on her project Marquee Name Brooch
17 May 17:25
Cat Morley replied to a comment on her project Marquee Name Brooch
17 May 17:25
-
 MischievousRaven commented on Marquee Name Brooch
16 May 08:47
MischievousRaven commented on Marquee Name Brooch
16 May 08:47
-
Cat Morley published her project Marquee Name Brooch
15 May 15:16
-
 Step 1
Lay the can flat under several books overnight to help flatten it out.
-
 Step 2
Trace out your letters on paper and cut out.
-
 Step 3
Trace around the letters onto the back of your flat beer can, remembering to flip the letters to face the wrong way.
-
 Step 4
To get the metal for the necklace, carefully remove the top and bottom of a beer can with a can opener and then cut down the middle with a pair of scissors. Wash and clean the can before you start crafting with it - I used the Best Ever Cleaner to clean mine.
-
 Step 5
Carefully cut the letters out of the can. Using a cutting knife to remove the middle of any letters.
-
 Step 6
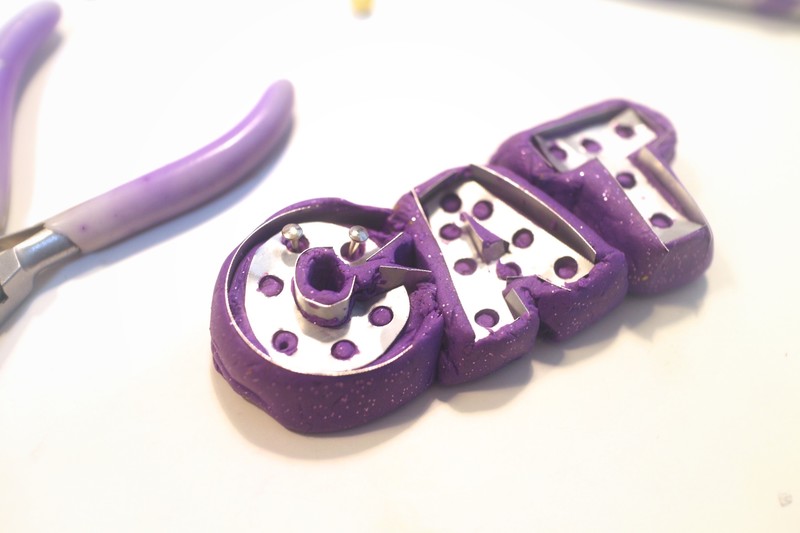
Punch holes around your letters with a hole punch.
-
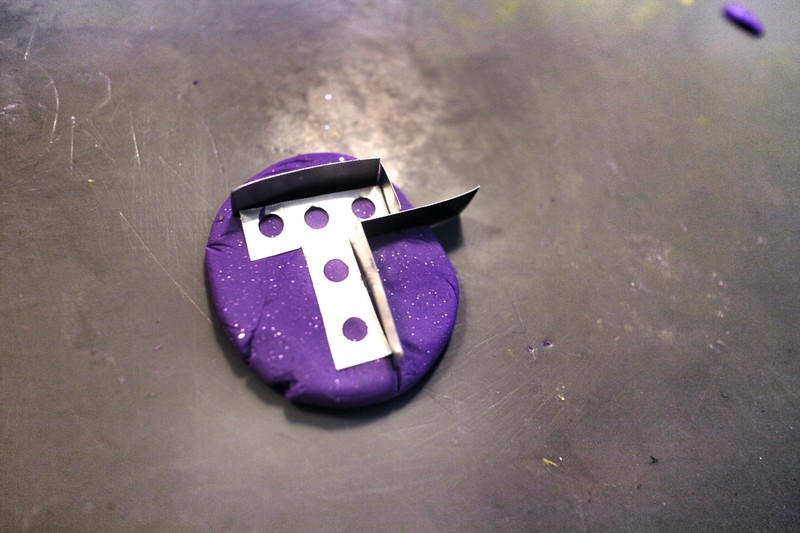
 Step 7
Take a ball of fimo and roll into a flat disc a little larger than your letters.
-
 Step 8
Press the first letter into the clay and then cut thin strips of metal from the can and create a trim around the outline of your letters.
-
 Step 9
Outline the whole letter.
-
 Step 10
Then take more clay and mould it around the outside of the letter, to the same height as the metal outline, packing the letter in nice and tight.
-
 Step 11
Cut away the excess clay from the edges of the letters, leaving a small outline of clay.
-
 Step 12
Make the remaining letters and then mould together, sticking some extra clay to the back to hold them in place.
-
 Step 13
Neaten up your letters with a cutting knife until you're happy with your design.
-
 Step 14
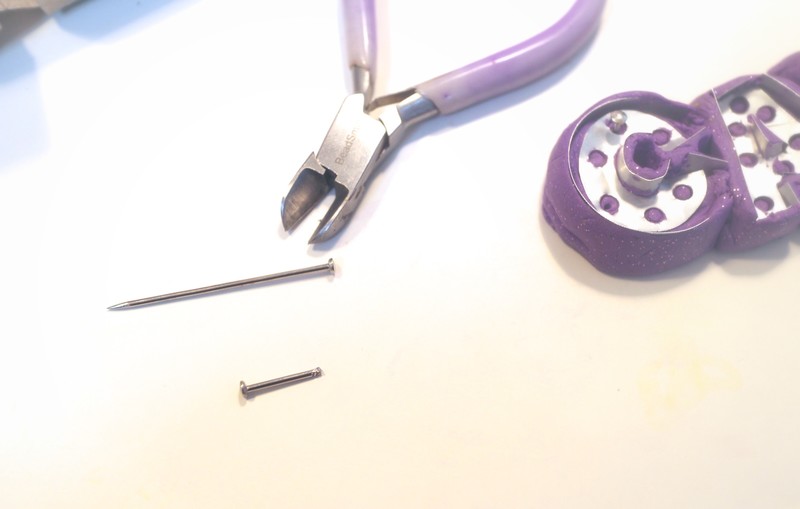
To make the lights, I trimmed down some thick dressmaking pins with wire cutters.
-
 Step 15
Press a pin into each of the holes of the letters.
-
 Step 16
Bake in an oven until hard.
-
 Step 17
This is where the Embellie Gellie came in handy.
-
 Step 18
Coat each of the pin heads with a little glue. I used ScraPerfect's Best Ever Glue.
-
 Step 19
Use the Embellie Gellie to carefully place a crystal on top of each pin.
-
 Step 20
Leave to dry.
-
 Step 21
Glue a brooch back onto the back and leave to dry.
-
 Step 22
Put your new brooch on and sparkle away!


Comments