


About
Put your love of Mario on display :)
Made for Tessa S :)
The pattern does not include the black border, but it's easy to add, and I'll explain it below.
All the pictures were taken after I finished, so I might not sound very clear :/
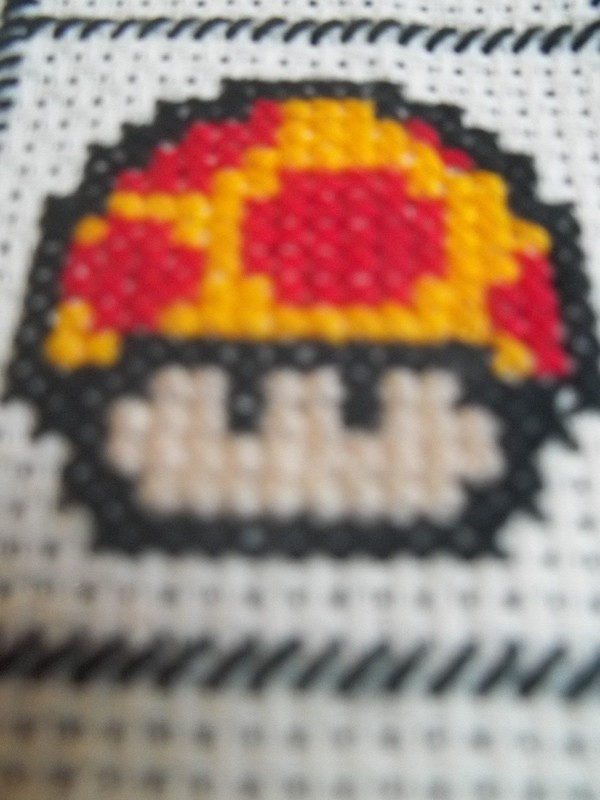
Red = Super
Green = 1up
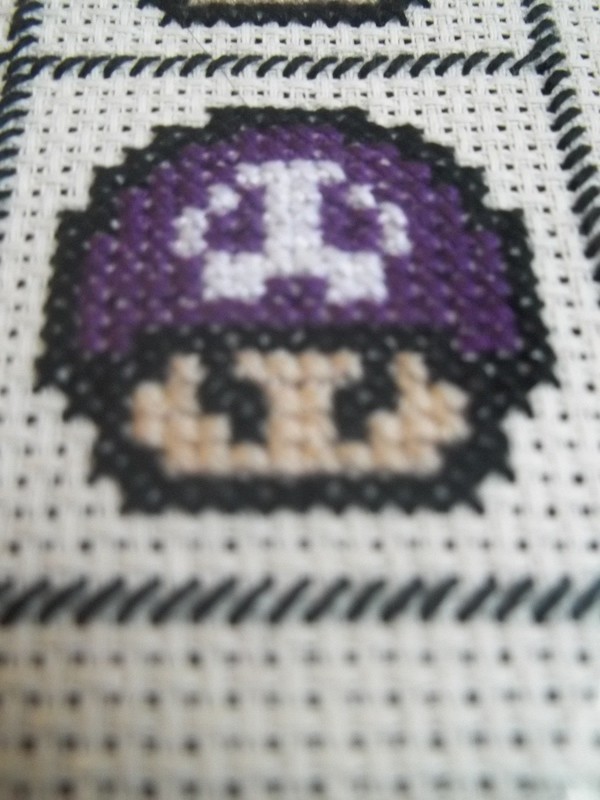
Purple = Poison
Yellow = Mega
I've attached the pattern, it should be around here somewhere.
Tags
Downloads
- Mushrooms.png 17 KB [ Download ]
-
 Stephanie S. favorited Mario Mushroom Cross Stitch
03 Dec 18:42
Stephanie S. favorited Mario Mushroom Cross Stitch
03 Dec 18:42
-
 Rita A. added Mario Mushroom Cross Stitch to patterns
23 Apr 03:52
Rita A. added Mario Mushroom Cross Stitch to patterns
23 Apr 03:52
-
 Trisha J. favorited Mario Mushroom Cross Stitch
27 Nov 04:19
Trisha J. favorited Mario Mushroom Cross Stitch
27 Nov 04:19
-
 Chudames favorited Mario Mushroom Cross Stitch
27 Jul 08:41
Chudames favorited Mario Mushroom Cross Stitch
27 Jul 08:41
-
Amanda B. favorited Mario Mushroom Cross Stitch
26 Jul 19:01
-
 Autobunny favorited Mario Mushroom Cross Stitch
21 Mar 14:11
Autobunny favorited Mario Mushroom Cross Stitch
21 Mar 14:11
-
 Katrina L. commented on Mario Mushroom Cross Stitch
20 Dec 20:31
Katrina L. commented on Mario Mushroom Cross Stitch
20 Dec 20:31
-
 ihramus favorited Mario Mushroom Cross Stitch
03 Nov 20:50
ihramus favorited Mario Mushroom Cross Stitch
03 Nov 20:50
-
 StitchStitchery favorited Mario Mushroom Cross Stitch
16 Sep 05:49
StitchStitchery favorited Mario Mushroom Cross Stitch
16 Sep 05:49
-
 Paige B. favorited Mario Mushroom Cross Stitch
08 Sep 21:34
Paige B. favorited Mario Mushroom Cross Stitch
08 Sep 21:34
You Will Need
-
 Step 1
Important things to know about this project:
-All of the mushrooms use full cross stitches (an X) and two threads of whatever colour you're using.
-Your piece of cloth should be a decent size, mine was too small and it's crooked in the frame :(
-There are no square picture frames, at least not around here.I started with the poisonous mushroom. I did all the black half cross stitches starting on the bottom and then went back and crossed them. After that I filled in the purple and peach.
Whether you fill in the skull with white or leave it is up to you. I did it and found it looked a lot brighter.
Tip: make sure your stitches all cross in the same direction!
-
 Step 2
Next, move up to the 1up mushroom and follow the same pattern: stitch the black, then the colours.
If you want to do the same border that I have, make sure that there are FIVE blank rows between the top row of the poisonous mushroom and the bottom row of the 1up mushroom. (that's not including the black rows.)
Another option is to make the dots on the 1up mushroom and the mega mushroom symmetrical like on the super mushroom. I wanted it to look crazier than that though :P
-
 Step 3
Next move left to the super mushroom, the most iconic one of them all. Make sure you use the brightest red you have :)
Again, make sure there are five blank rows between the rightmost row of the super mushroom and the leftmost row of the 1up mushroom.
-
 Step 4
And finally, the mega mushroom. (It's a newer one, it makes you huge.)
Same drill, stitch the black, stitch the spots, fill it in. Five spaces between the top of this one to the bottom of the red, and from the right of this one to the left of the purple.
-
 Step 5
Now the easy part. The border is made of half cross stitches: just one line going one way per square instead of an X.
Get a long piece of black thread and using two strands stitch between all your mushrooms, and go out around the edges, keeping two blank squares between the outer edges of your mushrooms and the border rows.
-
 Step 6
Frame it! Either cut the edges so it fits in the frame, or attach the edges behind the bit of cardboard using string/glue/whatever.
Let me know what you think! :)


http://www.etsy.com/listing/69986587/4-mushroom-mario-bros-cross-stitch?ref=sc_1
Love the pattern!
You got me interested in cross stitching..
I am trying it out myself! Thanks again..