About
Catch up on the marble trend with these boxes!
This is a great way to do up any of your organisation boxes, just to add that touch of finesse to your desktop/shelf decor. You could pick up boxes of any shape from the gift or stationery store, or simply reuse an existing box you have lying around the house. I chose a set of hexagon nesting boxes that are perfect for holding bits of scrap fabric to tiny trinkets, plus they’d look so good on that top shelf.
Tags
- Justine L. favorited Marble Hexagon Box 10 Sep 05:40
-
 Alternativelychiic added Marble Hexagon Box to My Dream Room
20 Mar 05:26
Alternativelychiic added Marble Hexagon Box to My Dream Room
20 Mar 05:26
-
 Thea D. favorited Marble Hexagon Box
18 Jan 08:12
Thea D. favorited Marble Hexagon Box
18 Jan 08:12
-
 autumnrose.lee favorited Marble Hexagon Box
11 Nov 23:22
autumnrose.lee favorited Marble Hexagon Box
11 Nov 23:22
-
 HelloLittleHome added Marble Hexagon Box to Diane Von Furstenberg Office
08 Nov 00:34
HelloLittleHome added Marble Hexagon Box to Diane Von Furstenberg Office
08 Nov 00:34
-
 Ginnie L. added Marble Hexagon Box to Diane Von Furstenberg Office
07 Nov 23:12
Ginnie L. added Marble Hexagon Box to Diane Von Furstenberg Office
07 Nov 23:12
-
Alissa B. favorited Marble Hexagon Box
05 Oct 22:44
-
 Operation Overhaul published her project Marble Hexagon Box
05 Oct 15:57
Operation Overhaul published her project Marble Hexagon Box
05 Oct 15:57
You Will Need
-
 Step 1
To begin, cut out a rectangle strip that is long enough to wrap around the sides of the box, making sure that you leave about 2cm above and below the height of it.
-
 Step 2
Position the box vertically centre of the strip and make a mark at the top and bottom edge, before drawing a line across.
-
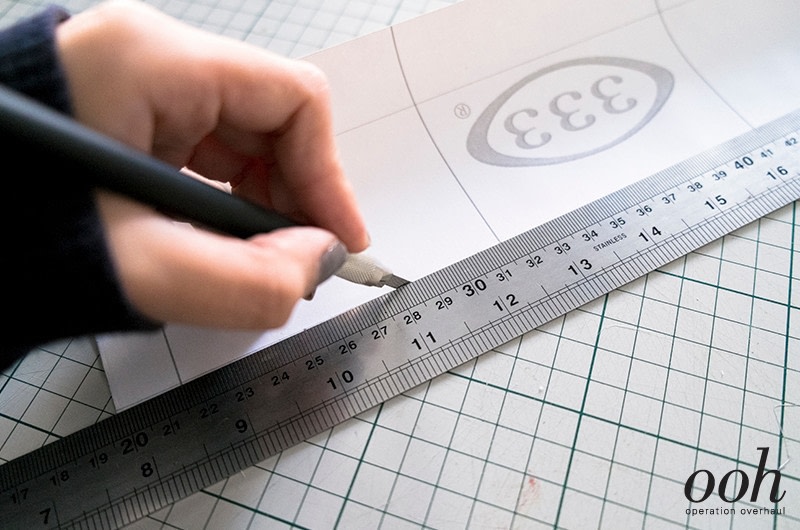
 Step 3
Using the line as a guide, lightly score the backing of the contact paper. Repeat this step across both guide lines. Be careful not to apply too much force here, we are looking to cut through the backing but not all the way through the contact paper!
-
 Step 4
Slowly peel off the middle backing strip and stick one side of the box to the contact paper, leaving a 2cm gap from the edge.
-
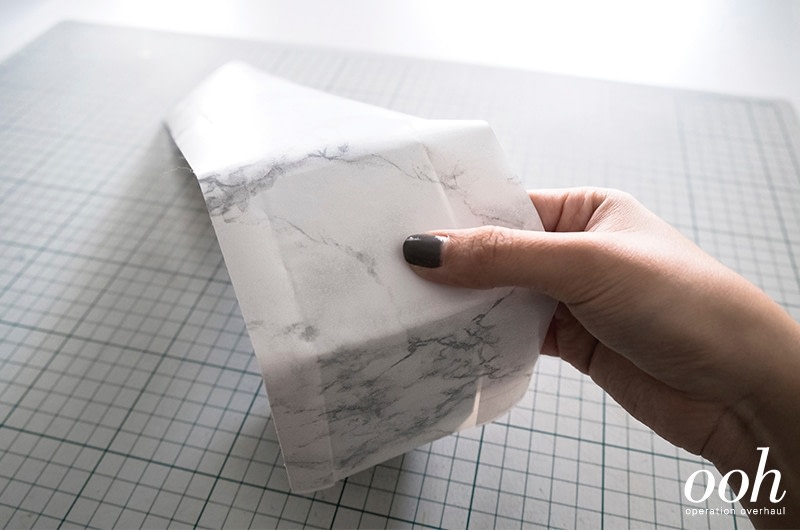
 Step 5
This is an important tip—to ensure that the contact paper adheres smoothly to your box, peel off the backing in sections and smooth it out as you go along, making sure that there are no weird bumps!
-
 Step 6
Once you’ve stuck on all sides, make a clean fold at last corner and trim it off.
-
 Step 7
To cut the top edge neatly, place a ruler against the edge of the box and make a slit, aligned to each corner.
-
Step 8
It should look like this now!
-
 Step 9
Simply remove the backing paper and neatly fold each flap down.
-
 Step 10
Repeat Steps 7 - 9 for the base of the box.
-
Step 11
Next, trace the base of the box on the backing of the contact paper.
-
 Step 12
With the shape of the base as a guide, I drew a slightly smaller hexagon and cut that out as the base of our box.
-
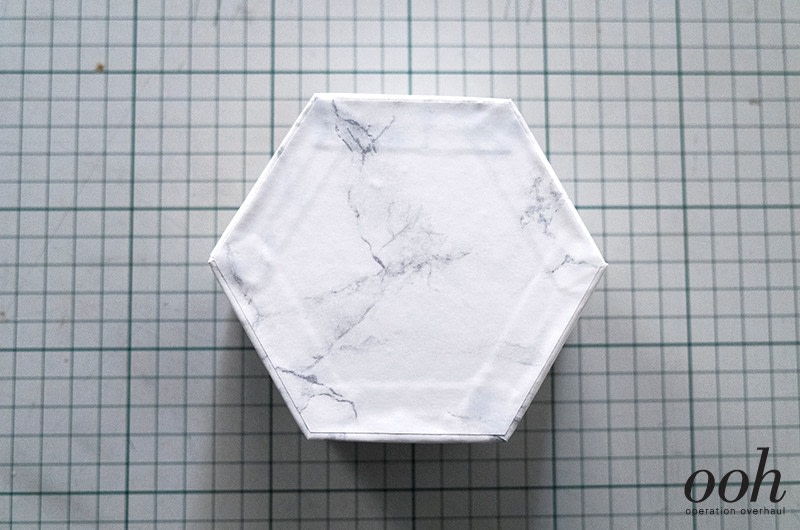
 Step 13
Stick the hexagon onto the base of the box.
-
 Step 14
Next, let’s work on the lid! I drew a hexagon that was approximately 4cm larger than the lid all around. Place your ruler against the edge of the box and make a slit aligned to the left corner. (Important note! Cut slits only on the left corner of each side you are working on!)
-
 Step 15
13. Your contact paper should look like this now. This is important as it keeps our corners neat when we stick it on.
-
 Step 16
Lightly score the base hexagon of the lid and peel off the backing paper to stick this section on first.
-
 Step 17
Fold each flap carefully, making sure that each corner is neatly aligned to the straight edge of the flap, hiding the triangle edge behind the next flap.
-
 Step 18
This is how it should look like now.
-
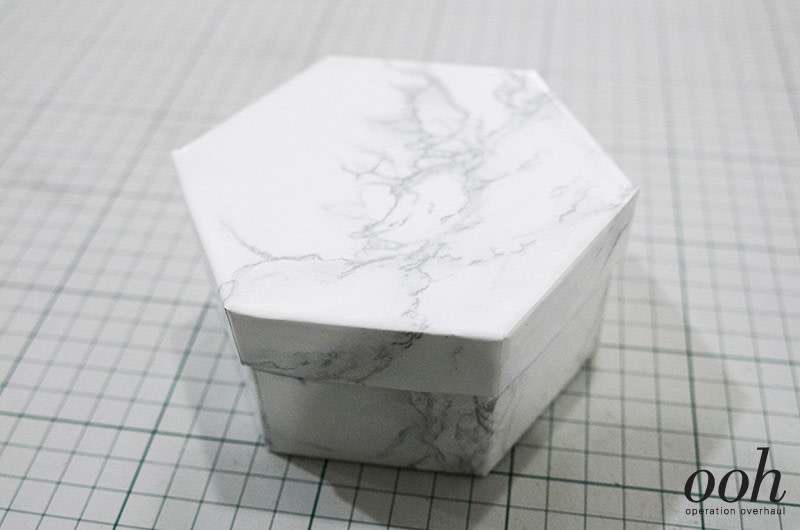
 Step 19
Repeat Steps 7 - 9 to fold the flaps in and you’re done!