

About
Map of Australia Sock Hanger - a how to!
You know those hanging dryers for socks and smalls? I went through three of the shop bought versions last year. They were always snapping and breaking and I resolved to try to make something more hardy. Or at least easier to mend. And less plastic-y
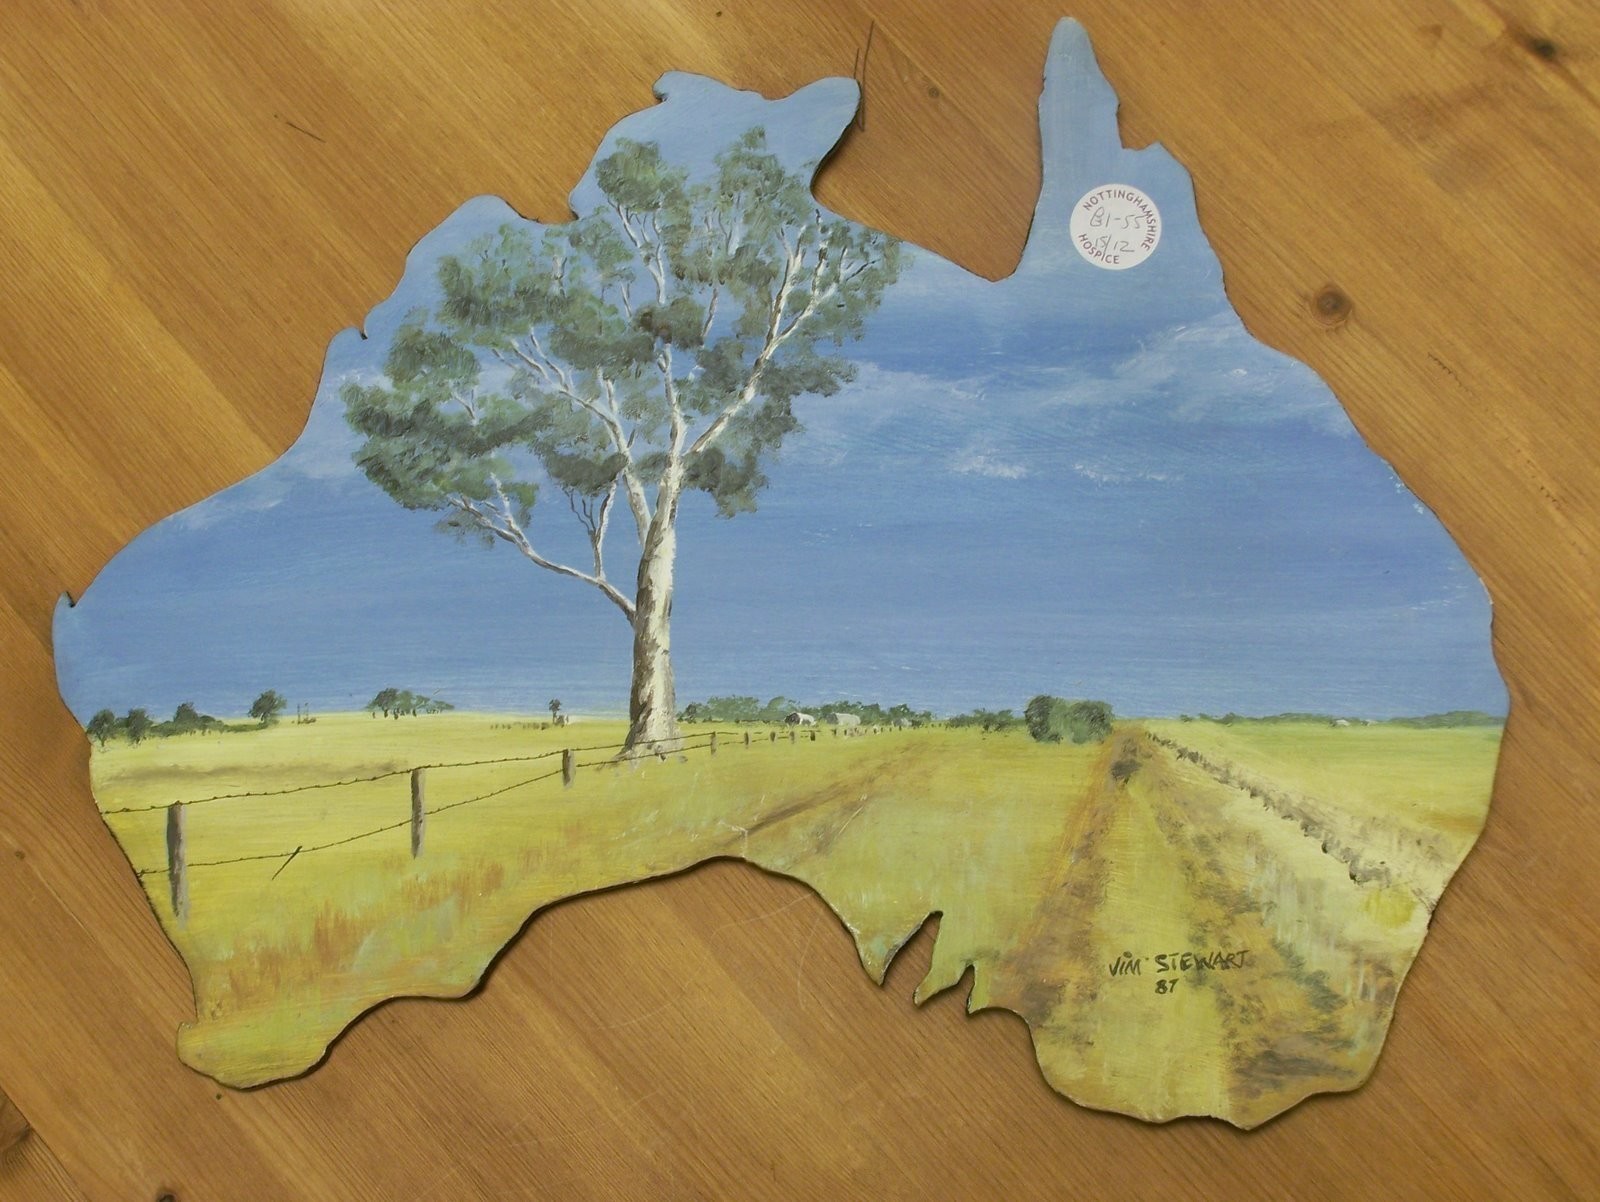
I had been scouring charity shops for an old picture frame for the top part, I was envisioning something chunky and gilt for laundry glamour. But then I saw this:
How fun! £1.55 from the hospice shop. A roll of string, a pack of clothes pegs and a dremel drill and I was ready to go to work. I cut the string off the back and marked evenly spaced holes with tippex
Tags
-
 Kay T. favorited Map Of Australia Sock Hanger
13 Nov 08:45
Kay T. favorited Map Of Australia Sock Hanger
13 Nov 08:45
-
 Step 1
How fun! £1.55 from the hospice shop. A roll of string, a pack of clothes pegs and a dremel drill and I was ready to go to work. I cut the string off the back and marked evenly spaced holes with tippex
-
 Step 2
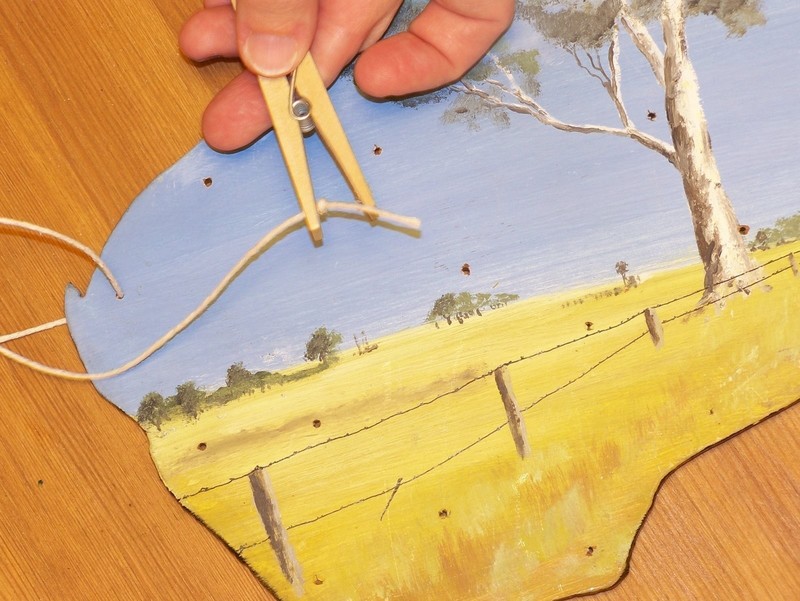
After I drilled holes in the board and the pegs, I threaded the string through one hole in the board and through the peg....
-
 Step 3
I tied a knot in the string.
-
 Step 4
I trimmed the knot, and tied another knot about 5-6inches in on the fancy side, this is for the board to rest on when it's hanging. Sorry about the quality of the next photo. I hope you can make out that knot.
-
 Step 5
On the flipside I measured the length I wanted the hanging string to be, then added another 5-6inches and cut the string.
-
 Step 6
I threaded this end through a point on the opposite side to the one I'd already done. (Australia is an irregular shape so I balanced the board on two fingertips to see where I should thread the string through. If you're using a regular shaped frame, go for directly opposite).
After threading, I tied a knot 5-6inches up from the end, on the picture side, then threaded the end through the peg, and again tied a knot near the end.Again, sorry about these next few photos, it was getting late and the light was terrible. I hope you get the idea!
-
 Step 7
Repeat that process twice more, positioning the strings in a 6 point star shape. Tie a knot in all three strings to make a little loop
-
 Step 8
In the remaining holes, thread a string with a knot in the end. Thread through the frame, then through a peg, and tie another knot on the other end.
-
 Step 9
Wash a load of socks! You're done!


Versions

Comments