


About
Did this without handout in an 8week journalling workshop, heres the hand out instructions
Personal Note:
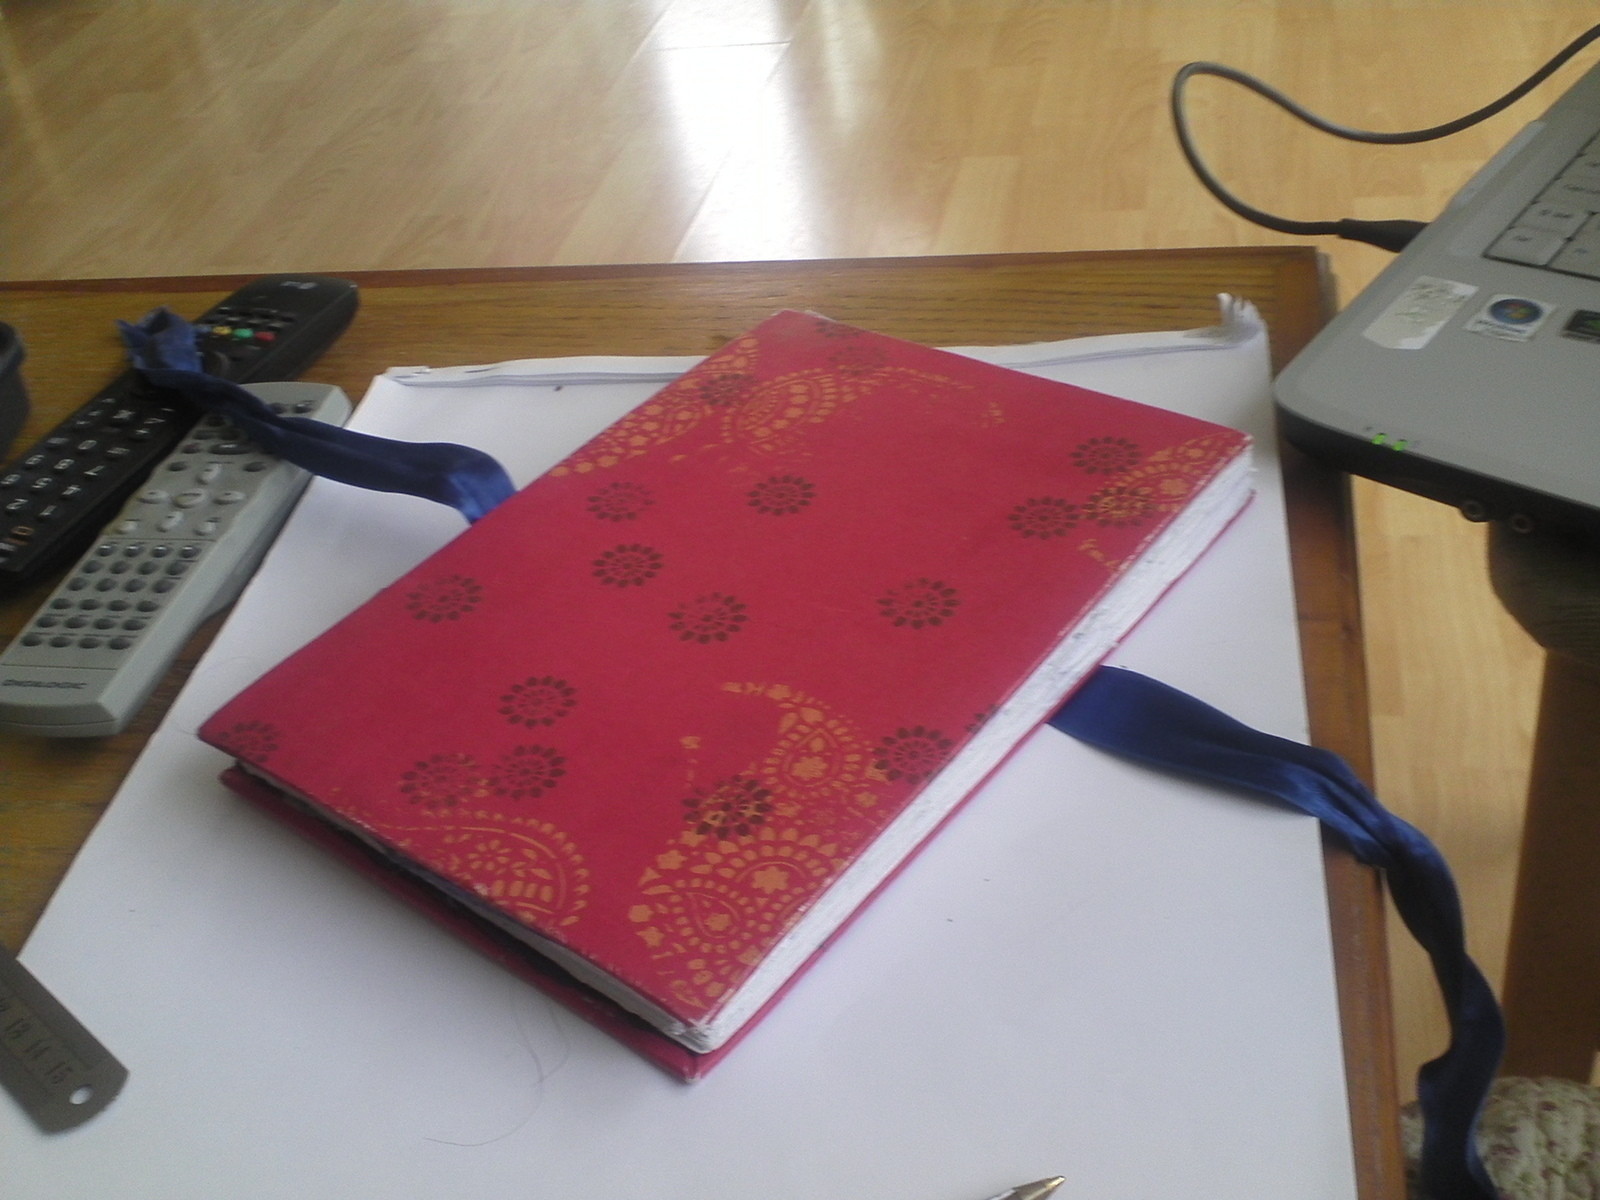
i made this journal over 3 weeks of an 8 week workshop. i missed the last session in which we used the chisels but the first two weeks i made the covers & the signatures.
i plan on making more of these & takin progress photos as well as uploading an image of what i made during the journal creation class.
NOTE ABOUT MAKING IT:
All sizes mentioned match the demo-book/book on tape this tutorial that was used to make this handout.
you can decide whatever size book you want, making sure your boards are approximately 4mm wider than the folded paper on the two short sides & one long side.
-
 Abigail W. favorited Making A Multi Signature Sketchbook
18 Aug 16:26
Abigail W. favorited Making A Multi Signature Sketchbook
18 Aug 16:26
-
 vicky.skourta.9 favorited Making A Multi Signature Sketchbook
23 May 21:58
vicky.skourta.9 favorited Making A Multi Signature Sketchbook
23 May 21:58
-
vicky.skourta.9 added Making A Multi Signature Sketchbook to vicky"s favorite
23 May 21:58
-
 Shadow M. favorited Making A Multi Signature Sketchbook
20 Aug 14:08
Shadow M. favorited Making A Multi Signature Sketchbook
20 Aug 14:08
-
 BlauPiepmatz favorited Making A Multi Signature Sketchbook
20 Aug 21:56
BlauPiepmatz favorited Making A Multi Signature Sketchbook
20 Aug 21:56
-
Step 1
STAGE 1- The Covers
Take a piece of greyboard approximately 2mm thick & cut two pieces down to 164mmx234mm
TIP: make sure that board is long grain, i.e. when the board is bent slightly the longest side will feel easier to bend, this is especially important when covering with another material.
-
Step 2
if you plan on covering your end boards choose your Decorative Paper now
Mark round the edge of board on chosen cover material, then cut a piece of material, paper or fabric, that is approximately 20mm larger all the way round then the board
TIP: if you want to use fabric, first glue a piece of paper (making sure the grain runs in the same direction as the board), then place the fabric on the paper, rub with palm of hand & put under heavy weights to dry. if you glue directly onto the fabric, you will find that the glue will soak through most fabrics, leaving unsightly marks & making the fabric very hard.
-
Step 3
Make sure you cut two pieces like this, one for each board. Place the covering material reverse side up on a sheet of waste/scrap paper, then glue with PVA over the whole sheet, making sure to cover everything, otherwise bubbles will occur. Hold the material firmly in place with tips of fingers, so doesn't slip & get glue on outside. place board in pencil marked area & press firmly with palm of hand
-
Step 4
one at a time, turn each corner in onto board, making perfect triangle. make sure paper is turned in up to corner of board. Once all four corners are turned in put PVA on turned in pieces that don't have glue on,
TIP: do this off the table edge so you don't get glue everywhere (also suggest having some newspaper on the floor just in case)
-
Step 5
Then using the BONE FOLDER or fingers, turn each side in firmly rubbing out creases & bubbles.
once all edges are turned in, use the bone folder to to tap the corners so they're gently rounded.
THIS ALL NEEDS TO BE DONE FAIRLY QUICKLY SO GLUE DOESN'T SET - DON'T RUSH IT THOUGH, JUST DON'T GET PERFECTIONIST WITH IT
-
Step 6
when you turn over to outside you may find some wrinkles but there shouldn't be many. DON'T WORRY as THESE WILL BE FLATTENED OUT WHEN YOU PRESS THE BOARDS. If you don't have a book or flower press, use paper covered bricks or anything heavy on top of wooden boards or anything rigid. Keep under weights until dry.
-
Step 7
STAGE 2 - Paper on the inside!
Fold Sheets of paper (I used SRA2 sheets, which once folded 3 times gives me 16 pages), Using bone folder to give a crisper, sharper edge.
On each fold use knife to slit most of way through the fold, leaving approximately 40mm (4cm) still attached to keep sheets in place.
ocne you've folded as many sheets as you want (we each used 12 sheets) stack them all up neatly. Also make end papers by taking a contrasting colour or patterned paper & folding it once but to the same finished size as the other sections. you should then finish up with just one folded sheet, rather than four.
Make sure you add one folded end paper to the top of the stack of sections & one to the bottom.
The end papers grain direction needs to be the same as the boards, otherwise they will warp -
Step 8
STAGE 3 - sewing the paper together in signatures & adding ribbon
Take your 1metre length of ribbon & cut at 60cm, then fold the remainder of the ribbon in half & cut again, leaving you with 3 pieces of ribbon
take a folded sheet of paper (same length as folded sheets & line up parallel to folded edge of sheets. Mark off 15mm from either edge of sheet/spine, along the folded edge.
Take your 3 pieces of ribbon & mark on either side of them onto the paper (you will sew around the ribbons), spaced equally between the two outer marks all along the folded edge. turn the sheet inside out, so marks are on inside of folded paper. -
Step 9
Take the folded sheet & insert into the center of each folded section (the sheets folded earlier). Place in exactly the same position each time & use a needle to punch hole through all paper at the spine, on each mark made.
take all of the sections, which are stacked up together, except the bottom one & turn over & leave to one side.
Take a piece of embroidery thread that is approximately an arms length long & pull it through wax to stop it from slipping. Don't worry too much if you don't have solid wax. (I vaguely remember that we used bees wax?)
Thread through a needle & feed from outside the first hole (you can start at the left or right side), to inside the folded section, leaving the end of the thread hanging loose by about 5cm(50mm) Then go out through the next hole & back in the following hole. This will have formed a loop that is wide enough to feed your ribbon through. Keep going like this through the rest of the holes & fed your other two ribbons through the loops formed.You will need the thread on the outside of the section. make sure your sewing is quite firm, not so firm that it rips the paper
-
Step 10
Take the next section, turn it over & place on top of the sewn section. Take your needle & thread & feed into the 1st hole above it. Sew as above, forming three loops around the ribbons. When you come out of the last hole tie up with the loose thread hanging out of 1st section.
-
Step 11
PLEASE NOTE: adding a 3rd section is different to how the above two were done before. this is important....
Take the 3rd section & sew as the previous two, then when you come out of the last hole, this time take your needle & go between the two sections & around the stitch back out again & take the needle through loop formed & pull tight. This just locks the sewing into place.
LAST SECTION/SIGNATURE - Keep adding a new section/signature & locking the last stitch into place until you get to the last section/signature. Sew on as others & come out through the last hole.
Lock last stitch into place but this time do it twice. Cut the thread with approximately 20mm(2cm) left on. The Left & Right ribbons should be equal on either side of the spine, if not pull until equal. The middle ribbon should have equal ribbon hanging either side too.
-
Step 12
Take the boards & mark 10mm from spine in same position as ribbons, then another 20mm(2cm) from the opposite side of the board.
make sure the marks are just a little wider than the ribbons. Take a chisel & hammer the marks through both boards.You may have to separate the boards, once you've hammered through the first one & then hammer through the 2nd one separately over the marks made.
If you don't have a chisel, use something like a craft knife, Then take your bone folder & prise the slits open a little bit, so that you can feed the ribbons through.
Feed them through from the outside in through the first slit, out & back in again.For the middle ribbon you will come back out again on the opposite side, to leave the ribbon for a tie. Glue underneath the ribbons, make sure they are all pulled through quite tightly, press into place & leave under weights to dry for a few minutes
-
Step 13
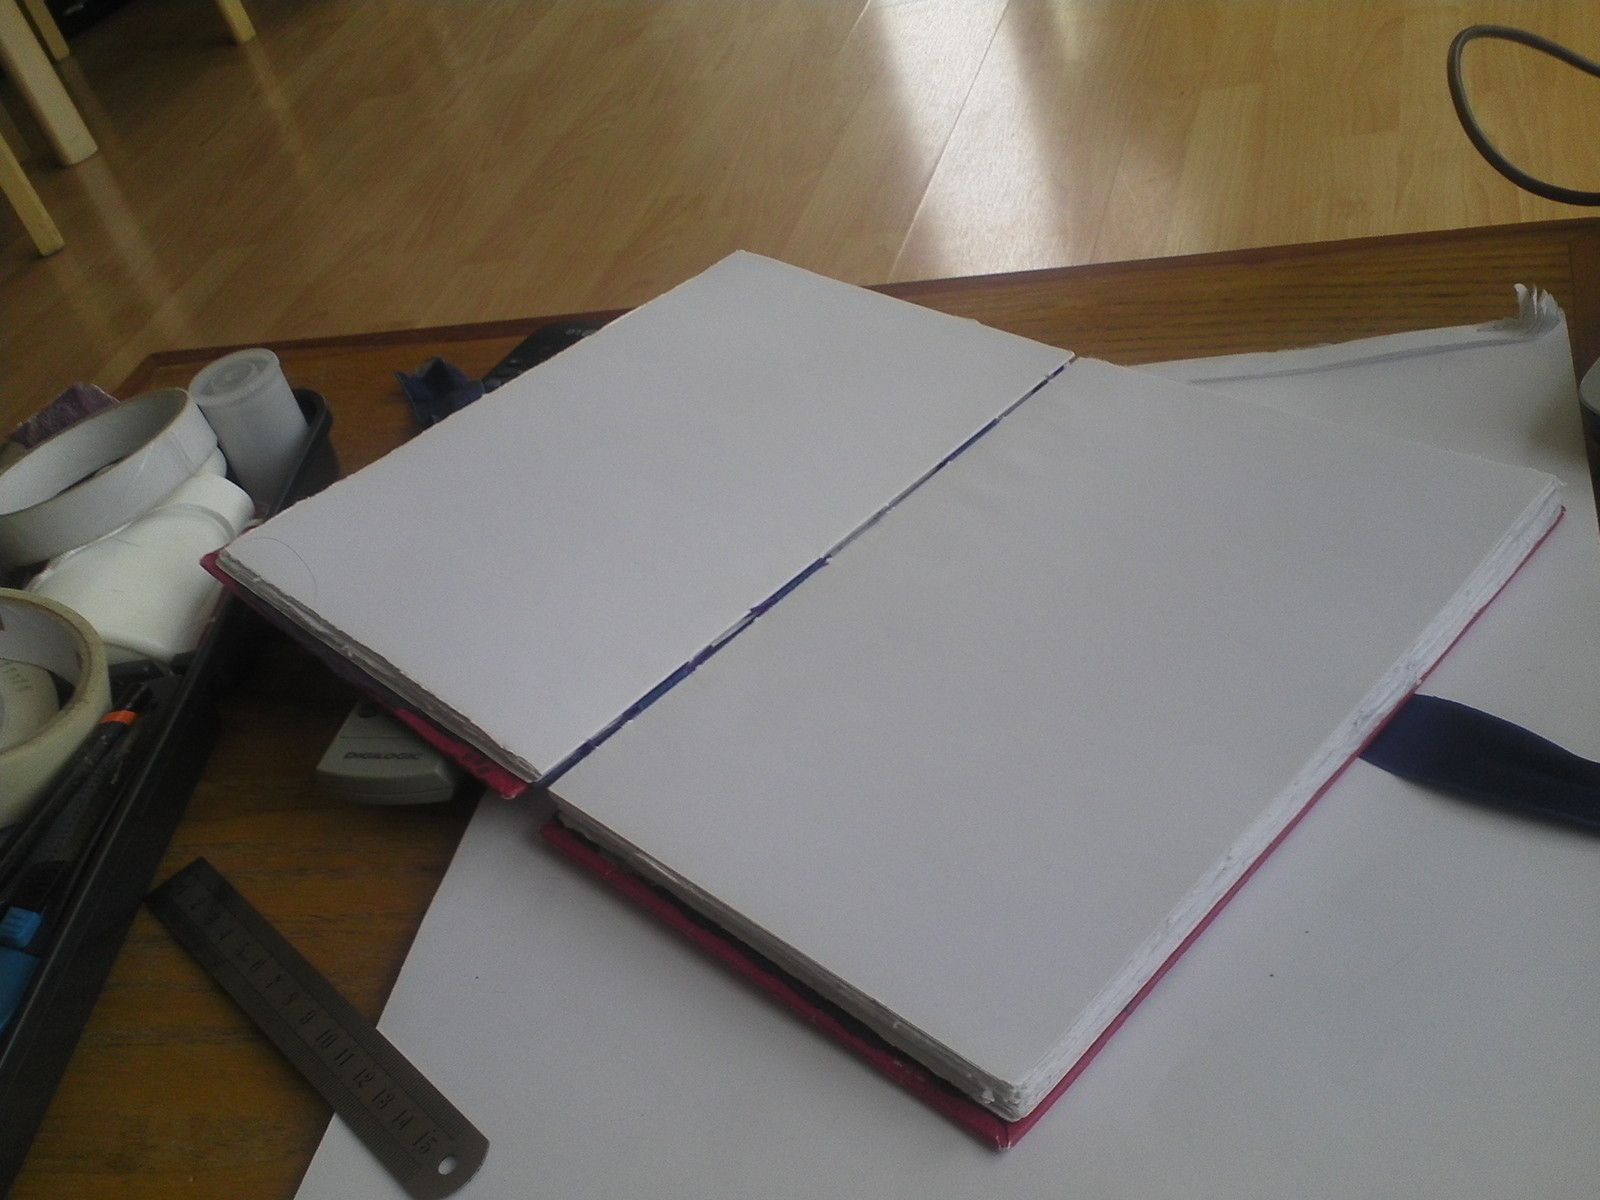
Put a sheet in between each folded end paper & glue the side nearest the board. Close the board over the top carefully & do on the other side, put under weights to dry.
Sit Back, Relax & smile at your accomplishment.
you created a book today :)
