About
Make fun magic wands out of paper, glue, and paint!
This project takes a while because there is a lot of waiting for glue and paint to dry. You can keep it simple and do it with kids, or try something more complicated. It's super cheap and fun, and they make great gifts for Potter fans.
Tags
-
 Key West Witch favorited Magic Wands
05 May 07:15
Key West Witch favorited Magic Wands
05 May 07:15
-
Key West Witch added Magic Wands to Witchcraft: Athames
20 Mar 21:23
-
 Frances D. favorited Magic Wands
12 Jun 22:32
Frances D. favorited Magic Wands
12 Jun 22:32
-
 Michell H. favorited Magic Wands
13 Dec 12:49
Michell H. favorited Magic Wands
13 Dec 12:49
-
 RainxFlower24 favorited Magic Wands
04 Jun 00:58
RainxFlower24 favorited Magic Wands
04 Jun 00:58
-
Aurelie L. added Magic Wands to Accessoires Déguisement
14 Mar 21:15
-
RainxFlower24 added Magic Wands to Cosplay
30 Jun 06:33
-
 Caaryn S. favorited Magic Wands
01 Feb 03:55
Caaryn S. favorited Magic Wands
01 Feb 03:55
-
 Rainer Meg favorited Magic Wands
04 Jan 22:58
Rainer Meg favorited Magic Wands
04 Jan 22:58
-
 DotCom favorited Magic Wands
03 Dec 18:48
DotCom favorited Magic Wands
03 Dec 18:48
-
 Step 1
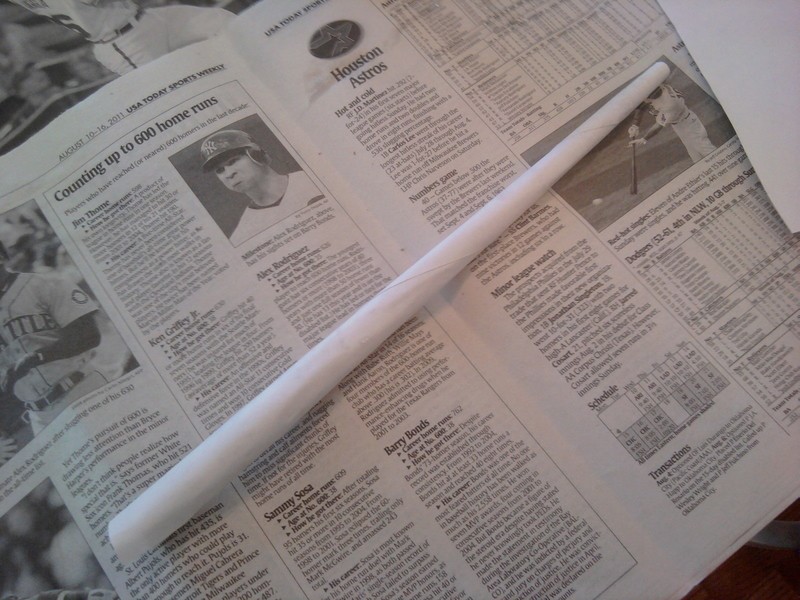
Once you've gathered your supplies, lay out your paper and roll it into a skinny cone. When you're almost finished rolling it, tape it to hold it, and smear white glue on the part you haven't rolled yet. Finish rolling it and smooth it with your fingers, getting all the wrinkles out. Hold it while it begins to dry.
(Sorry I forgot pictures of this part! There are good pictures on the instructables site that I linked.)
-
 Step 2
When the tube is completely dry, cut the ends so they are straight.
-
 Step 3
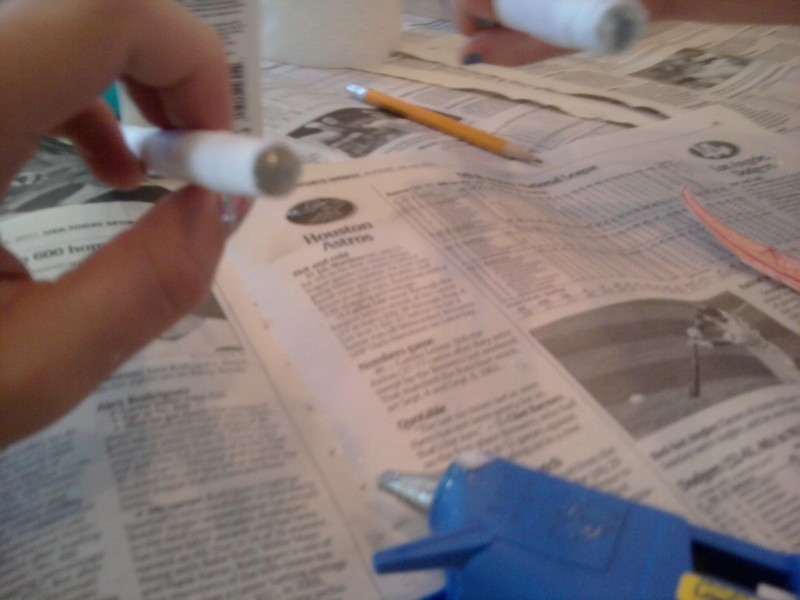
Use hot glue to plug the top (smaller) opening.
-
 Step 4
Now fill with bits of paper towels. Fold, roll, or twist them up, and push them down into the wand. This will help keep it from smushing if you squeeze it too hard.
Another option here is to fill the entire thing with hot glue, but I didn't want to use that much. The hot glue would almost certainly be more sturdy.
Either way, stop half way for the next step!
-
 Step 5
Make your wand core. I chose a Phoenix feather. This is completely optional and will not show at all once the wand is finished. It was just fun to add. Draw it on paper, color it, cut it out, and add it to the wand. Then fill it the rest of the way with paper towels or hot glue.
-
 Step 6
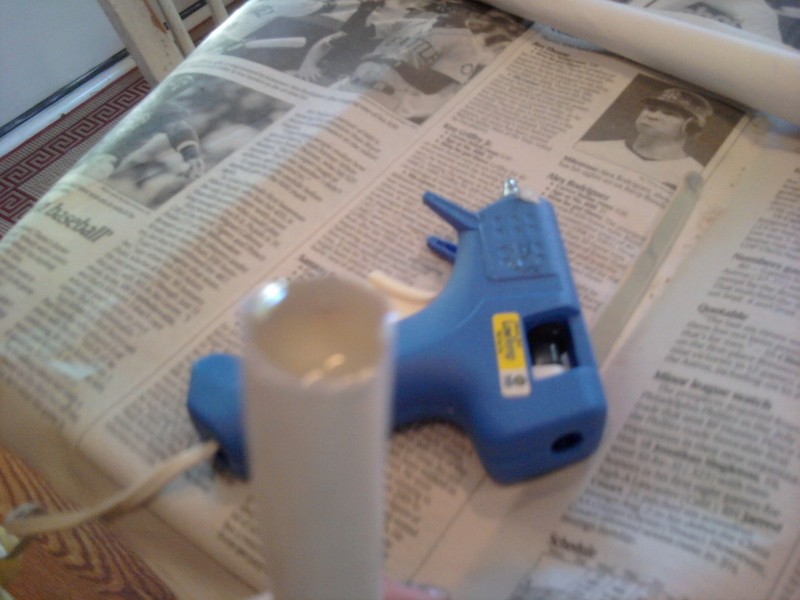
When it's filled almost to the end, plug it with hot glue. Make it smooth.
-
 Step 7
Now use hot glue (more hot glue, really?!) to make whatever design you choose on your wand. You can make vines, spirals, loops, or any other pattern you choose.
-
 Step 8
Now it's starting to look like a wand. It's time for paint! Paint the entire wand one color, and make sure it's lighter than you want it to end up.
-
 Step 9
To give it more of a wooden look, I took a darker brown, mixed it with some water, and brushed it over the entire wand. It helped set off the design because it collected more in the creases along the glue.
-
 Step 10
When that dries, mix your colors and use a smaller brush to paint the design. It's okay if the color seems a little too bright. It will stand out less after the next coat.
-
 Step 11
When the design is dry, mix an even darker brown with some water to paint over the entire wand. I added a little bit of silver glitter paint to this. The wand has a little bit of a sparkle, but nothing really obvious. The dark brown will help subdue the color of the design and make the wand look more wooden.
-
 Step 12
Finally, brush white glue over the entire wand. This helps stiffen the wand and give it a bit of a shine.
And viola, you have a magic wand!