


About
For All You Lovely Lolita's Out there
it came out flat-ish...that's because I had to held it down with my video game cases to make sure it woun't pel off...to be honest, this was my first attempt, and I was just winging it as i go....OK! NOTE: ThatI don't suggest using glue for this...it's been a few days and my felt was very stiff...so i'm heartbroken...but this is just a fare warning that you should sew this instead
Tags
-
 Nankita favorited Lolita Headband
13 Jan 21:33
Nankita favorited Lolita Headband
13 Jan 21:33
-
 Ana.Loli favorited Lolita Headband
30 Mar 07:31
Ana.Loli favorited Lolita Headband
30 Mar 07:31
-
 Valeria H. favorited Lolita Headband
24 Sep 22:20
Valeria H. favorited Lolita Headband
24 Sep 22:20
-
 Thatcartoongirl favorited Lolita Headband
25 Aug 17:26
Thatcartoongirl favorited Lolita Headband
25 Aug 17:26
-
 Step 1
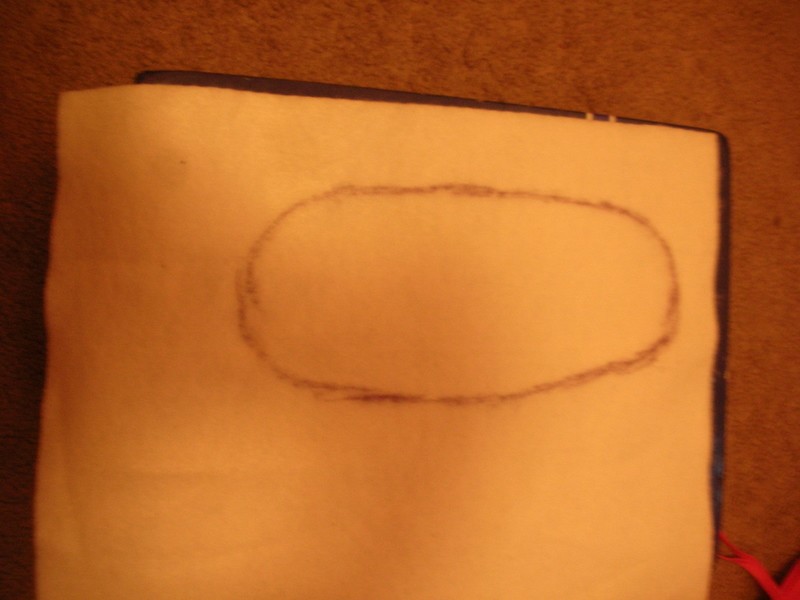
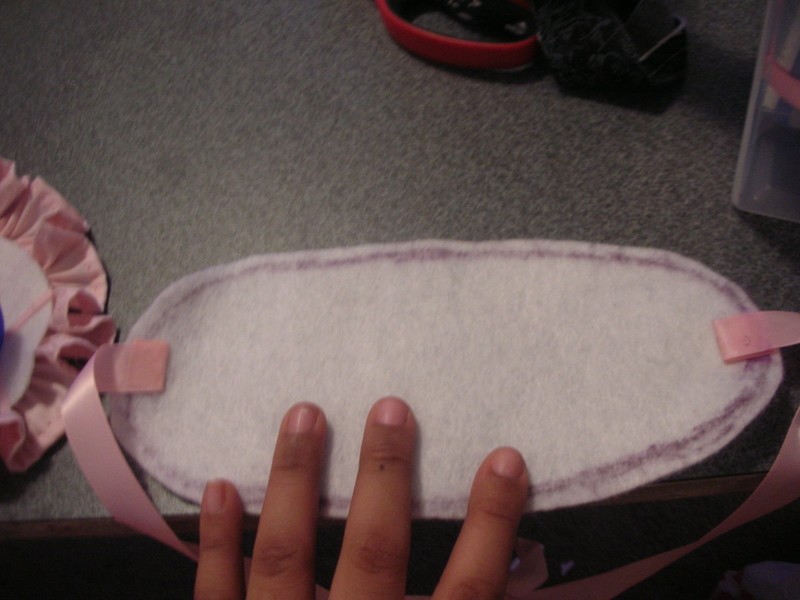
Grab the two felts and draw out the image of a long oval
<- like so... The cut it out....you can put it on top your head and see if ad justments are needed -
 Step 2
ok grab the thin ribbon and the glue....glue a line onto the one side of the felt and put down the ribbon still attached...then cut...repeat...and let dry for two hours ( I did this at night so it sat for the night)
do till you get the results on step 3 -
 Step 3
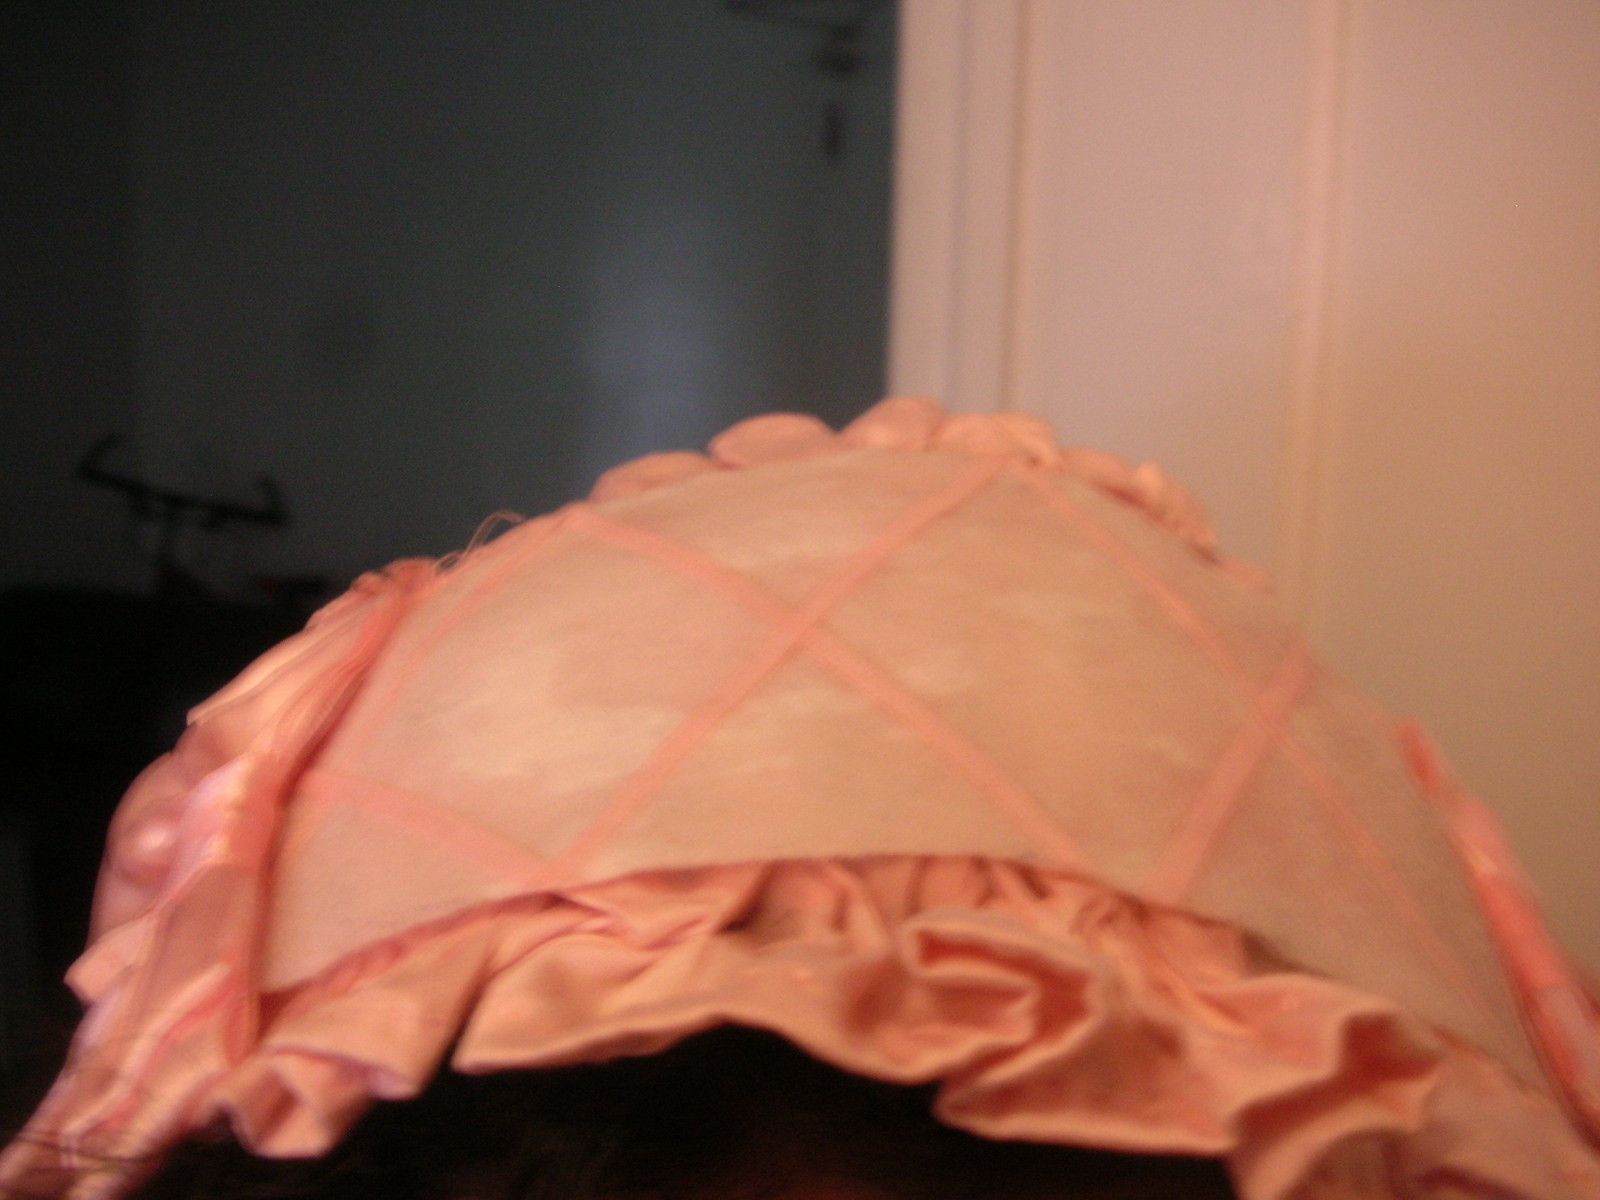
after dried
-
 Step 4
ok...cut out a long strip...how long?...not sure but enough to make a ruffle....you can use the back of a t-shirt or go out to buy the fabric yourself..but fair warning, if you buy a fabric and it has frays at the edges...sew them, dont glue'em... cause the ruffles wont come out well if you do (it'll have a fan kinda edge...unless that's what you want, then by all means)
-
 Step 5
ok grab that threaded needle and (a lesson from my yo-yo necklace tut.) just scrunch it up onto the needle.
If it doesn't come out the way you like it at first. do this: keep the threaded needle by and then by (your hand) sruntch it into a ruffle affect..then push you needle through the folds....if you want to check how long each stitch should be when making more, you can loosen it (no worries if tightened it'll go back. -
 Step 6
after the ruffles grab some of that thicker looking ribbon and measuring how long you want it to your head til the bottom of your chin and thensome...(you need to be able to tie it comfortably..) Well glue the one end to the wrong side...let dry for thirty minutes (or more if you put lots)
-
 Step 7
once done..you should spread some glue onto the bottom part of the top part of the head band (meaning: that cross-ribbon seprete part from step 3)....let this dry for an hour by the window (I left it for two because The Dark Knight was on HBO....<Joker3)
-
 Step 8
the do the same with the bottom side....eave dry for another hour or two
-
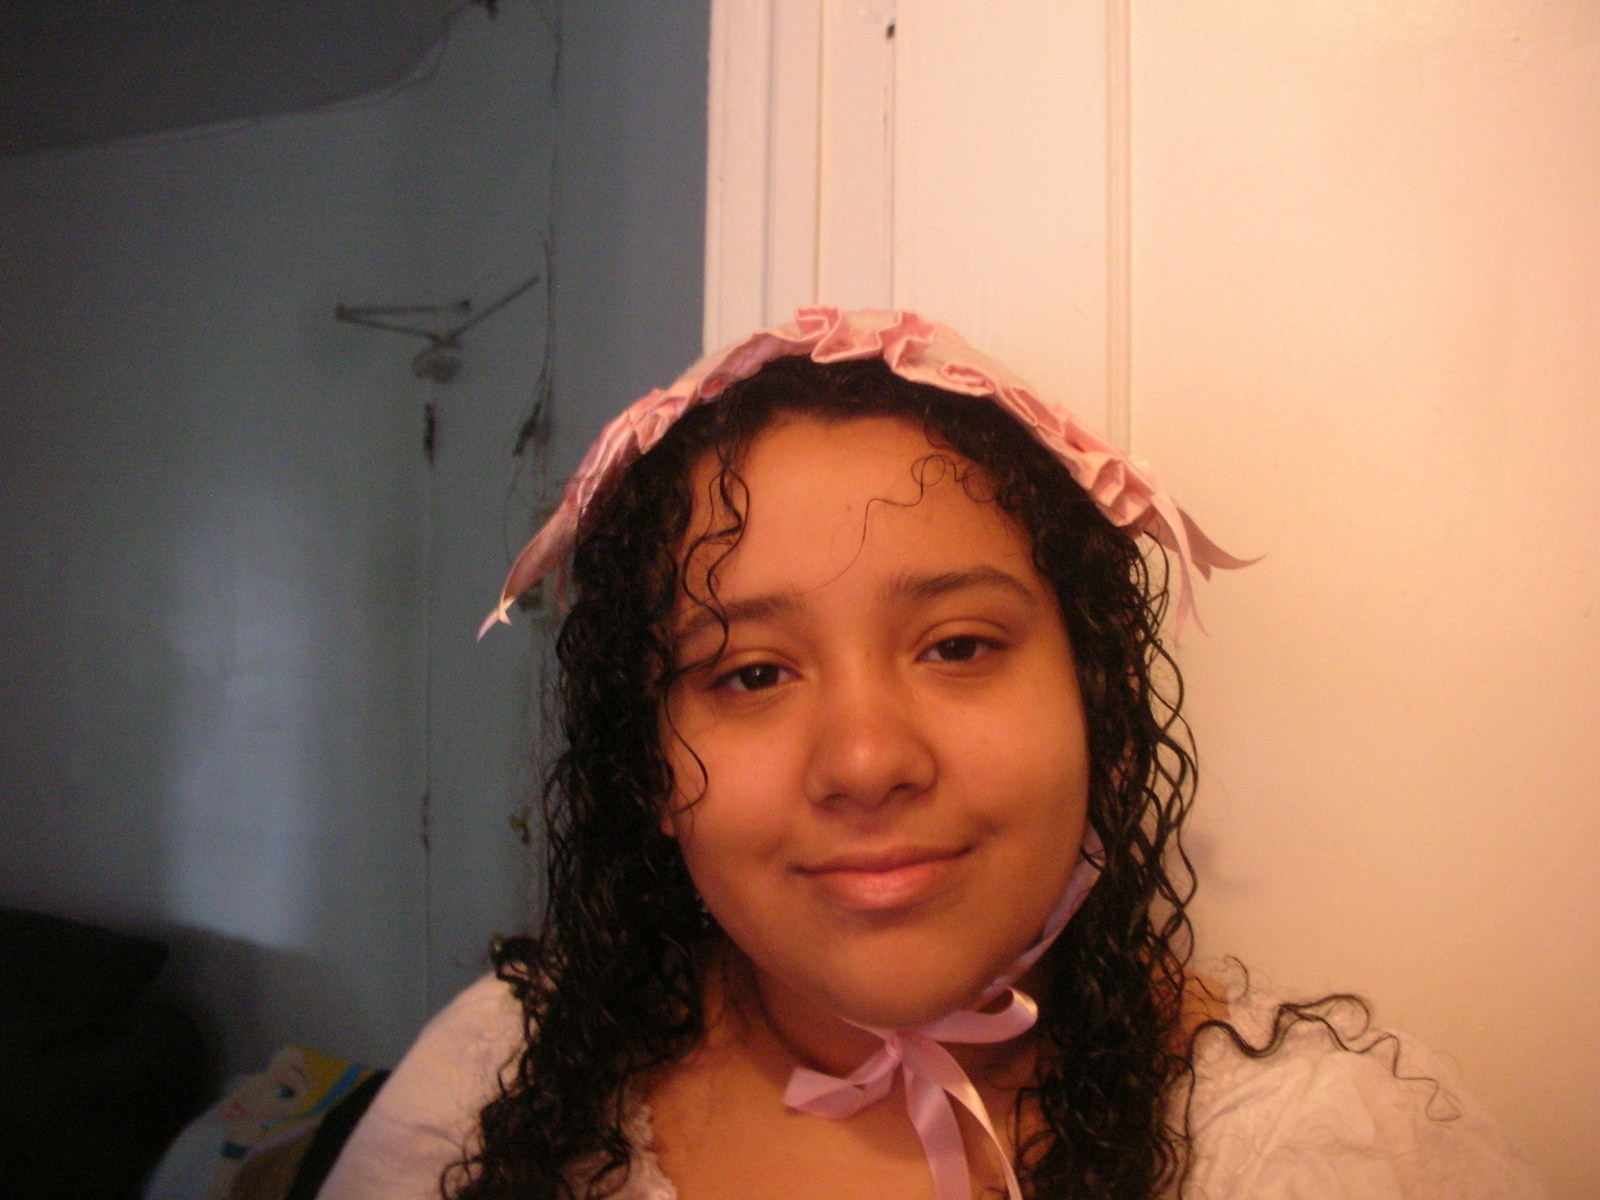
 Step 9
once dry glue the bowsonto the oppposite sides and your done!
-
Step 10
DIFFERENT OPTIONS!
1) instead of ruffles-use lace2) instead of an oval like shape-use rectangle
3)explore different options of a headdress to wear as a lolita..
4)this style may not be sutiable to all types of lolitas out there...go to http://virtualjapan.com/wiki/Lolita_Fashion
that explains different styles of loita and maybe it'll help put a perspective on what you want to wear


I love these
<3!