About
Cute very easy to make toy
I think this is a great project for very early beginners. It’s so much more fun than and is done much quicker than traditional hats and scarves, and looks more complex than a dishcloth. However, you only make two rectangles in stockinette stitch, and for the tail, it’s the same with a couple of decreases.
Tags
-
 Leyla Alieva - Silk and Wool published their project Little Beige Cat
06 May 06:00
Leyla Alieva - Silk and Wool published their project Little Beige Cat
06 May 06:00
-
Step 1
Skills you’ll need: cast on, knit, purl, bind off, knit 2 together, skp/ssk – optional. Seaming: whip stitch can be enough, I also used back stitch. You could also use mattress stitch for best results, but I was too lazy.
Substituting yarns: I would recommend to stick to angora blends, make the kitty fluffy, but I suppose you could use any yarn you like.
Abbreviations:
c/o – cast on
k – knit
p – purl
k2tog – knit 2 stitches together.
skp – slip next stitch on the right needle, knit the stitch after, passe the slipped stitch over the knitted one. Can be replaced by ssk or even k2tog. -
Step 2
BODY
C/o 36 stitches.
Row 1. Knit all stitches
Row 2. Purl all stitches
Repeat rows 1&2 (stockinette stitch), until you have 56 rows. Bind off loosely. -
Step 3
HEAD
C/o 23 stitches. Knit in stockinette stitch for 56 rows. Bind off.
-
Step 4
TAIL
C/o 16 stitches.
Row 1: knit
Row 2, and all other even rows: purl.
Row 3: k1, skp, k 10, k2tog, k1
Row 5: knit
Row 7: k1, skp, k 8, k2tog, k1
Row 9: knit
Row 11: k1, skp, k 6, k2tog, k1
Row 13: knit
Row 15: k1, skp, k 4, k2tog, k1
Row 17: knit
Row 19: k1, skp, k 2, k2tog, k1
Bind off after row 20. -
 Step 5
BODY - ASSEMBLY
That’s the trickiest part. Here’s the schematic of your rectangle to help.
-
 Step 6
I used back stitch for leg seams, so I had the wrong side facing me. Measure the middle of your narrow edge (cast on side). That’s point E.
-
 Step 7
Fold the fabric, so that point E is on the long edge, – point G.
-
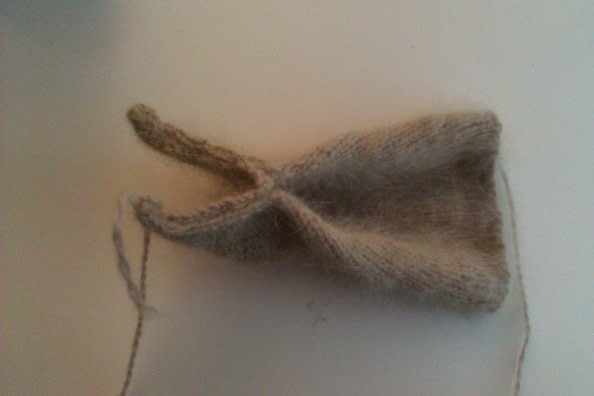
Step 8
Sew the seam of A-EG, with wrong side on the outside. That’s the first leg of the cat.
-
 Step 9
Now fold to the other side, so that point E (and now G) meet with point H
-
 Step 10
Sew the B-EH seam. That’s your second leg.
-
 Step 11
Now do the same with the other side, by sewing D-FI and C-FJ seams. you now have 4 paws.
-
 Step 12
Turn the the body inside out, so that right side is on the outside. Stuff the body through the opening.
-
 Step 13
Close the belly seam (GEH-IFJ). I used the whip stitch.
-
 Step 14
The body is ready.
-
 Step 15
HEAD ASSEMBLY
Fold your rectangle in half lengthwise, so that you have a square. With wrong side facing out, sew the side seams.
-
Step 16
Turn inside out, now right side is facing. Stuff the head lightly.
-
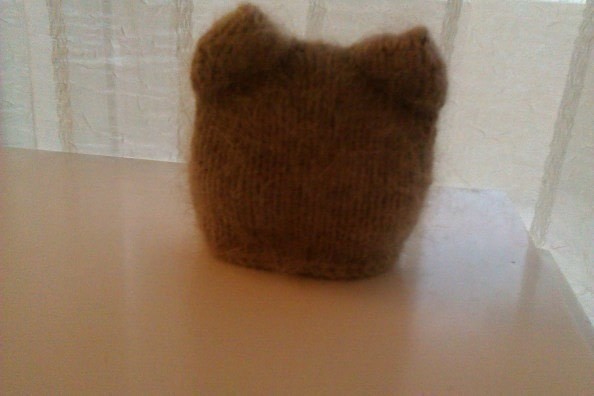
 Step 17
Make simple stitch diagonal seams from the top of the head to the sides, to form ears.
-
 Step 18
Thread yarn using simple stitch through the bottom edge, and pull lightly to form the neck.
-
 Step 19
Embroider the face. Here’s an approximate layout. If the toy is for an older child, you could put buttons for eyes.
-
 Step 20
Sew the head to the body.
-
 Step 21
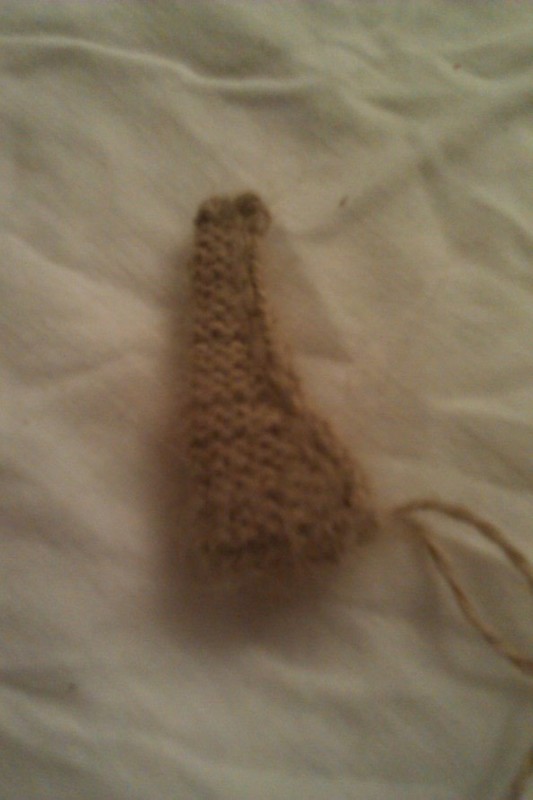
TAIL ASSEMBLY
With wrong side facing out, fold the tail in two, sew the top (bind off) and the side seams to form a cone. -
 Step 22
Turn inside out and stuff lightly.
-
 Step 23
Sew to the body.
-
Step 24
Use a ribbon, or make one – simple crochet chain would do, and tie around the neck.
You’re done!