

Liberty Kimono
Extract from Liberty Book of Home Sewing • By Liberty of London and Lucinda Ganderton • Published by Quadrille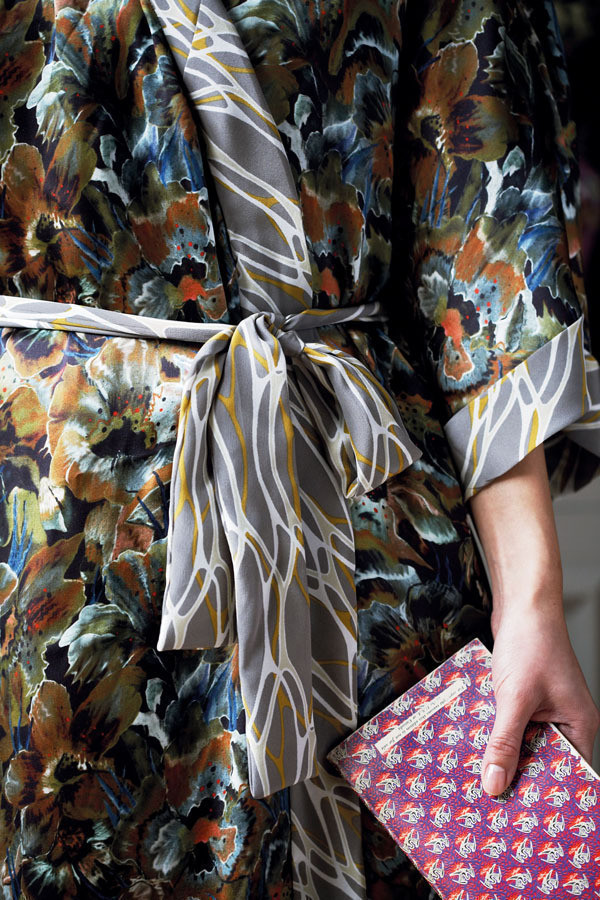


About
Sew a kimono from Liberty fabric.
Add a touch of old-fashioned glamour to your daily routine with this slinky wrap-around robe, which combines two richly-hued abstract Liberty prints in different textures: ‘Bailando en Mis Suenos’ Balcombe Silk, trimmed with another silk, ‘Combe’ Harcourt Crepe de Chine. It is a comfortable UK size 12, which finishes at mid-calf. Hold the pattern against you before cutting out the fabric, to double check the length and adjust it as necessary for a longer or shorter version. Remember that you will need more fabric for a full-length kimono.
Finished size
Size 12, with mid-calf length
Each square = 2.5cm
Note: Seam allowance (1.5cm)
is included in pattern-piece size.
Cutting out
Make a paper pattern piece of all the pieces needed for the kimono, including the rectangles for the front band, cuff, belt and belt loop, and use these to cut the fabric pieces. Transfer all markings onto your pattern pieces. Cut all pieces on straight grain of fabric except where instructed otherwise.
from main fabric:
• Cut 1 back, on the fold
• Cut 2 fronts (1 reversed)
from contrasting fabric:
• Cut 2 front bands, on the bias, each 11 x 127cm
• Cut 2 cuffs, on the bias, each 11 x 44cm
• Cut 2 belt pieces, each 11 x 66cm
• Cut 2 belt loops, on the bias, each 3.5 x 15cm
note: Cut one or two 5mm slits into the seam allowance at each of the points marked on the pattern: these will help you line up the pieces exactly when you pin them together.
THE LIBERTY BOOK OF HOME SEWING by LIBERTY, published by Quadrille (£20, hardback). Photos ©KRISTIN PERERS; Text ©LUCINDA GANDERTON.
Tags
© 2024 Liberty of London / Quadrille · Reproduced with permission.
-
 Key West Witch favorited Liberty Kimono
26 Jun 22:17
Key West Witch favorited Liberty Kimono
26 Jun 22:17
-
 Cute Madness favorited Liberty Kimono
22 Feb 16:53
Cute Madness favorited Liberty Kimono
22 Feb 16:53
-
 Sarah Kim added Liberty Kimono to TO DO
06 Jan 19:05
Sarah Kim added Liberty Kimono to TO DO
06 Jan 19:05
-
Sarah Kim favorited Liberty Kimono
06 Jan 19:05
-
 Stacy H. favorited Liberty Kimono
13 Oct 03:15
Stacy H. favorited Liberty Kimono
13 Oct 03:15
-
 Alecia B. favorited Liberty Kimono
23 Aug 07:00
Alecia B. favorited Liberty Kimono
23 Aug 07:00
-
Debi added Liberty Kimono to Dress Ideas
27 Oct 20:49
-
Susanna Q. favorited Liberty Kimono
23 Oct 22:51
-
 elserienke k. favorited Liberty Kimono
15 Jul 13:17
elserienke k. favorited Liberty Kimono
15 Jul 13:17
-
Jamie N. favorited Liberty Kimono
30 Jun 00:50
You Will Need
-
 Step 1
Neatening the raw edges of the front and back pieces
Set your sewing machine to a large zigzag stitch or other overlocking stitch. Using matching sewing thread, machine stitch along each of the shoulder and underarm/side edges of the front and back pieces.
-
 Step 2
Making the belt loops
Following the technique instructions on page 67 for the jewellery roll ties, make the two belt loops into rouleaux. Fold them in half and pin to the back piece on the marked waistline matching the raw edges. (Check first that the waist in the right position for you, and adjust as necessary.)
-
 Step 3
Stitching the front and back pieces together
With right sides together, pin the two front pieces to the back, matching the notches in the seam allowance. Machine stitch together, leaving a 1.5cm seam allowance.
-
 Step 4
Clipping the curved seams
Work a second line of machine stitching over the first to reinforce the curved part of the underarm seam. Cut three or four small notches into the seam allowance here so that it will lie flat. Press all of the seams open and turn the kimono right side out.
-
 Step 5
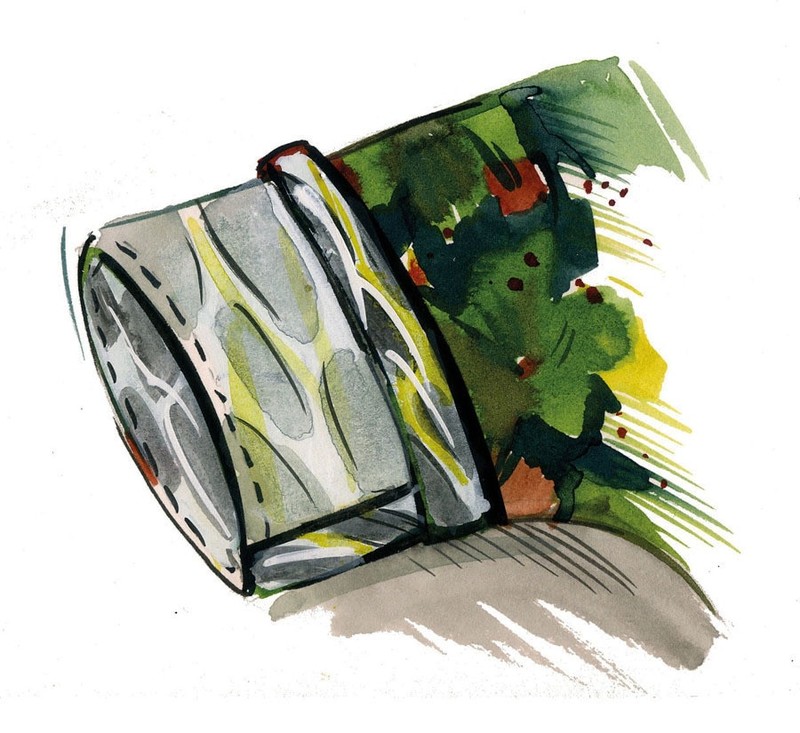
Preparing the cuffs
Pin the short ends of the cuffs together, with right sides facing and machine stitch
1.5cm from the edge. Press the seams open, then press back a 1.5cm turning around the outside edge. -
 Step 6
Stitching on the cuffs
With right sides together, pin the cuffs to the sleeves, matching the seams to the underarm seams. Machine stitch, 1.5cm from the edge, then trim
the seam allowance to 1cm. Press the seam allowances towards the cuffs. -
 Step 7
Finishing the cuffs
Turn the kimono wrong side out and fold the cuffs in half so that the folded edges lie along the stitched lines, concealing the seam allowance. Pin in place and slipstitch the fold to the seam allowance, as close as possible to the stitching.
-
 Step 8
Turning up the hem
Press a 1cm turning along the bottom edge of the kimono, then press under 3cm more. Pin in place, and hand or machine stitch down, easing in any extra fullness. Tack the raw edges together at the ends of the hem.
-
 Step 9
Stitching the front bands together
Pin and stitch the two front band pieces together end to end: this seam will lie at the centre back. Press the seam open, then press a 1.5cm turning all the way along one long edge.
-
Step 10
Adding the front band
With right sides together, pin the band seam line to the kimono centre back. Pin each edge out to the bottom corners of the two front pieces. The two ends will hang below the hem. Machine stitch, leaving a 1.5cm seam allowance. Press the seam outwards, towards the band. Press under the two ends of the front band so that they are in line with the hem
-
Step 11
Finishing the front band
Fold the band to the inside of the kimono so that the long folded edge is lined up to the seam line. You will need to ease it around curved edges of the two front pieces. Pin in place and stitch down by hand or machine. Slipstitch the bottom edges of the facing together on the left and right fronts.
-
Step 12
Making the belt
With right sides together, pin and stitch the two belt pieces together and press the seam open. Fold the belt in half lengthways with right sides together. Pin, then stitch together 1cm from the edge, leaving an opening of approximately 15cm near the centre seam. Clip the corners, then turn right side out through this opening. Press flat and slipstitch the opening closed.


Comments

