About
Keep your pennies happy in this fab leather pouch!
This super savvy leather pouch is great for keeping your change from rattling around in the bottom of your handbag!
-
 sian d. favorited Leather Pouch
20 Jul 20:37
sian d. favorited Leather Pouch
20 Jul 20:37
-
 Bea R. favorited Leather Pouch
24 Jun 19:41
Bea R. favorited Leather Pouch
24 Jun 19:41
-
 charlie d. favorited Leather Pouch
29 Mar 03:02
charlie d. favorited Leather Pouch
29 Mar 03:02
-
 Amie F. favorited Leather Pouch
21 Jan 05:19
Amie F. favorited Leather Pouch
21 Jan 05:19
-
 sara d. added Leather Pouch to sewing
09 Jan 22:18
sara d. added Leather Pouch to sewing
09 Jan 22:18
-
bolaa l. favorited Leather Pouch
08 Jan 22:28
-
Lisa C. published her project Leather Pouch
09 Oct 15:45
-
 Step 1
Step 1: The first thing we’re going to do is back both of the leather pieces with the leather backer so that they hold their shape. Leather backer works like interfacing. The leather we’re using is very soft and lightweight and could do with some body. Cut out two rectangles the same size as your leather pieces and pressing slowly with an iron, fuse the backer (glue side down) to the leather.
-
 Step 2
Step 2: Once you have done that it’s time to sew two little tabs onto each end of the zip. Remember to pop your leather needle into your machine. You want the total length of the zip plus the tabs to be the same as the width of the leather pieces. The tabs should be the same width as the zip tape.
-
 Step 3
Step 3: We’re using the raw edge of the leather here – it doesn’t fray like fabric and it makes quite a nice design feature. No worrying about seam allowances!
Next we’re sewing the leather pieces to the zip. You don’t want to use pins when you’re sewing leather because they will leave little holes that you won’t be able to remove. We like to secure the pieces together with low-tack masking tape, which we then sew over on the sewing machine. You can then pull this off once the pieces are sewn together.
-
 Step 4
Step 4: Place the leather right side up onto the right side of the zip and edgestitch along the edge of the leather. You might want to increase your stitch length to slightly longer than you would normally use if you were sewing fabric.
Repeat this step for the other piece of leather.
-
 Step 5
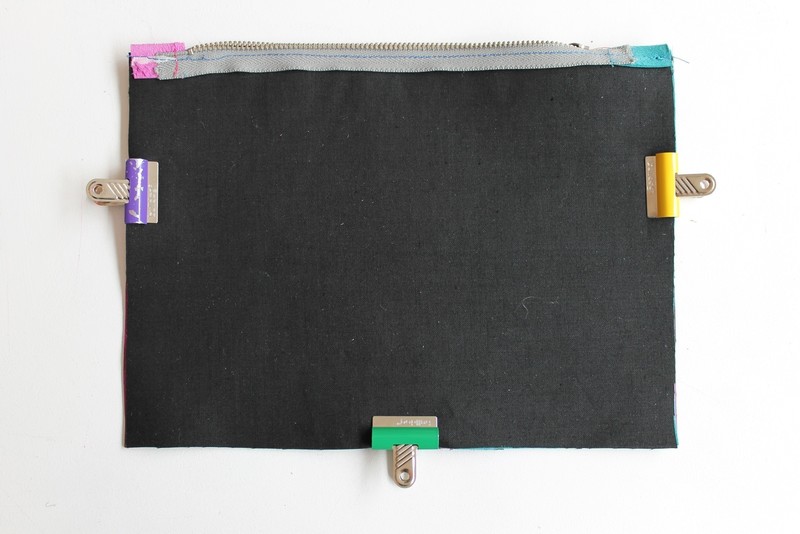
Step 5: Now let’s construct the purse edge seams. Keeping the zip open, fold the leather pieces right sides together and secure the edges round the outside with clips. Again, avoid using pins!
-
 Step 6
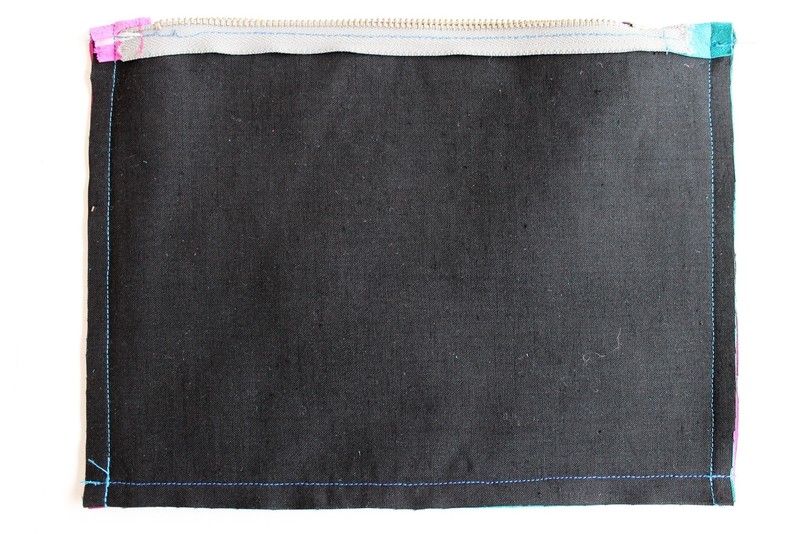
Step 6: Using a 1cm seam allowance, sew around the three open edges of the purse. We find it best not to pivot at the corners as you usually would, as this can shift the leather. The last thing you want to do here is have to unpick!
-
 Step 7
Step 7: Remember to backstitch at the beginning and the end of each line of stitching.
We’re not going to clip the corners here as we want to purse to be as strong as possible.
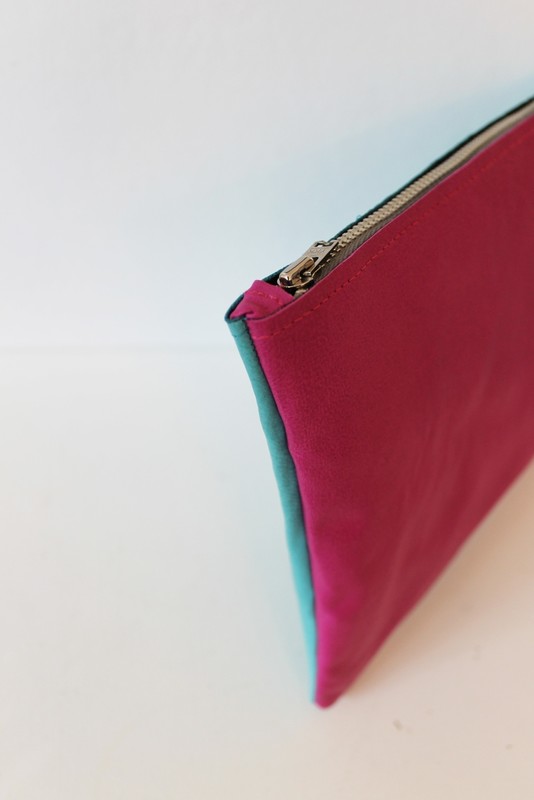
Turn the purse the right way out and push out the corners as much as possible.
-
 Step 8
And there you have it! A beautiful leather clutch purse made all by yourself!