About
Watercolouring and Die Cutting made easy
A clean and simple thank you card using watercolouring and die cutting. It's easier than you think - only about 30 minuntes (excluding drying time for the water colouring).
-
 Alissa B. favorited Layered Letters Watercolour Card
22 Jun 18:40
Alissa B. favorited Layered Letters Watercolour Card
22 Jun 18:40
-
 Bedlam & Butterflies published her project Layered Letters Watercolour Card
20 Jun 09:00
Bedlam & Butterflies published her project Layered Letters Watercolour Card
20 Jun 09:00
You Will Need
-
 Step 1
Start by stamping your image with an archival ink onto watercolour paper. You need a waterproof ink that won't run when you add water and/or water based inks. Then mask the image with masking fluid.
-
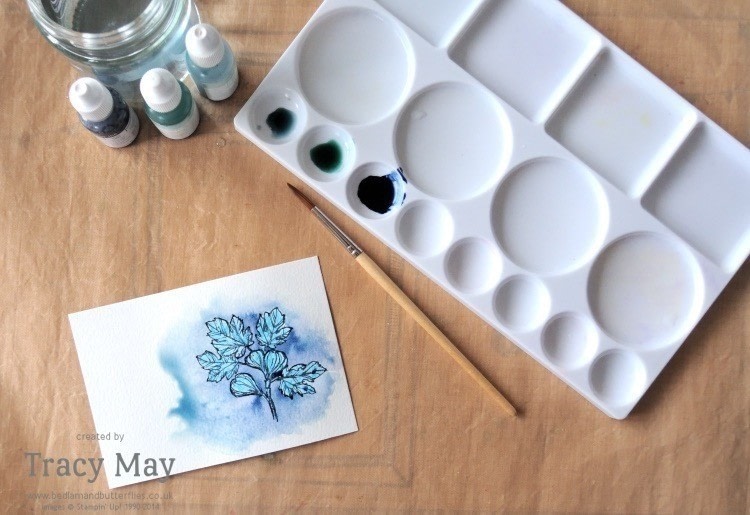
 Step 2
Once your masking fluid is dry, watercolour using whatever watercolour medium you like. Here I've used ink from refill bottles in 3 different shades of blue, but you could easily use watercolour paints or even ink taken directly from the lid of a water-based ink pad.
The key here is to not be so precise with the watercolouring - basically I just slapped it on with plenty of water and then lifted the watercolour paper up and moved it around to mix all the colours up!
-
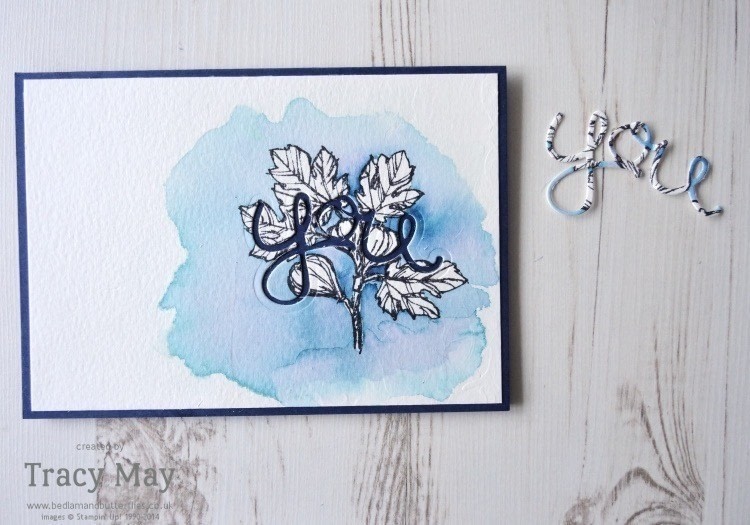
 Step 3
Allow your water colouring to dry (either naturally or speed up with a heat gun), then die cut your word/letters out from the image.
-
 Step 4
Add some glue to the back of the middles of the letters e.g. the loop of the Y, the middle of the O and replace the whole word letter back into the cut out. Apply pressure to the glued areas and then lift out the word/letters to leave the middle bits stuck down.
-
 Step 5
If necessary stamp the other part of your sentiment. Here I've used a sentiment stamp that had more than I needed, so I simply inked up the one word I needed and stamped that. You can use a Stamp-a-majig or see through (photopolymer) stamps for this stage too!
At this stage stick your card front onto a co-ordinating card base.
-
 Step 6
Cut out additional words/letters in plain, coordinating card stock to stick together to build up depth underneath your cut out word. Here I've used 4 additional word layers to create the depth. I found it easier to put the glue on the word that was being stuck underneath. Stick all the layers together
-
 Step 7
Finally glue the layered word/letters into place over the original cut out and finish off with any other decoration/embellishments you like!