


About
Already posted but noooow its a how-to
Sorry guys I don't have any process pictures but I got this fancy wacom tablet so I drew some stuff out for ya'll, I honestly think the drawing took longer than the actual sewing part did. Its unfortunate really.
If anyone makes one for themselves I'd love to see it. So upload it and link it back, thanks a bunch.
Tags
-
 Alma added Late Night Shirt Take Two to Recycling T-shirts
08 Jul 11:30
Alma added Late Night Shirt Take Two to Recycling T-shirts
08 Jul 11:30
-
 Cherry P. favorited Late Night Shirt Take Two
14 May 18:09
Cherry P. favorited Late Night Shirt Take Two
14 May 18:09
-
 Allblack9119 favorited Late Night Shirt Take Two
13 Mar 07:25
Allblack9119 favorited Late Night Shirt Take Two
13 Mar 07:25
-
 Brianna E. favorited Late Night Shirt Take Two
04 Nov 07:29
Brianna E. favorited Late Night Shirt Take Two
04 Nov 07:29
-
 Holly D. favorited Late Night Shirt Take Two
23 Sep 20:05
Holly D. favorited Late Night Shirt Take Two
23 Sep 20:05
-
Julie Eifelt B. favorited Late Night Shirt Take Two
27 Apr 08:50
-
Naomi D. favorited Late Night Shirt Take Two
03 Jan 07:10
-
 doll.hart1 added Late Night Shirt Take Two to clothing
04 Nov 05:29
doll.hart1 added Late Night Shirt Take Two to clothing
04 Nov 05:29
-
laurie b. added Late Night Shirt Take Two to Revamped Clothes
22 Sep 00:46
-
 Sherry H. favorited Late Night Shirt Take Two
12 Jul 16:18
Sherry H. favorited Late Night Shirt Take Two
12 Jul 16:18
You Will Need
-
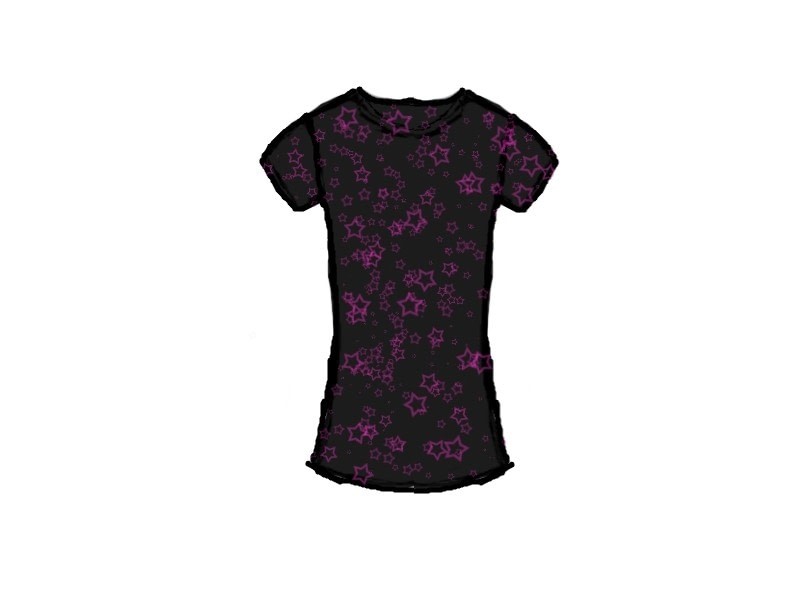
 Step 1
I started with a shirt that already fit me...but if you don't wanna do that you can resize it real quick and easy cause you don't have to worry about the sleeves at all.
-
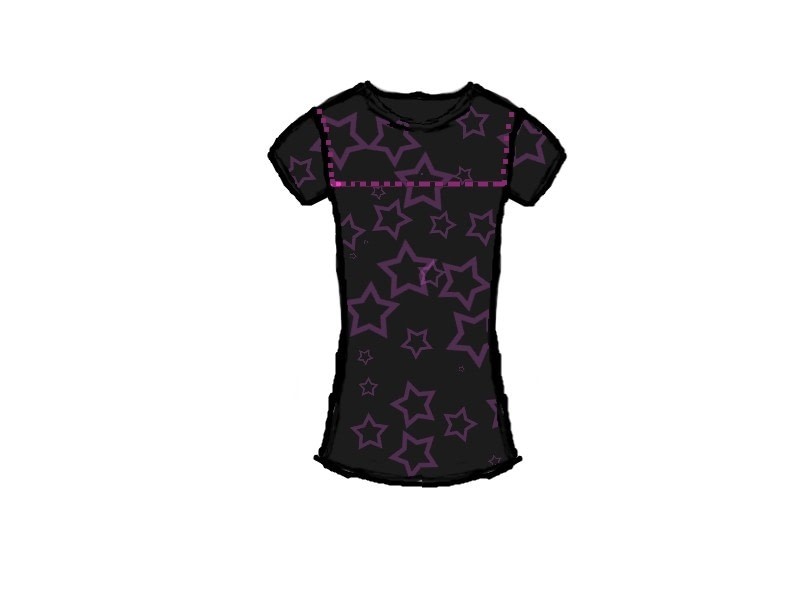
 Step 2
Lay your shirt out nice and flat. Cut on the little pink lines which I'm starting to realize didn't show up as well as they did when I was sketching them out...oh well off go the sleeves and then cut of the top half I went right at the armpit seams straight across. Fronts and backs. Keep those pieces though you're gonna need them later.
-
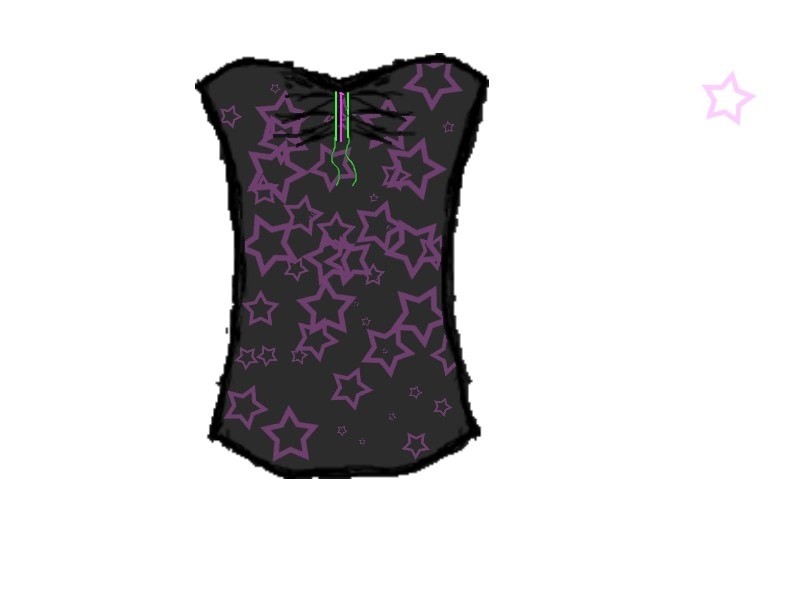
 Step 3
Now fold your shirt in half and find the middle...that green line in the picture there, mark it and then sew two straight lines (through the front only) widen the stitches on your machine and keep the tension low, they're for gathering so you don't want them too tight. You're gonna wanna leave the tails long. I wish I could tell you how long to leave it but I don't know myself. I put it on and guessed really you're gonna wanna sew it the entire length of your boobs, maybe a little more, better more than less cause you can always pick and choose where you want the gathering to be rather than taking out stitching.
-
 Step 4
Pull the tails on your thread to create the gather. I went from the bottom myself. I all depends on whats easier for you. (the green lines are your gathering stitches) Once its gathered as much as you want it to be, (I suggest trying it on just to make sure) Sew right down the middle of those two seams (the pink line) After you make sure all of your gathering is still secure you can take out your first two seams (the green ones)
-
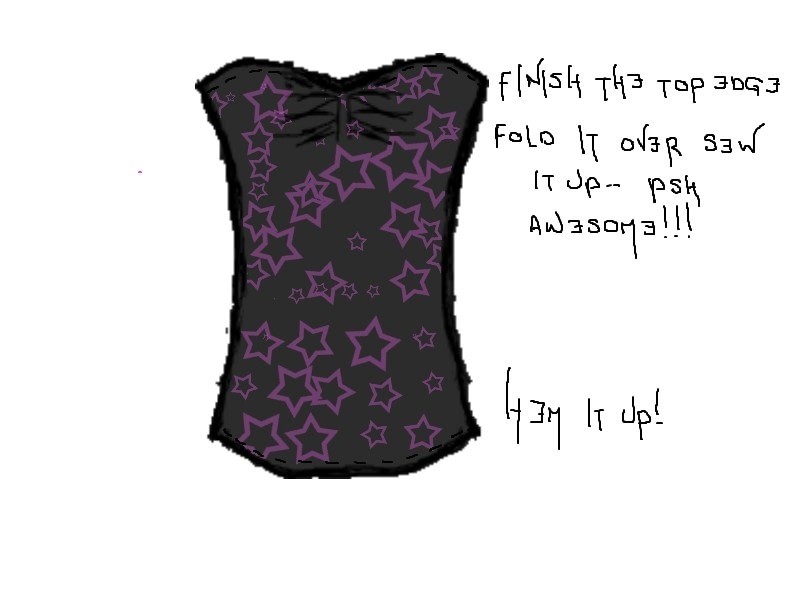
 Step 5
This step is super easy...all you gotta do is hem up the bottom if you need to and finish the edge at the top I folded mine over once and then folded it again the opposite way and flipped the raw edge up. I just like things to look a little bit on the rougher side so if someone is all like you made that i'm like yeah i did all those rough edges on purpose...especially helps when you get lazy and forget stuff
-
 Step 6
Grab all your left over scrap and make your self a neck strap that looks kinda like this...I had some issues drawing this one out. I took two pieces from the neck and shoulders and then made the end triangular bit out of the sleeves so mine has some extra seams in it. Sewn with the right sides together and then turned inside out using a safety pin it gets a little tight in the middle sections so be patient. It also helps if you iron it out afterwards to prevent it from rolling and shifting out of shape.
-
 Step 7
Put on the bodice piece and pin your straps on so they're in the right spots. Carefully remove it again, so totes stabbed my self twice. Sew them on!! make sure you anchor them in there really good, I always have this problem where I sew on my strapped and while I'm wearing it they cause my upper finished edge to flip inside out a little bit...frustrating so now I sew them in in two different places while hiding the extra seams the best I can.
-
Step 8
Woohoo now its done. Mine wears really nice stays in right place and is just awesome...I got a lot of compliments on it too.
If you got questions hit me up, always happy to help. And I'm more than certain that some of the parts might get confusing cause of my doodles and stuff.


Probably the most faves I've ever gotten on anything, combined. This site is kinda turning me into a "fave whore"
But seriously guys thanks.
I'm gonna try your other tutorial with another shirt, and maybe if i'm convident with this one again I will try and fix my mistake ;d