Log in or Sign up to remove sponsor

240 minutes
Pretty Easy

Kool Aid Dying.

  • Completed Project: Kool Aid Dying. Picture #1
  • Completed Project: Kool Aid Dying. Picture #2
  • Completed Project: Kool Aid Dying. Picture #3
  • Completed Project: Kool Aid Dying. Picture #4
  • Completed Project: Kool Aid Dying. Picture #5
  • Completed Project: Kool Aid Dying. Picture #6

Super Kool
 <  Image 1 of 6  > 

I've recently been getting into felting and am about to learn how to spin my own roving so I purchased 2 onces of roving and asked a friend to teach me the Kool-aid ways.

The colours are SUPER bright, I might tone them down but was impressed how cheap and easy this method was.

To think WE drank this stuff as kids.

People outside of North America if you can't and if you want some Koolaid send a message to me and I'll see what I can do for ya.

---->My original pics were with white roving this example uses a grey and dark grey mix.

Share on: Facebook | Twitter | StumbleUpon

Add to a List Add to Favorites Add Your Version


  1. Step 1

    Step 1

    Make sure you're ok with your towel getting stained.

    I didn't use gloves, but the Kool aid actually stained my hands!!

    Some people use vinegar, some don't.. some do it in boiling method like me.. some don't.

    My way worked, try others too.

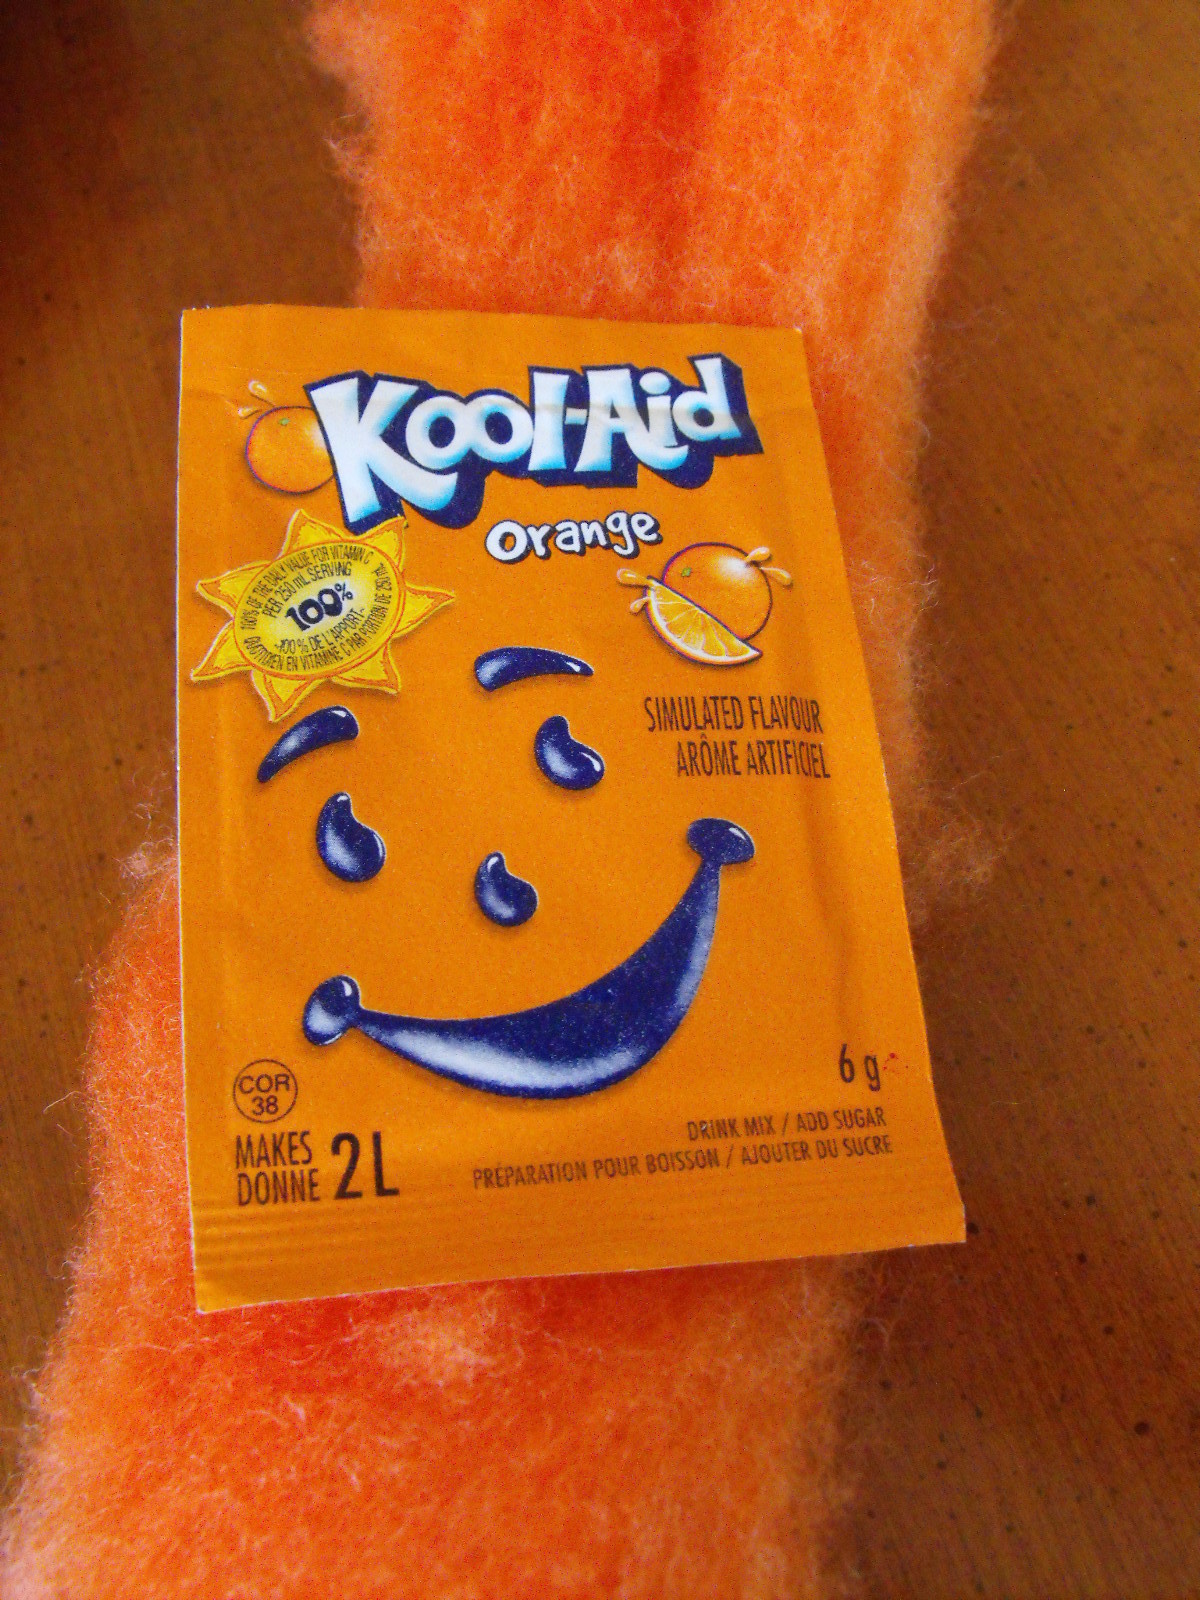
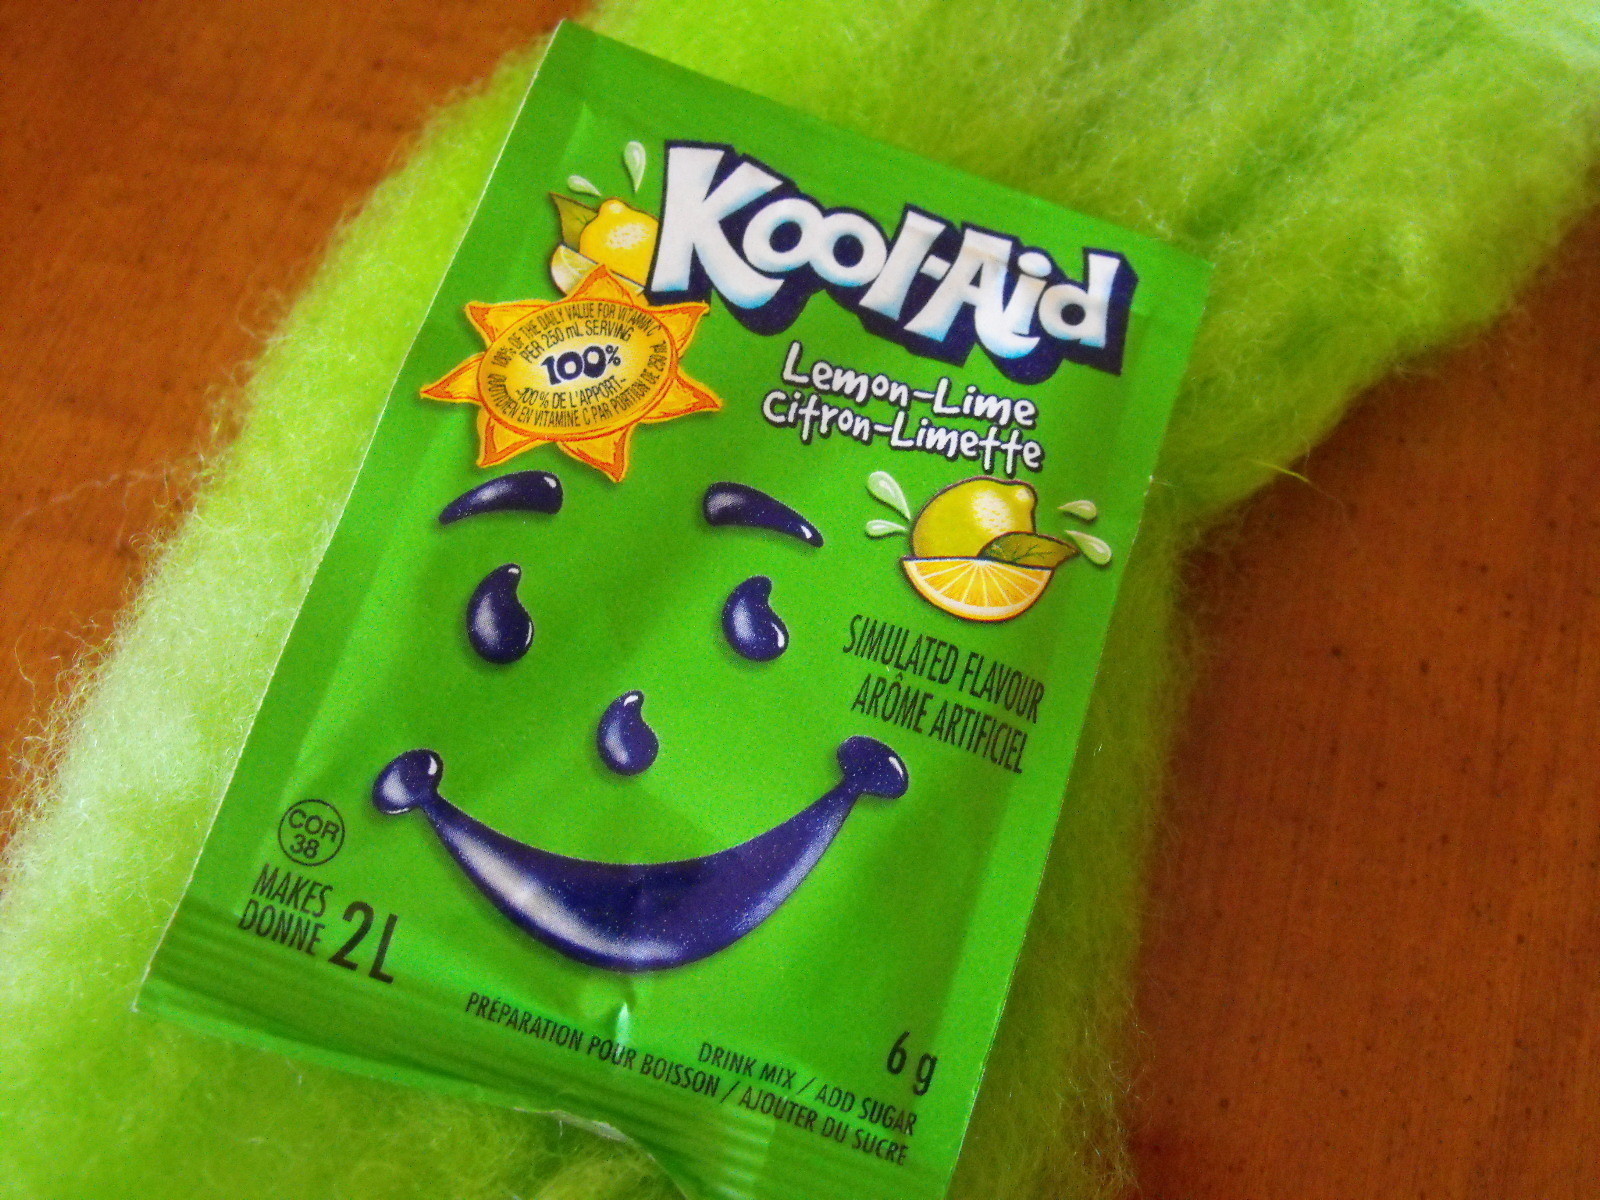
    I found a good Kool-aid chart here....http://www.thepiper.com/fiberart/koolaid/images/colorchart-high.jpg
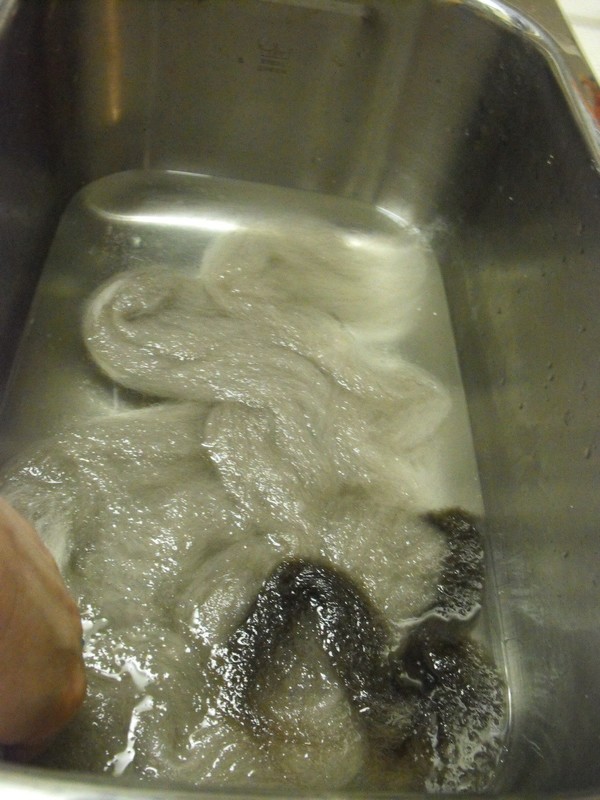
  2. Step 2

    Step 2

    Soak your roving in LUKE warm water.

    Not too cold and not too hot as this will felt your wool, also be gentle with it as aggitation felts it too.

    *** you can use either carded or non carded roving***


  3. Step 3

    Step 3

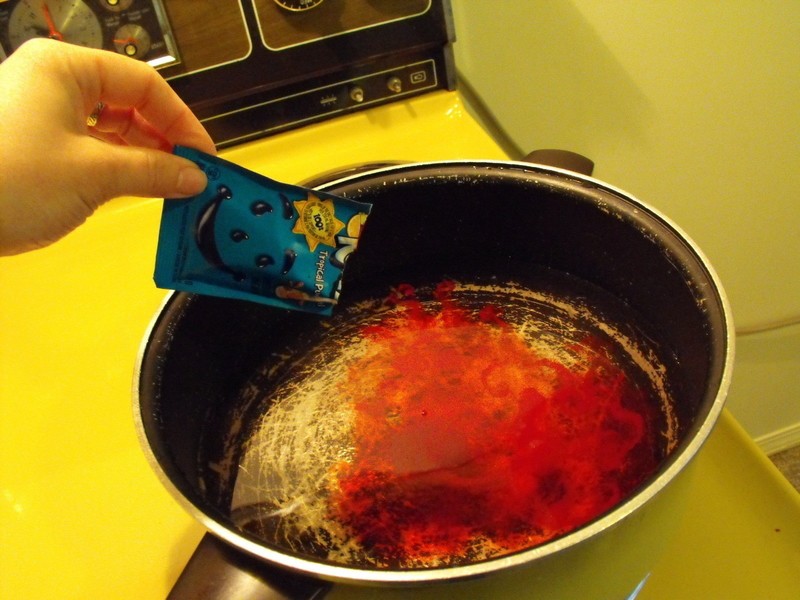
    Get your pot out and add some water enough to cover the roving and add your kool-aid pack.

    I'd say 1-2 packs per ounce of roving.

    It doesn't matter how much water since the roving just SOAKS up the dye.
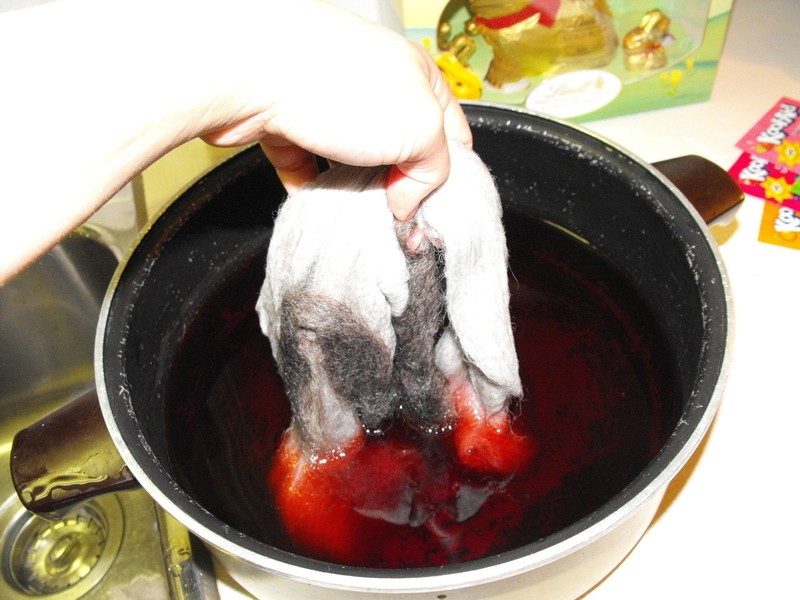
  4. Step 4

    Step 4

    Take your roving from the sink and place into your pot.


  5. Step 5

    Step 5

    Bring just to a boil and then turn it off.


    allow it to sit for about 20 minutes.

  6. Step 6

    Step 6

    You'll know it's ready when you press a spoon into your mixture and see that the water has gone CLEAR!!!

  7. Step 7

    Step 7

    Take out and place back into luke warm water in the sink and make sure there is no further leakage.

  8. Step 8

    Step 8

    Place on half of towel and press down the other half of towel.

    Hang to dry!

  9. Step 9

    Step 9

    Ta-da!!! Done.

    (purple one was done in the microwave)

Versions (1)


More from DyeingSee All »
  • Bleach Stencling With DoiliesHow To
  • Tea DyingHow To
  • Kool Aid Dying.How To
  • Ombre TutorialHow To
  • Tie DyingHow To
  • Microwave DyeingHow To
  • Kool Aid Hair Dye.How To
  • Quick Dye Lace JobHow To
  • Easy No Wax Batik DyeingHow To
  • Folded & Clamped Shibori Samples

See more Dyeing

People who love this project (50)See All »

Leave a Comment

Sorry...

You need to Sign Up and log in to leave comments


Maribug

Maribug

13 Apr 13:26

thats frigging awesome

Maribug

Maribug

13 Apr 13:26

thats frigging awesome

Andy

Andy

13 Apr 14:07

sweet

Alyssa :)

Alyssa :)

13 Apr 17:33

I want to do this! It would be awesome to be wearing something koolaid dyed:)

KT

KT

13 Apr 20:39

I have done kool-aid dying...and the only bad thing is...it doesn't stay as well as actual dye...so if you plan on washing it...be ready for it to fade.

Flail of the flair

Flail of the flair

13 Apr 20:40

Thanks for the tip KT!

Ezme

Ezme

14 Apr 09:49

thats aweosme!

shame you dont get k-a in england! :(

Krazy_Kate

Krazy_Kate

15 Apr 22:37

This easter i was dying eggs and those egg dippers are completely impossible so i just used my hands to dip the eggs in and got my hands dyed this nasty greenish brown color. This does have a point too...idk if you know this because i didnt until i thought of it on easter eve (if thats what you call it) but if you wash your hands with baking soda it takes the dye out of you hands...idk if it will help with the Kool-aid but it does with the egg dye, so yea. :)

Pinky T.

Pinky T.

16 Apr 17:23

Would this work on a ball of plain wool yarn?

Flail of the flair

Flail of the flair

16 Apr 18:36

Yeah it's just like a normal dye, if you were doing a full like BALL of it I would be using more dye and maybe.. open the ball up..

Play!! experiment!!

Nelly ^_^

Nelly ^_^

26 Apr 14:47

do u think it would work on hair? i've heard of ppl doing it before but i've never tried. hmmm...

Mi.ezekatze

Mi.ezekatze

05 May 10:03

This is perfect 'cause I seem to be allergic to the chemical dying stuff in my felt. Gonna try this.

goldielocks .

goldielocks .

21 May 19:30

can you eat it

tarrah.

tarrah.

05 Jun 17:53

does it work on cotton? (:

Maddz103 S.

Maddz103 S.

07 Jun 02:04

hmmmmmmmmmmm...could it work on cotton or hair (not real hair, you know, like fake extension hair.)

Flail of the flair

Flail of the flair

07 Jun 07:20

I think it would work on real hair too actually.. I mean as kids we used to use it to dye our hair.. it's really crazy. My fingers were coloured after doing this project.

molly g.

molly  g.

07 Jun 10:48

wow! super cool indeed. I love the hat you made with it.

Ezme

Ezme

04 Aug 13:08

*yay!* I can try his now! :D

Frankye B.

Frankye B.

05 Aug 04:24

you think it work on a tee shirt?

Lindsey N.

Lindsey  N.

22 Aug 00:07

AMAZING!!

♥ R.a.c.h.e.l. ♥

♥ R.a.c.h.e.l. ♥

22 Aug 04:52

Pictures #6 + 7 look funny! lol..but the wool looks really bright and awesome!!

Flail of the flair Posted By:
Flail of the flair »
April 13, 2009 11:29
Hr

See the projects A-Z »


Advertise here

Hr

Hr

Popular tags: Painting & Decorating, Revamping, Dressmaking / Tailoring, Clothing & Fabric, Gothic, Christmas, Decorating, and Halloween

Hr

Get the latest projects!
Fbpage Become a Fan on Facebook
or
Follow us on Twitter