
About
recycled fun for your fluffy friends
after making my version of the tin can herb pots, i decided to use some extra cans i had left to make a couple of treat tins for our kitties. my boyfriend had a leftover packet of cat grass seeds, and i grabbed a pack of catnip seeds to plant in these cute little pots.
Tags
-
 Katelyn T. favorited Kitty Treat Cans
23 Aug 00:09
Katelyn T. favorited Kitty Treat Cans
23 Aug 00:09
-
 Step 1
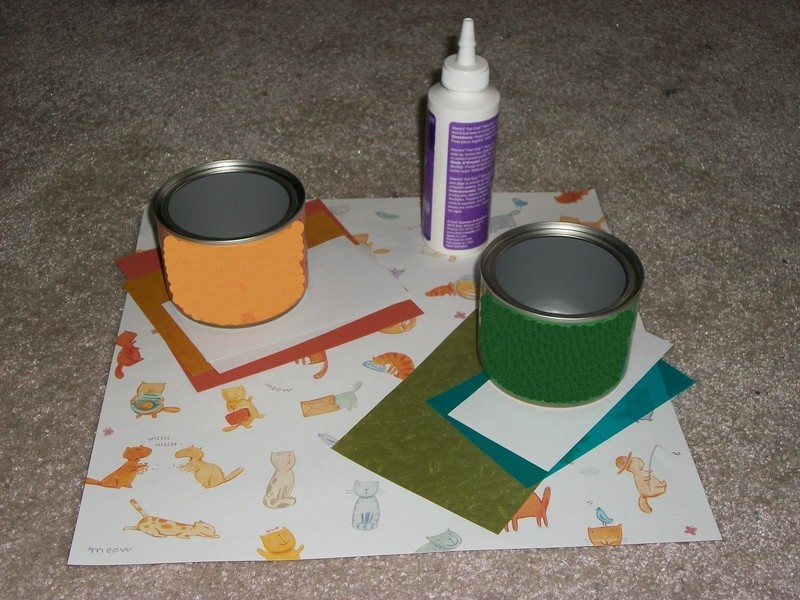
first, gather all your supplies. since i knew i wanted to do two types of herbs, i chose a color scheme for each that would still coordinate with my base paper.
-
 Step 2
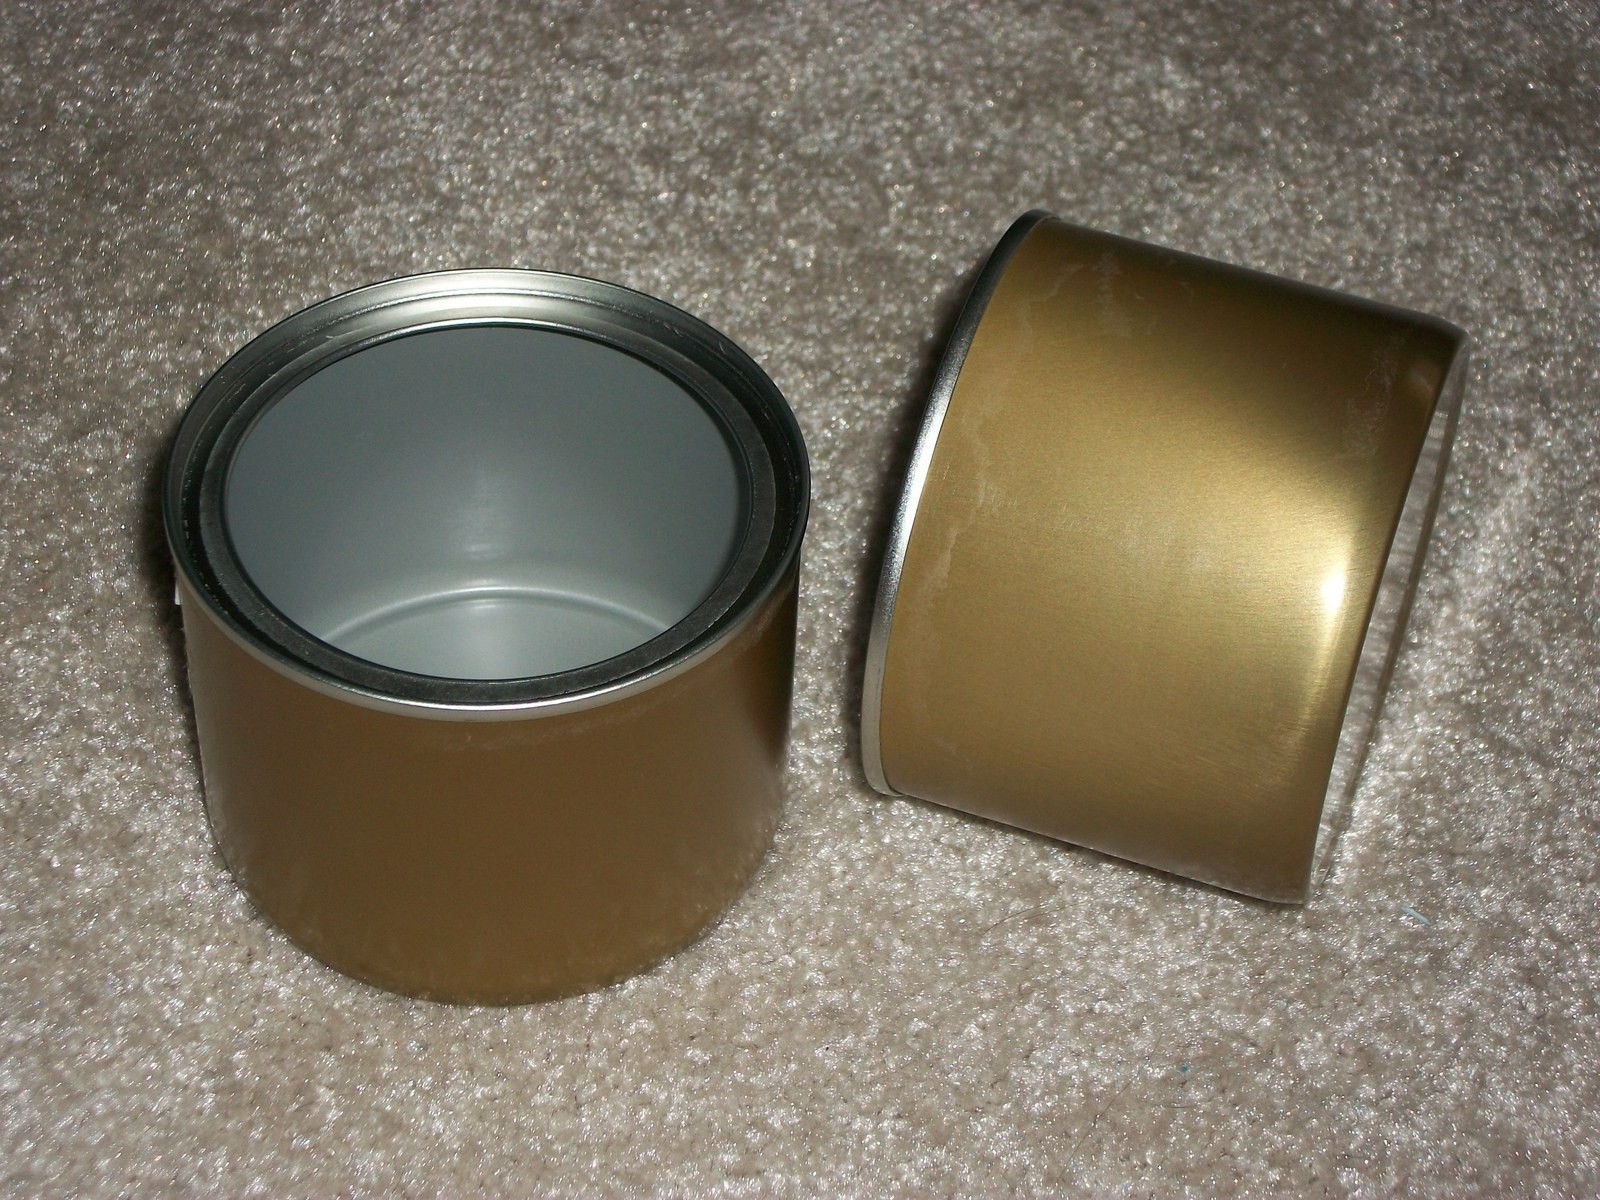
if there's paper on the outside of your cans, as there was with mine, go ahead and peel that paper off. no need to worry if there's any glue residue, since your paper will cover that.
-
 Step 3
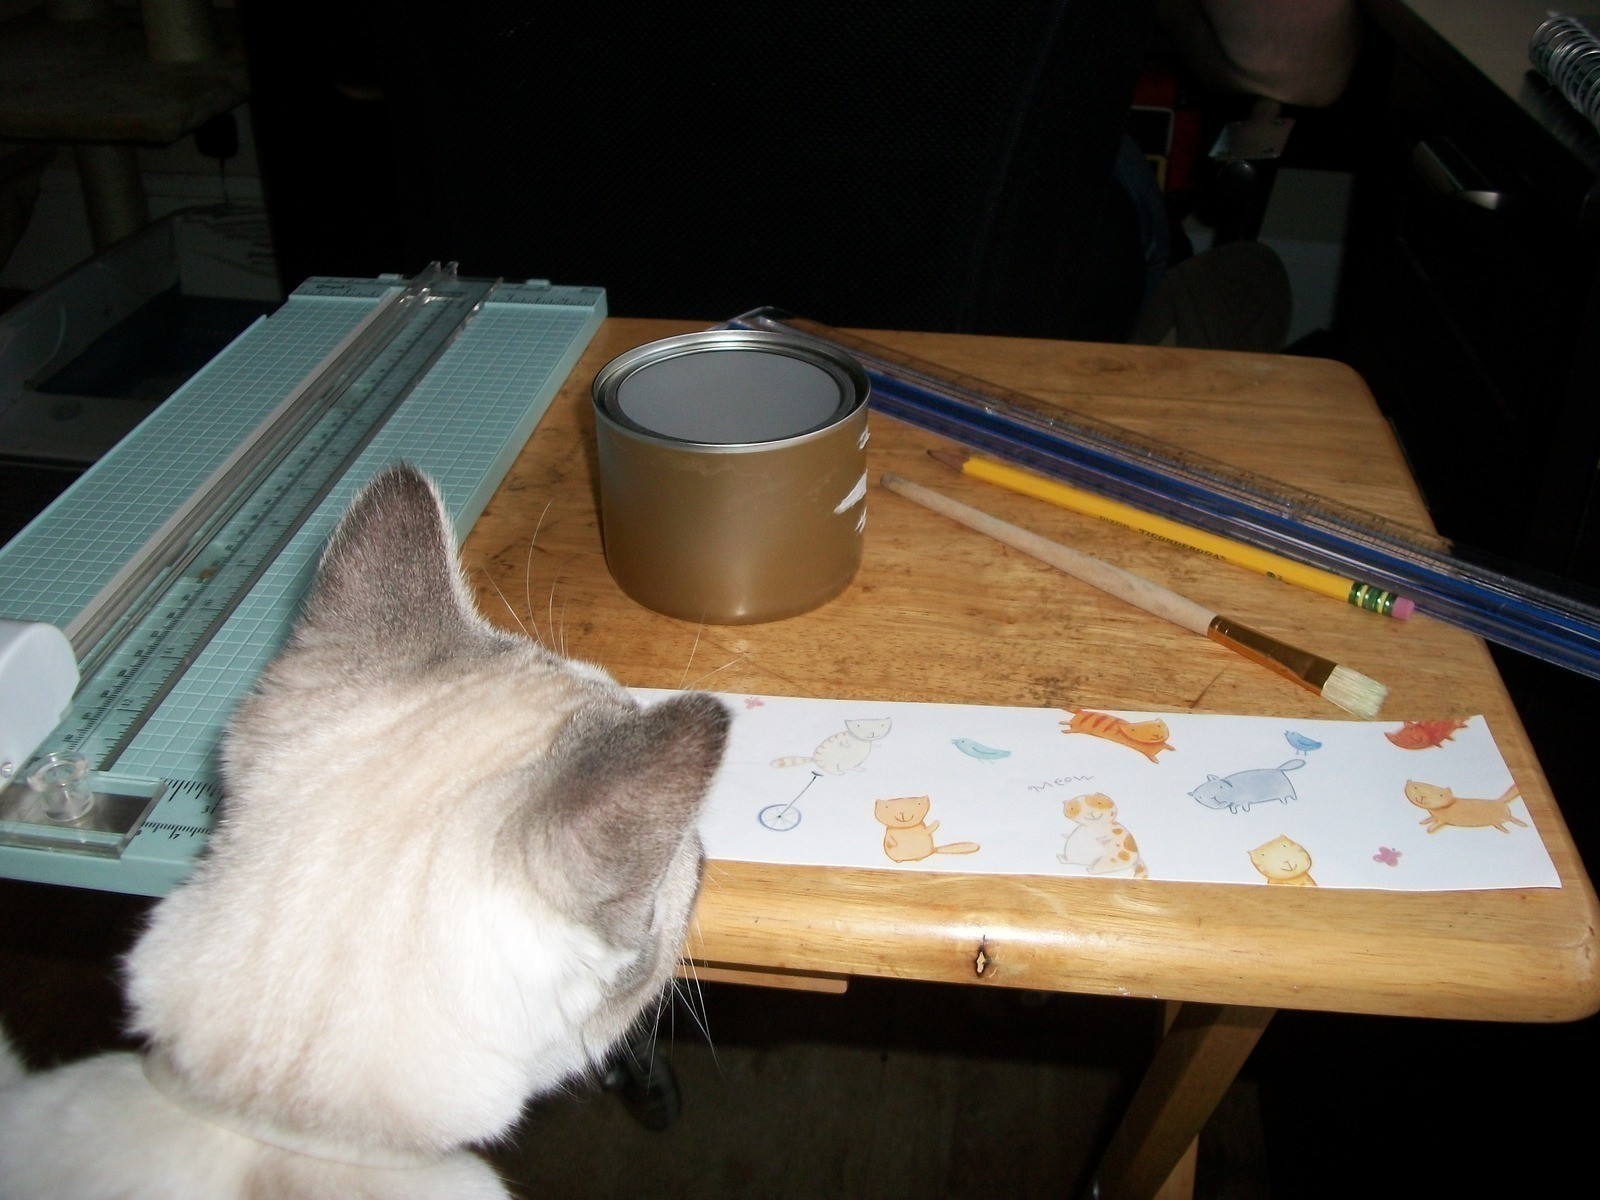
measure your can height. then measure that same length on your paper, and cut a strip of paper that is long enough to wrap around your can.
in this case, my can was about 2.5" tall, and i was using a 12" x 12" piece of paper to start with, so my strip was about 2.5" tall by 12" long.
and that's one of our cats, checking out my progress. -
 Step 4
i wrapped my base paper around the can to make sure that it would fit alright. it had a little bit of overlap, but i didn't mind that. if you like, you can always trim the ends to meet up exactly.
-
 Step 5
next, i poured a glob of glue onto the can and used an old paint brush to spread it evenly over the whole can. the glue that i used is a fast-grab kind, so i had to work really quickly.
the benefit to that, though, is that when i put my paper on the can, it stuck instantly and didn't budge.
-
 Step 6
once the glue was spread across the entire surface of my can, i placed my paper and pressed it down by rolling the can gently back and forth in my hands. employing that technique (plus the use of a nice, thick glue) helps keep the air bubbles out when working with paper on cans.
-
 Step 7
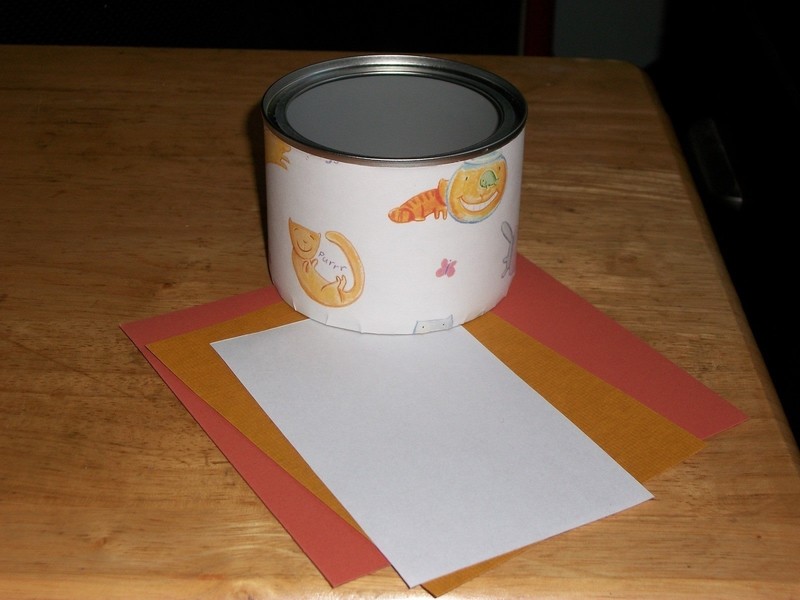
here you can see the color combo of papers that i chose for my catnip can. i used to scrapbook like crazy, so i have tons of scraps and leftovers that come in handy for quick projects like this.
-
 Step 8
i measured my white paper first, because i had a good idea of the size i wanted for my labels. this white strip measured 3 cm. i then measured my other two colors: the gold at 3.5 cm and the dark orange at 4 cm.
-
 Step 9
here are the two color combos i chose, with the strips cut to the right size to make my labels.
-
 Step 10
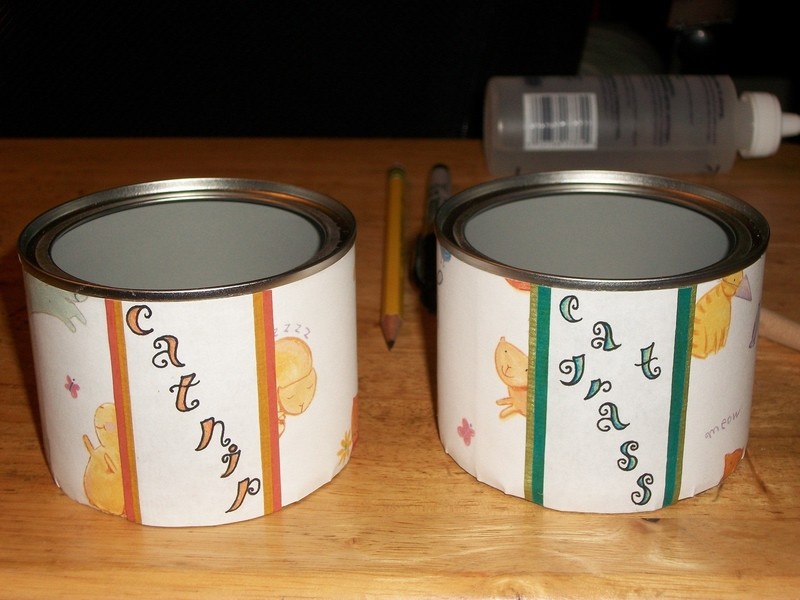
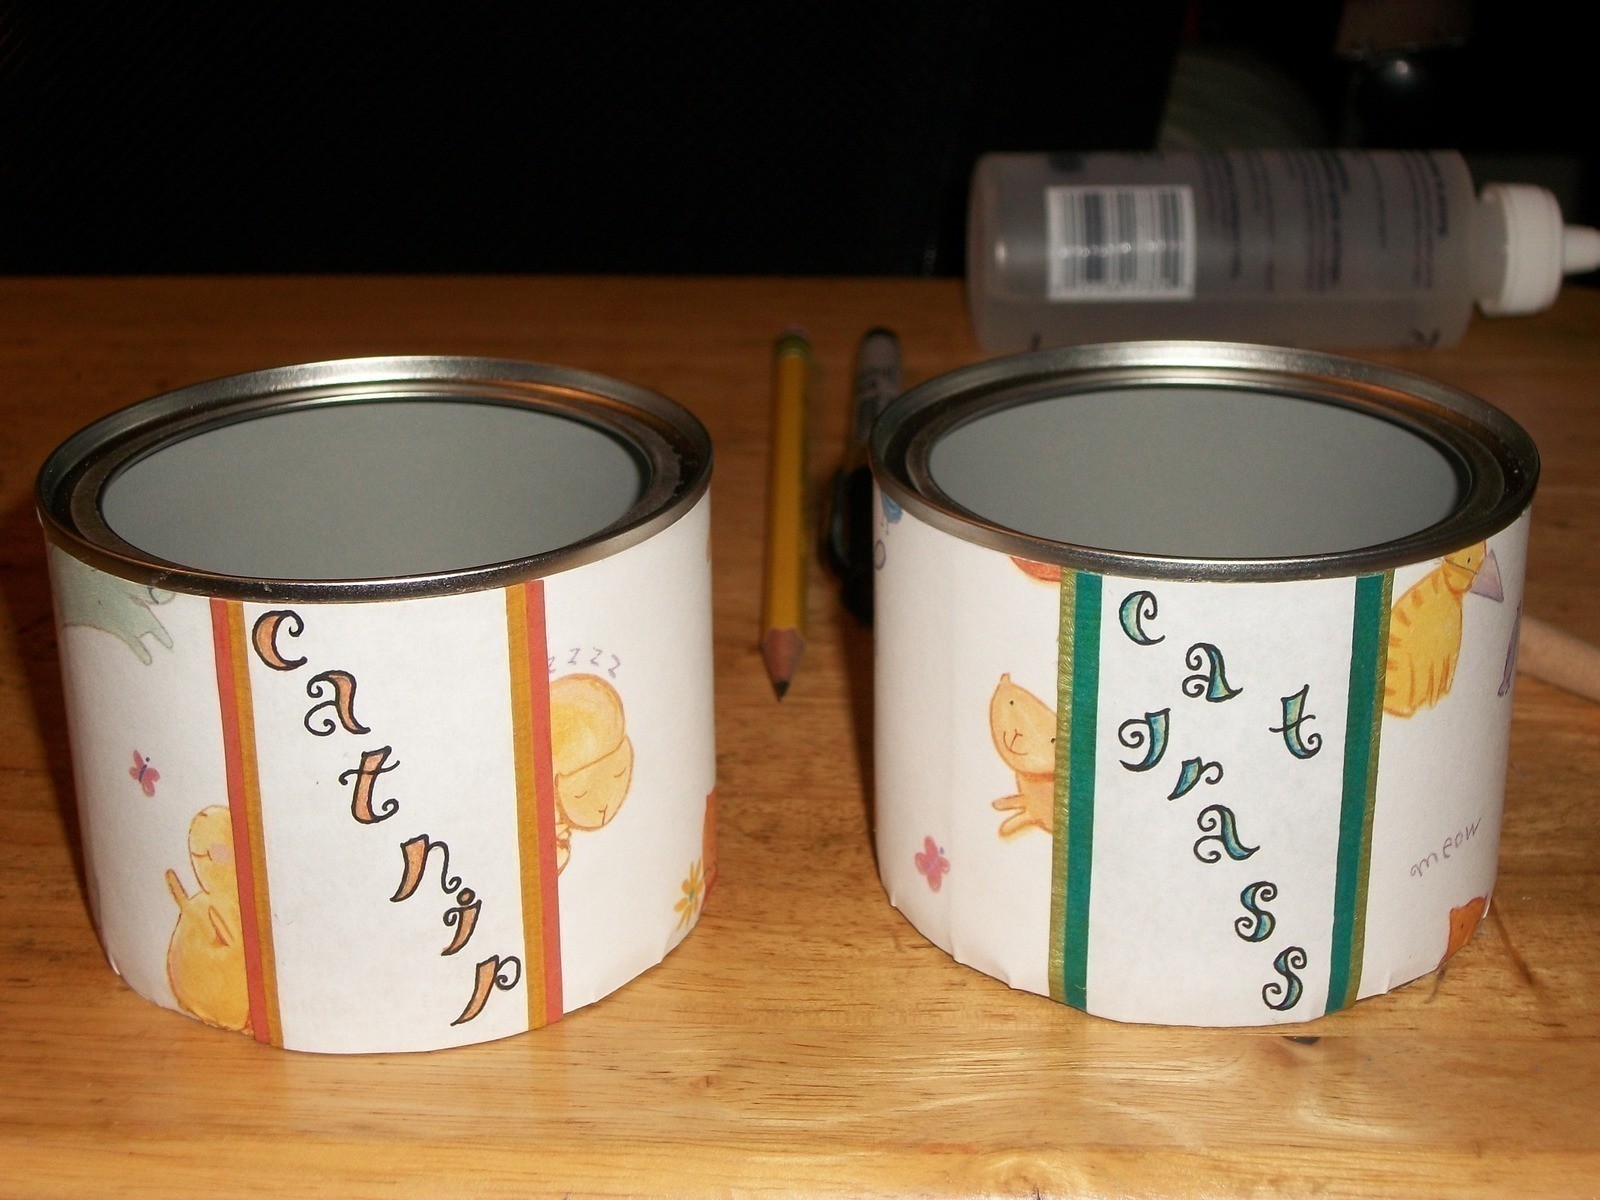
i drew out my labels in some fun letters and colored them in with colored pencils. i wanted to make the letters stand out a little more, so i went around them with black permanent marker.
-
Step 11
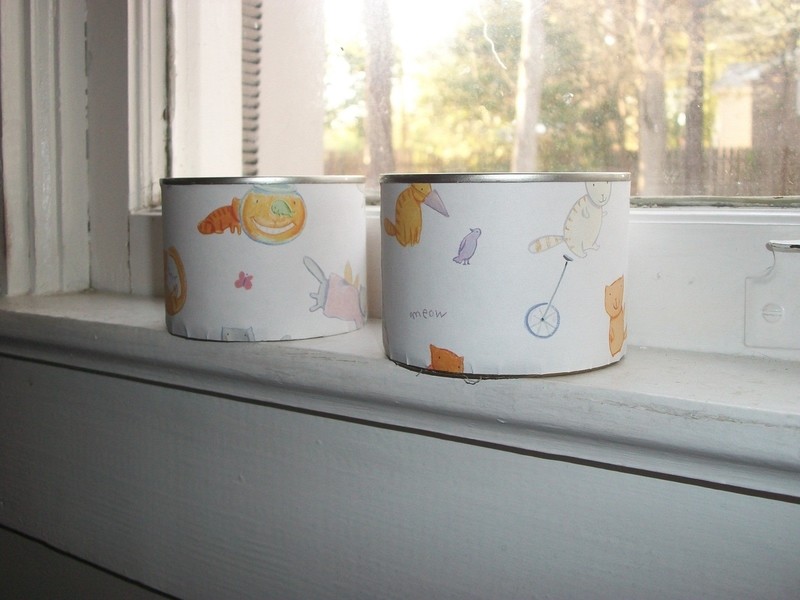
and that's that!
if you'd like to plant something in your cans, you can check out this tutorial: http://www.cutoutandkeep.net/projects/tin_can_herb_pots_2 for planting directions.
or use them to house anything else you like!
enjoy :)