


About
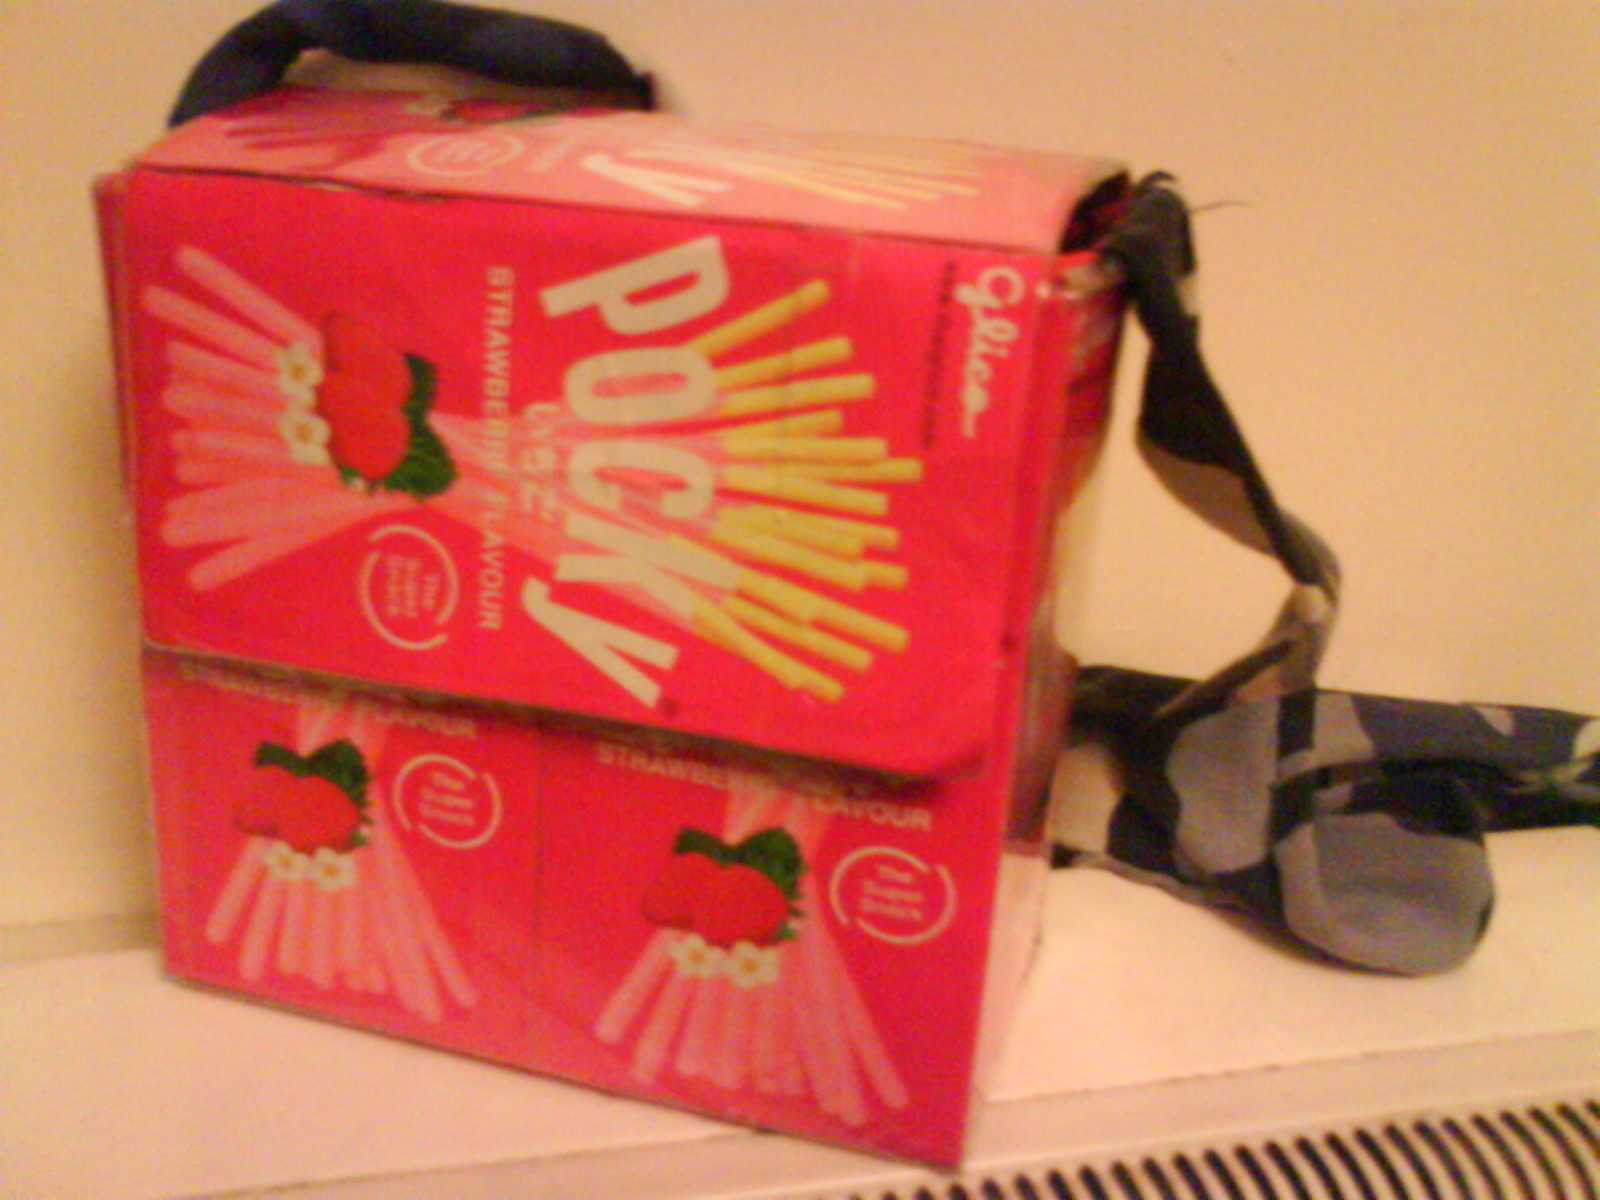
A cute and kawaii bag good enough to eat!
I LOOOOVE Pocky, and not many people in England have ever heard of it! I had a few boxes laying around and I couldn't bring myself to throw them away, as I think the packageing is soo cute. Look good AND save the environment by recycling.
This is an original idea and it's made by myself. So many people have paid me lots of compliments on my bag. They even ask me where they can buy one from!! I will show you how to make one here ^_^
Tags
-
 Key West Witch favorited ♥kawaii And Quirky Pocky Bag♥
27 Jun 13:34
Key West Witch favorited ♥kawaii And Quirky Pocky Bag♥
27 Jun 13:34
-
 Nankita favorited ♥kawaii And Quirky Pocky Bag♥
12 Apr 17:35
Nankita favorited ♥kawaii And Quirky Pocky Bag♥
12 Apr 17:35
-
 occultkitty added ♥kawaii And Quirky Pocky Bag♥ to To make
13 May 15:48
occultkitty added ♥kawaii And Quirky Pocky Bag♥ to To make
13 May 15:48
-
 Brigit favorited ♥kawaii And Quirky Pocky Bag♥
09 Apr 07:07
Brigit favorited ♥kawaii And Quirky Pocky Bag♥
09 Apr 07:07
-
 Siru N. favorited ♥kawaii And Quirky Pocky Bag♥
06 Dec 19:47
Siru N. favorited ♥kawaii And Quirky Pocky Bag♥
06 Dec 19:47
-
 Kylie F. favorited ♥kawaii And Quirky Pocky Bag♥
24 May 19:15
Kylie F. favorited ♥kawaii And Quirky Pocky Bag♥
24 May 19:15
-
 jearica y. added ♥kawaii And Quirky Pocky Bag♥ to bags
12 May 04:01
jearica y. added ♥kawaii And Quirky Pocky Bag♥ to bags
12 May 04:01
-
 Claire M. favorited ♥kawaii And Quirky Pocky Bag♥
11 Feb 00:25
Claire M. favorited ♥kawaii And Quirky Pocky Bag♥
11 Feb 00:25
-
 alexandra g. added ♥kawaii And Quirky Pocky Bag♥ to make
29 Dec 19:57
alexandra g. added ♥kawaii And Quirky Pocky Bag♥ to make
29 Dec 19:57
-
 Kendell V. favorited ♥kawaii And Quirky Pocky Bag♥
16 Dec 03:13
Kendell V. favorited ♥kawaii And Quirky Pocky Bag♥
16 Dec 03:13
-
 Step 1
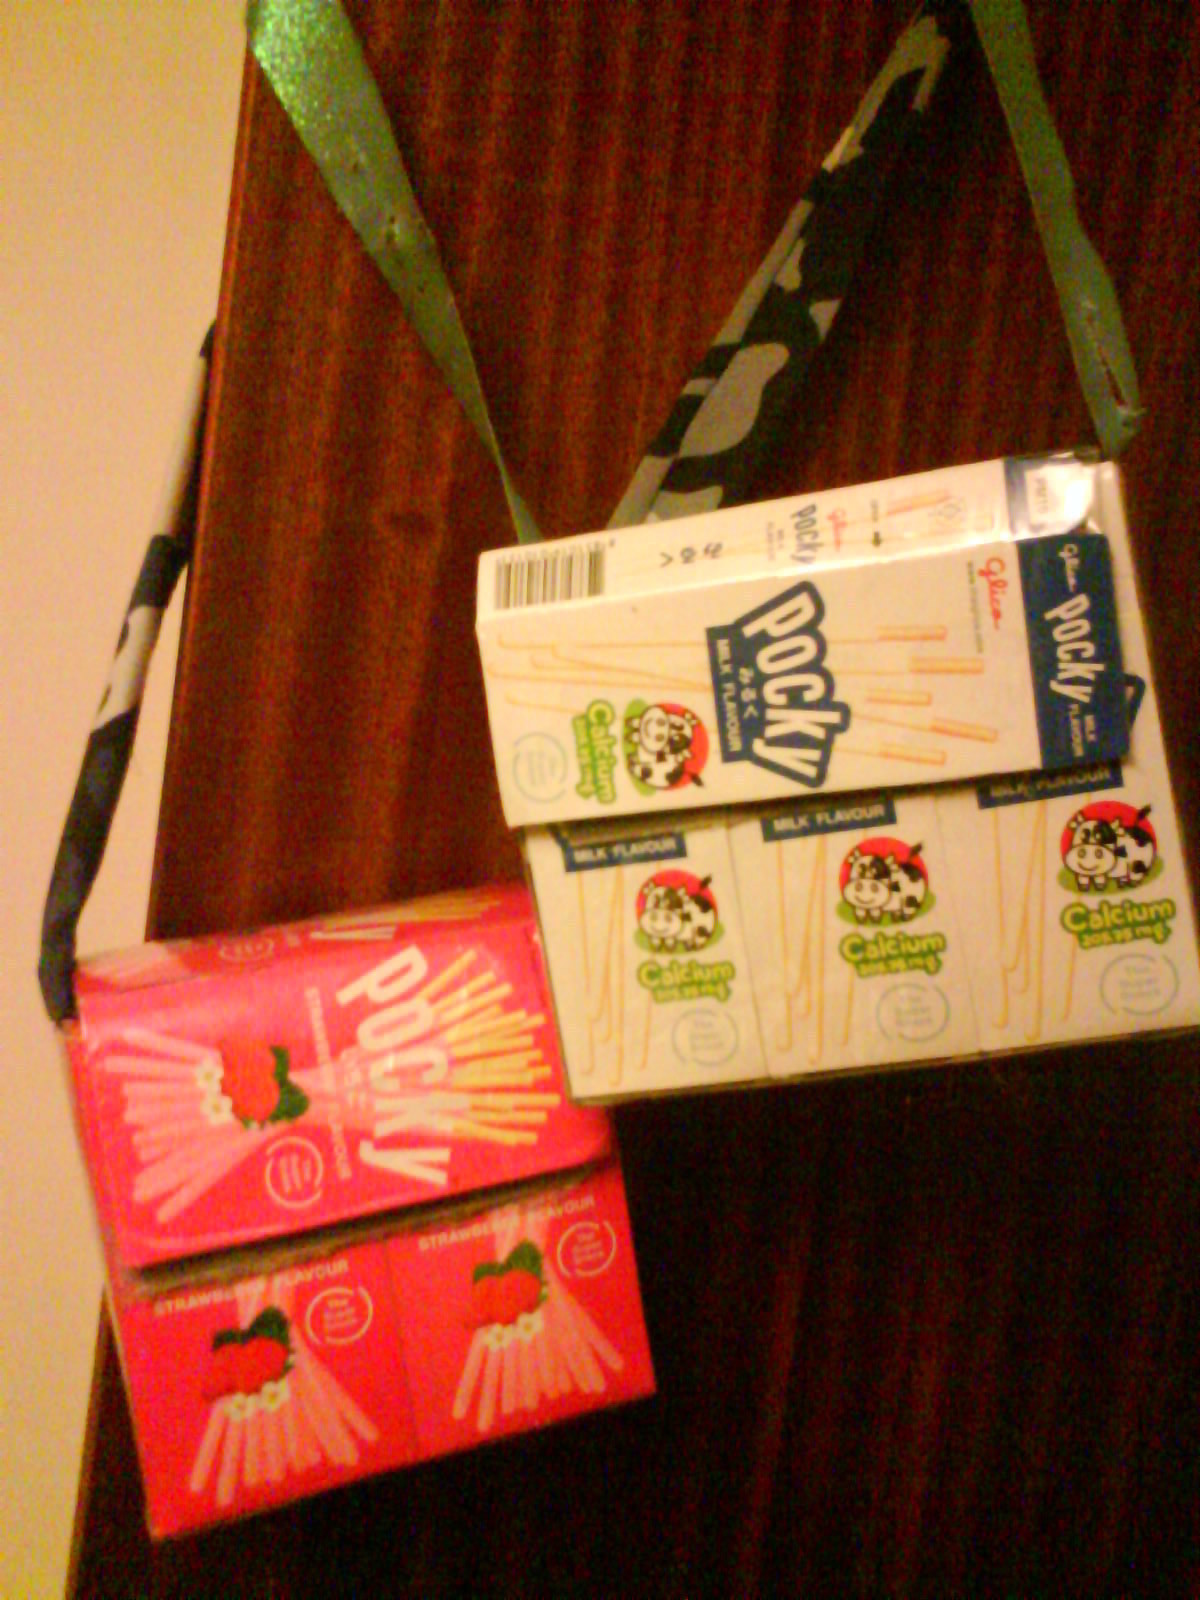
Plan out how you want your bag to be, ie how many boxes you will need. Unfortunately my local shop that sells Pocky, had run out of the normal sized boxes, so I had to use the smaller boxes instead. (For the pink Pocky bag I used 8 boxes, and for the white Pocky bag, I used 10).
I will show you how to make the smaller bag in this how to!
-
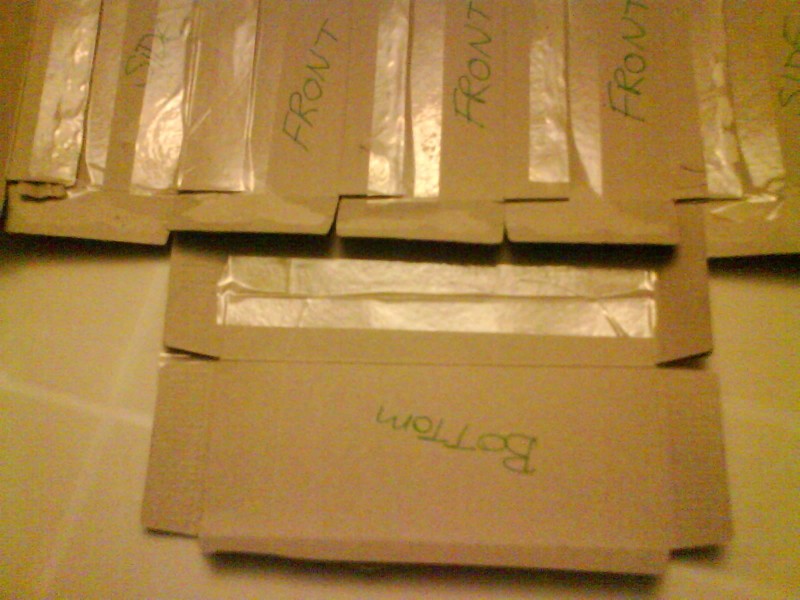
 Step 2
I used the front and side panels from 3 boxes, and taped the tabs to the underneath of the side I wasn't using. Don't cut the sides off as you will need these for attatching the boxes together with!
-
 Step 3
You can use double sided tape or pads for this to work best. On the back side, stick tape over the perforations to stop them ripping!
-
 Step 4
Like this:-
-
 Step 5
Add on 4 more front panels for the sides...
-
 Step 6
Tape on 3 panels for the back...
-
 Step 7
Stick 2 panels next to each other for the bottom. Stick the bottom sectiontabs to where it says front. Make sure that you get this the right way up! :)
-
 Step 8
Stick "side" tabs to the bottom, do this with both sides, so its even.
-
 Step 9
Stick back panel tabs to the bottom and side... You should now have a box!
-
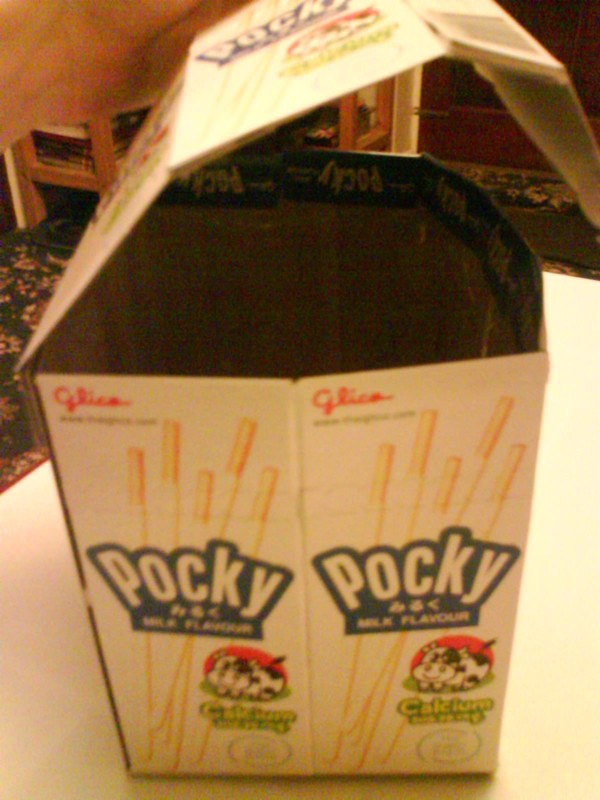
 Step 10
Use 3 panels for the top, stick the tabs to each panel, so you should now have a "lid".
-
 Step 11
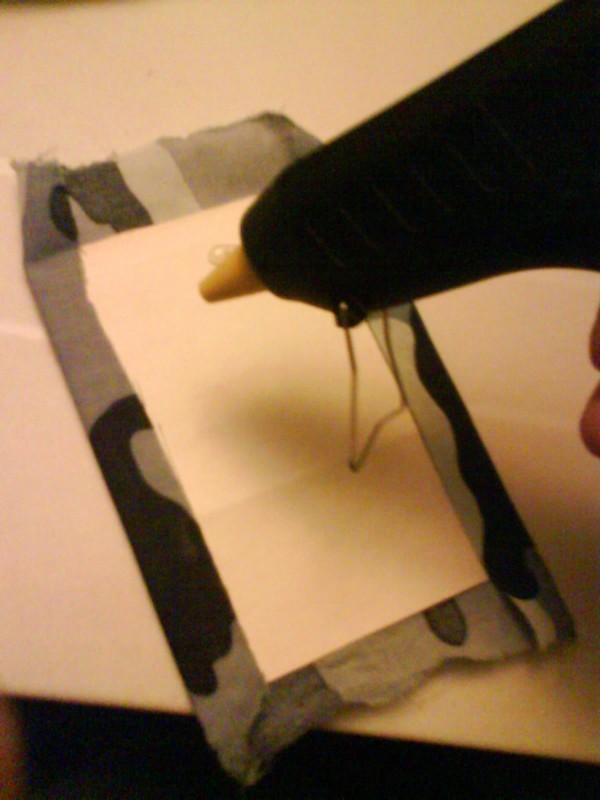
Heat up your glue gun- this is the fun and messy part!! :]
Measure how big the inside panels are (or you could use the remainder of the Pocky boxes as a guide). Use some spare card to reinforce the insides*
*You don't have to do this, but it makes the bag stronger!
(My bag was 11.5cm X 14.5cm height)- measure and cut this out of card and stick fabric on to cover the card up. Glue the side with the least fabric on to the inside of the bag on the bit you just measured. You don't need a lot of glue, just a few dabs to hold the card in place.(I lined the second bag with the same fabric I used for the handle on my first Pocky bag!)
-
 Step 12
Repeat this for the other sides and the bottom. You may find using fabric scissors easier lol.
-
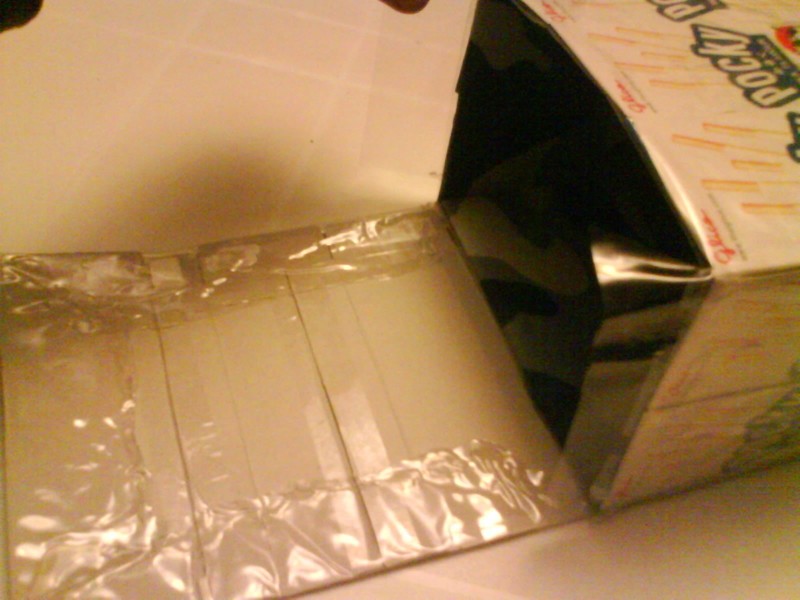
 Step 13
So you will have something that looks like this:-
Don't worry if the sides of the inside of your bag stick up slightly taller than the bag, as this will help when attaching the handle!
You can see the bag is much stronger now. -
 Step 14
Cover the bag in clear plastic/ clear vinyl. This can be tricky!!
Tack the plastic on with some glue*, try not to use too much as its clear it will show up.
(This process reminds me of covering my old school books!). Leave the sides til last, as you need to attatch the handle yet.
*Try not to melt the plastic as this will stink! :(
-
 Step 15
Attatch the plastic to the "lid", and it should look like this:-
-
 Step 16
For my first bag, I cut up an old pillowcase for the handle. I cut a length of fabric from it about 8cm wide and folded it in half then glued it shut, then sewed it all the way down to how long I wanted it. For this how to, I used the covering off an old belt that broke. You could improvise and even use an old tie for a handle!
If you're not too good at sewing, glue part of the handle to the inside of your bag, then tack it to make it stronger. Don't go through the card underneath, only the fabric as this will be much easier!
Now glue on the plastic sides after attatching the handle.
-
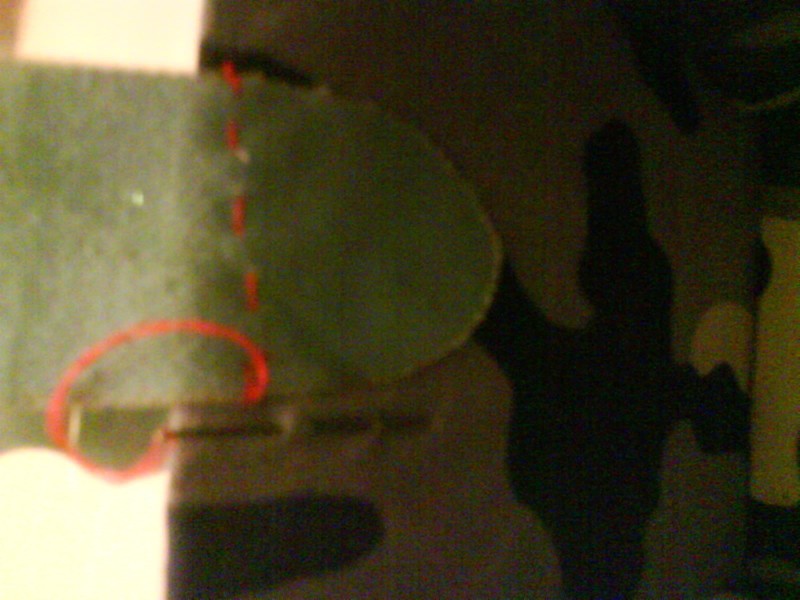
 Step 17
Get your velcro and measure how much you need. Place across on the front and decide how much to use. Stick your velcro on in the right place, and line up with the inside of the top section.
-
 Step 18
Keep the velcro stuck to itself when glueing as this will make all your lining up easier. Wait until this has dried thoroughly before glueing on the opposite half! Make sure your velcro matches up on both sides before sticking.
-
 Step 19
That is your bag made! A bit tricky, but worth it- wait for all the compliments to come pouring in over your bag ^_^. Enjoy!!


I have a collection of all kinds of pocky boxes laying around my house, and ive been needing something to do with them!
This is perfect.
I have a collection of all kinds of pocky boxes laying around my house, and ive been needing something to do with them!
This is perfect.
very cutes!
it's a pretty nice idea!
i need to made it from my captain crunch fav cereal boxes!!
xoxo
andy 13