


About
#Tutorial #Kawaii #Onigiri #Plush
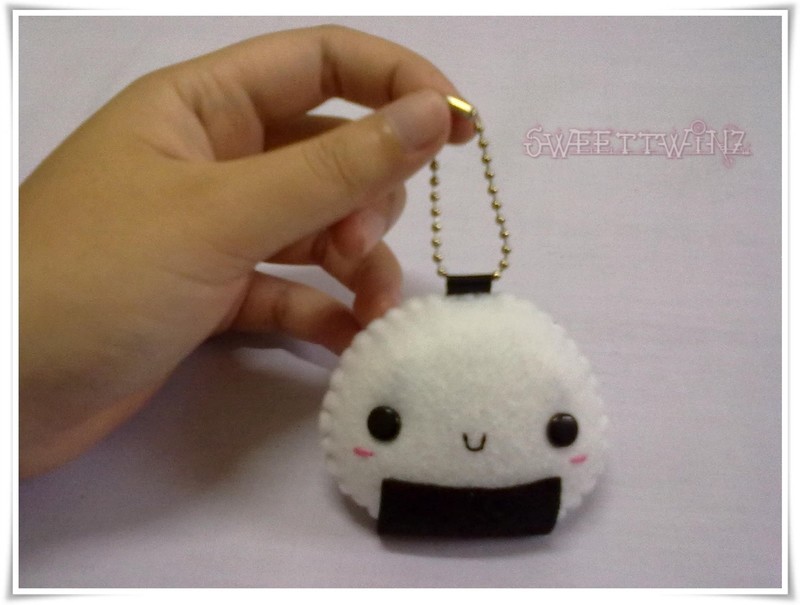
It's so easy to make this cute Kawaii Onigiri.. Have fun!!!
Tags
Downloads
- Template.jpg 447 KB [ Download ]
-
 Jen O. added Kawaii Onigiri Tutorial to For fun
06 Dec 05:15
Jen O. added Kawaii Onigiri Tutorial to For fun
06 Dec 05:15
-
 Neko-San K. favorited Kawaii Onigiri Tutorial
31 May 20:53
Neko-San K. favorited Kawaii Onigiri Tutorial
31 May 20:53
-
 Mikeria W. added Kawaii Onigiri Tutorial to Things to make
26 Apr 21:35
Mikeria W. added Kawaii Onigiri Tutorial to Things to make
26 Apr 21:35
-
 wondertide favorited Kawaii Onigiri Tutorial
21 Feb 23:56
wondertide favorited Kawaii Onigiri Tutorial
21 Feb 23:56
-
 Emma H. favorited Kawaii Onigiri Tutorial
28 Dec 19:21
Emma H. favorited Kawaii Onigiri Tutorial
28 Dec 19:21
-
sabrina w. favorited Kawaii Onigiri Tutorial
04 Dec 18:51
-
 Anime Magical Cat Girl added Kawaii Onigiri Tutorial to so cute
01 Sep 03:02
Anime Magical Cat Girl added Kawaii Onigiri Tutorial to so cute
01 Sep 03:02
-
 Zelda M. favorited Kawaii Onigiri Tutorial
19 Jan 22:19
Zelda M. favorited Kawaii Onigiri Tutorial
19 Jan 22:19
-
 drevanhoussen added Kawaii Onigiri Tutorial to plushies
07 Oct 00:23
drevanhoussen added Kawaii Onigiri Tutorial to plushies
07 Oct 00:23
-
drevanhoussen favorited Kawaii Onigiri Tutorial
07 Oct 00:23
You Will Need
-
 Step 1
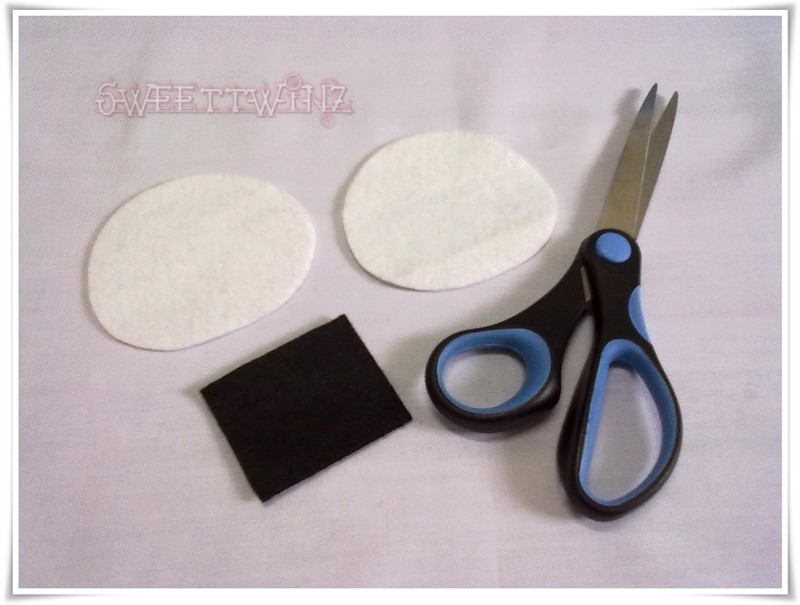
Material:
~ Felt (Black & White)
~ Safety eyes (brads)
~ Fabric Glue (UHU)
~ Fiber (for stuffing)
~ Ribbon (for keychain holder)
~ Ball chain
~ Colored threads & needle
~ Scissor
~ Ruler
~ Pen -
 Step 2
Trace the pattern (*cut the provided template)on to the felt and cut it out.
*cut a piece of black coloured felt (square shape).
-
 Step 3
You will get this shape:
- 2 pcs of onigiri shape
- 1 pcs of square shape -
 Step 4
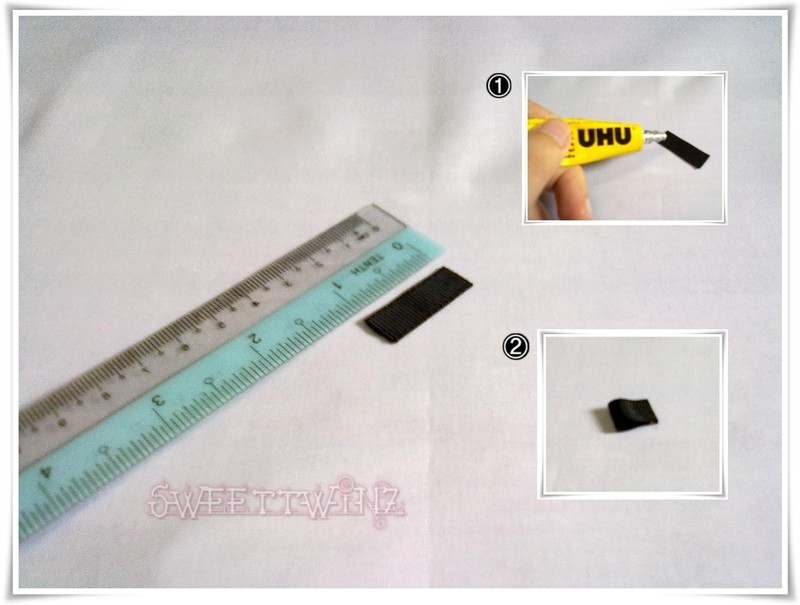
Use a small ribbon (approx. 1 inch) to make a keychain holder.
-
 Step 5
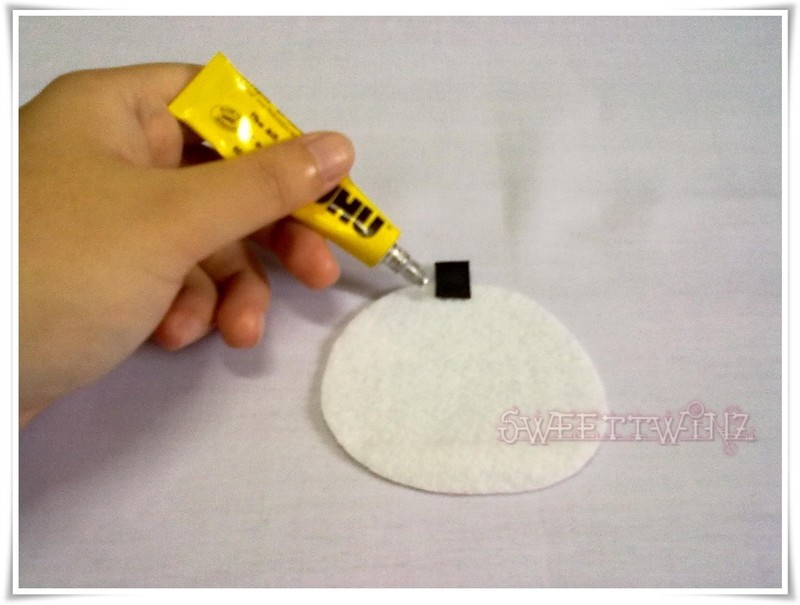
Glue the keychain holder onto the center of the felt.
-
 Step 6
Mark 2 dots using a pen on either side. Make a small hole using the point of the scissor.
-
 Step 7
Feed the safety eyes through the hole.
-
 Step 8
Make sure it's quite a tight fit.
-
 Step 9
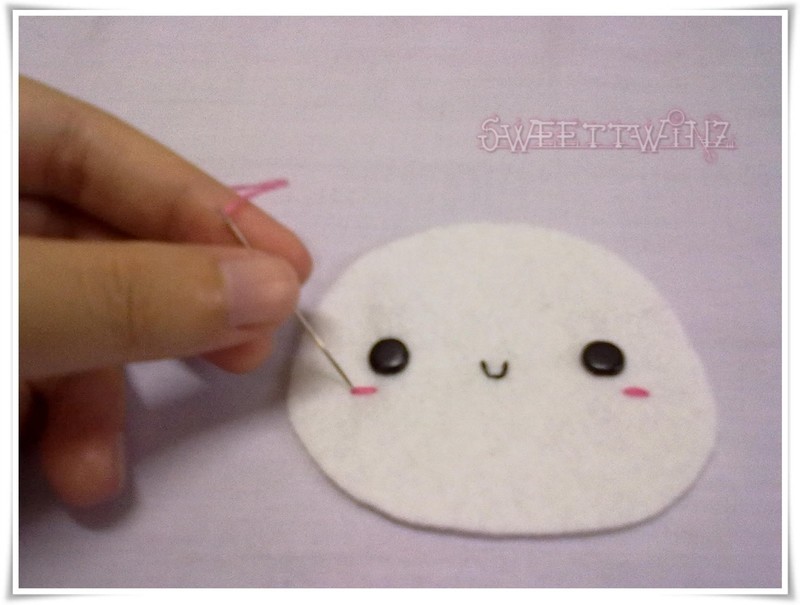
Sew the mouth, you can do whatever expressions you want for the face.
For the cheek, just sew a straight line.
-
 Step 10
Put together the front and the back.
-
 Step 11
Sew using blanket stitch around the edge.
Don't forget 2 leave a gap for stuffing.
-
 Step 12
Stuff evenly around the plushie.
As you continue sewed the rest of it, you may stuffed extra fiber as you need to make it more fluffy.
-
 Step 13
All done with the sewing. Make sure you knot the threads well.
-
 Step 14
Using the fabric glue, stick down the black square shape onto the center of plushie.
Same with the back side.
-
 Step 15
For the last, at in the ball chain to the keychain holder.
-
 Step 16
Congratulations!!!
You've made your own Kawaii Onigiri KeyChain..^~^


Versions

Comments


