


About
Great for gifts or any occasion!
The first time i attempted to make one it took me about 20 minutes but now i could probably do it in my sleep in under 5 minutes! Its quite simple to make even if you have only basic knowledge of a sewing machine. I wouldn't try sewing one by hand (although, i've heard of people doing it). Another tip is dont uses the "hour-glass" shaped pouches such as 'Minute Maid' and 'Honest Kids' (Their shape makes them impossible to use). Stick to the juice pouch brands that have rectangular shaped pouches such as 'Capri Sun', 'Kool Aid Jammers', and 'Hi-C'. Theres tons of other tutorials online but i think mine is the only that shows how to make two pockets.
Not to brag or anything but this tutorial is better than all the other..
-
 Star P. favorited Juice Pouch Coin Purse
17 Oct 22:55
Star P. favorited Juice Pouch Coin Purse
17 Oct 22:55
-
 Jeanne A. favorited Juice Pouch Coin Purse
27 May 19:49
Jeanne A. favorited Juice Pouch Coin Purse
27 May 19:49
-
 susisorglos added Juice Pouch Coin Purse to Taschen nähen
26 Apr 20:09
susisorglos added Juice Pouch Coin Purse to Taschen nähen
26 Apr 20:09
-
Tamiko B. added Juice Pouch Coin Purse to capri sun
24 Dec 00:33
-
 Alex B. favorited Juice Pouch Coin Purse
12 Dec 07:48
Alex B. favorited Juice Pouch Coin Purse
12 Dec 07:48
-
 DocDoolittle favorited Juice Pouch Coin Purse
08 Dec 00:45
DocDoolittle favorited Juice Pouch Coin Purse
08 Dec 00:45
-
 jennifer.barninger favorited Juice Pouch Coin Purse
24 Nov 08:05
jennifer.barninger favorited Juice Pouch Coin Purse
24 Nov 08:05
-
 darlene.mickey.9 favorited Juice Pouch Coin Purse
08 Jul 02:20
darlene.mickey.9 favorited Juice Pouch Coin Purse
08 Jul 02:20
-
 Jimmy D. favorited Juice Pouch Coin Purse
05 Jul 11:56
Jimmy D. favorited Juice Pouch Coin Purse
05 Jul 11:56
-
 Katie favorited Juice Pouch Coin Purse
30 Jun 11:14
Katie favorited Juice Pouch Coin Purse
30 Jun 11:14
-
 Step 1
Start with your juice pouch (this project takes 3 pouches).
-
 Step 2
Use an X acto knife to slice the bottom open (BE CAREFUL NOT TO CUT YOURSELF!!! IVE DONE IT BEFORE! TRUST ME, YOU DO NOT WANT THE STITCHES I HAD TO GET!).
-
 Step 3
After you cut the bottom, it should look like this. Dont worry if your cut is a bit messy, (as long as you didnt cut the outer plastic) this part wont be seen anyways.
-
 Step 4
Fill the pouch to the brim with warm water.
-
 Step 5
Do to all the pouches.
TO DRY: Dump the water out and wipe inside with dry towel. Dont be too OCD about water droplets left behind. WHO CARES if its a bit wet,,,it will dry eventually.
-
 Step 6
Start with your 3 clean pouches.
-
 Step 7
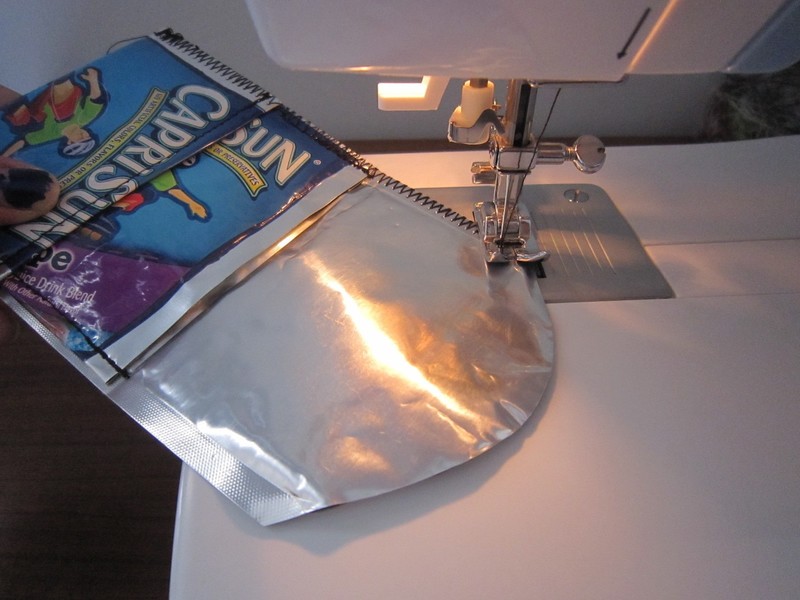
Lay two pouches end to end so they face the same direction (the pouch on the left is overlapping the pouch on the right).
Using a sewing machine, sew a zig-zag stitch where the first end meets the second pouch.
-
 Step 8
This isn't really a step but heres just a close-up view.
-
 Step 9
Take your third pouch and fold like pouch in step 10.
This picture just shows you were you'll be folding.Right where my fingers are is where you should bend the ends back behind.
-
 Step 10
This is what it will look like after you've folded it (notice how the straw hole is still visible).
-
 Step 11
Line up the center of the folded pouch with the zig-zag stitch of the other two pouches.
Use the straw hole as your guide to find the center. -
 Step 12
Its pretty much in the middle of the sewn piece.
-
 Step 13
Sew a straight stitch to connect the folded piece to the already sewn pouches (i know my explanation is really bad, but atleast my pictures make sense).
Sew another straight stitch on the other side.
-
 Step 14
This is what it should look like (with both ends sewn with a straight stitch).
-
 Step 15
Fold first end up so the crease is at the edge of the pouch you just sewed with a straight stitch (again, my explanation is really bad, but atleast my pictures make sense).
-
 Step 16
Fold again but with the other side being folded down :D
-
 Step 17
Unfold your creation.
See were the straw hole is?
Fold straight across til you cant see the whole anymore. -
 Step 18
Sew about 1 cm from your crease (inner view).
-
 Step 19
This step jus show you what it looks like at this point (this pic was taken before the stitch you make in step 18, but you get the idea).
-
 Step 20
Hold the pouches so the one end up like so.
See how the colored part of the pouch makes a upside-down "U"?
Cut most of the silver part off (like in step 21). -
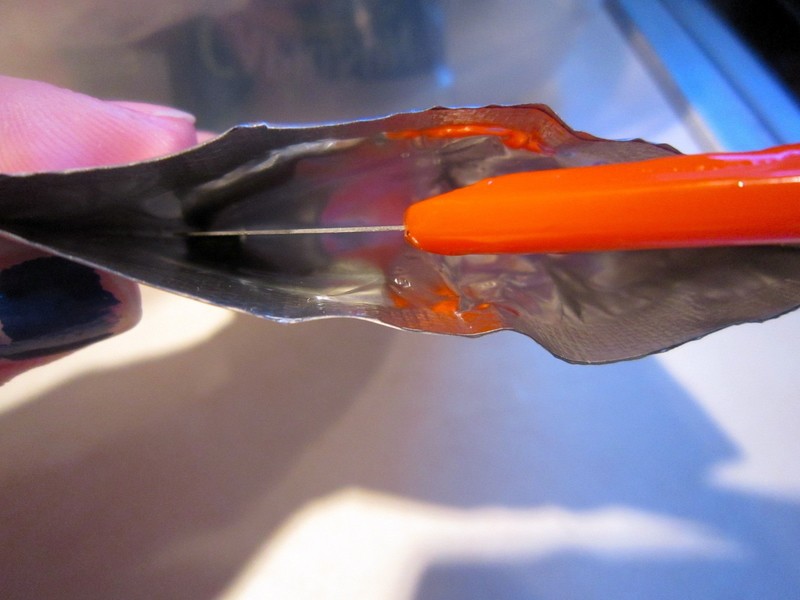
 Step 21
Leave just a bit of silver edge because it looks better than no silver.
-
 Step 22
Use a zig-zag stitch to sew around the edges of the wallet Leave the one fold (folded in step 15) folded and the "U" fold, unfolded.
-
 Step 23
Continue sewing around the "U".
-
 Step 24
Just keep sewing..
-
 Step 25
..and you'll get something like this :D
-
 Step 26
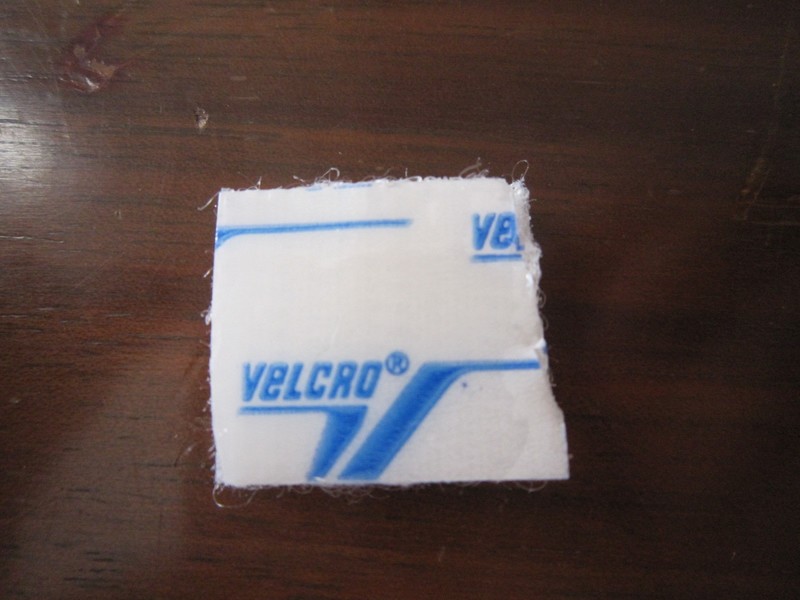
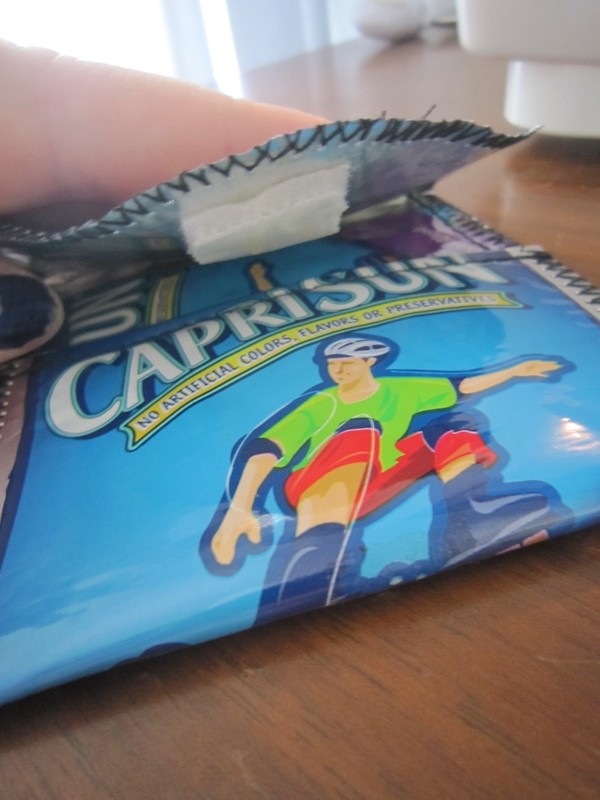
Take a square inch of self-adhesive velcro
-
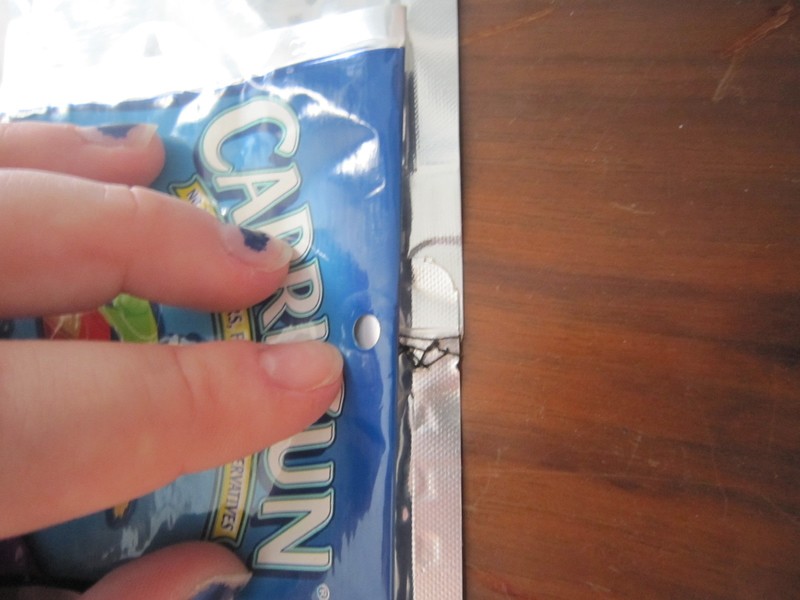
 Step 27
Remove the one side of the velco-backing and attach to top of the wallet.
-
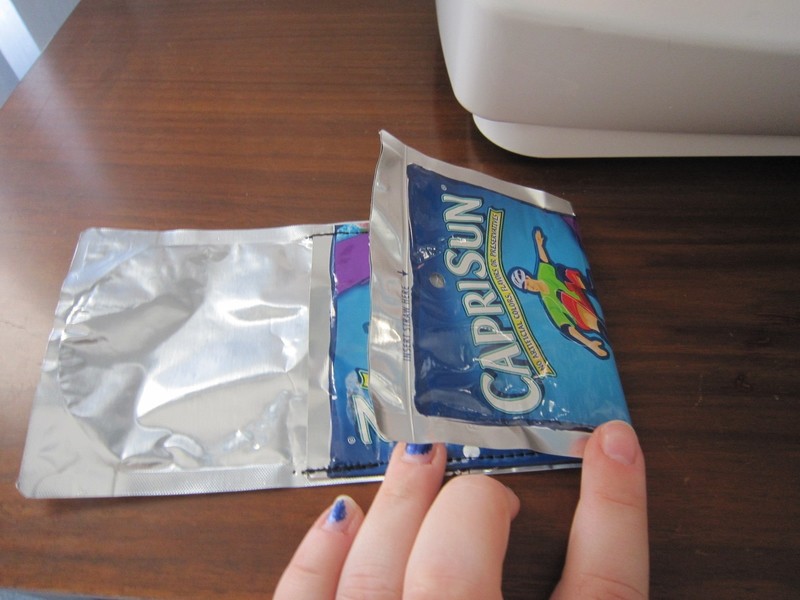
 Step 28
Remove the other side of the velco-backing and attach to bottom of the wallet.
-
 Step 29
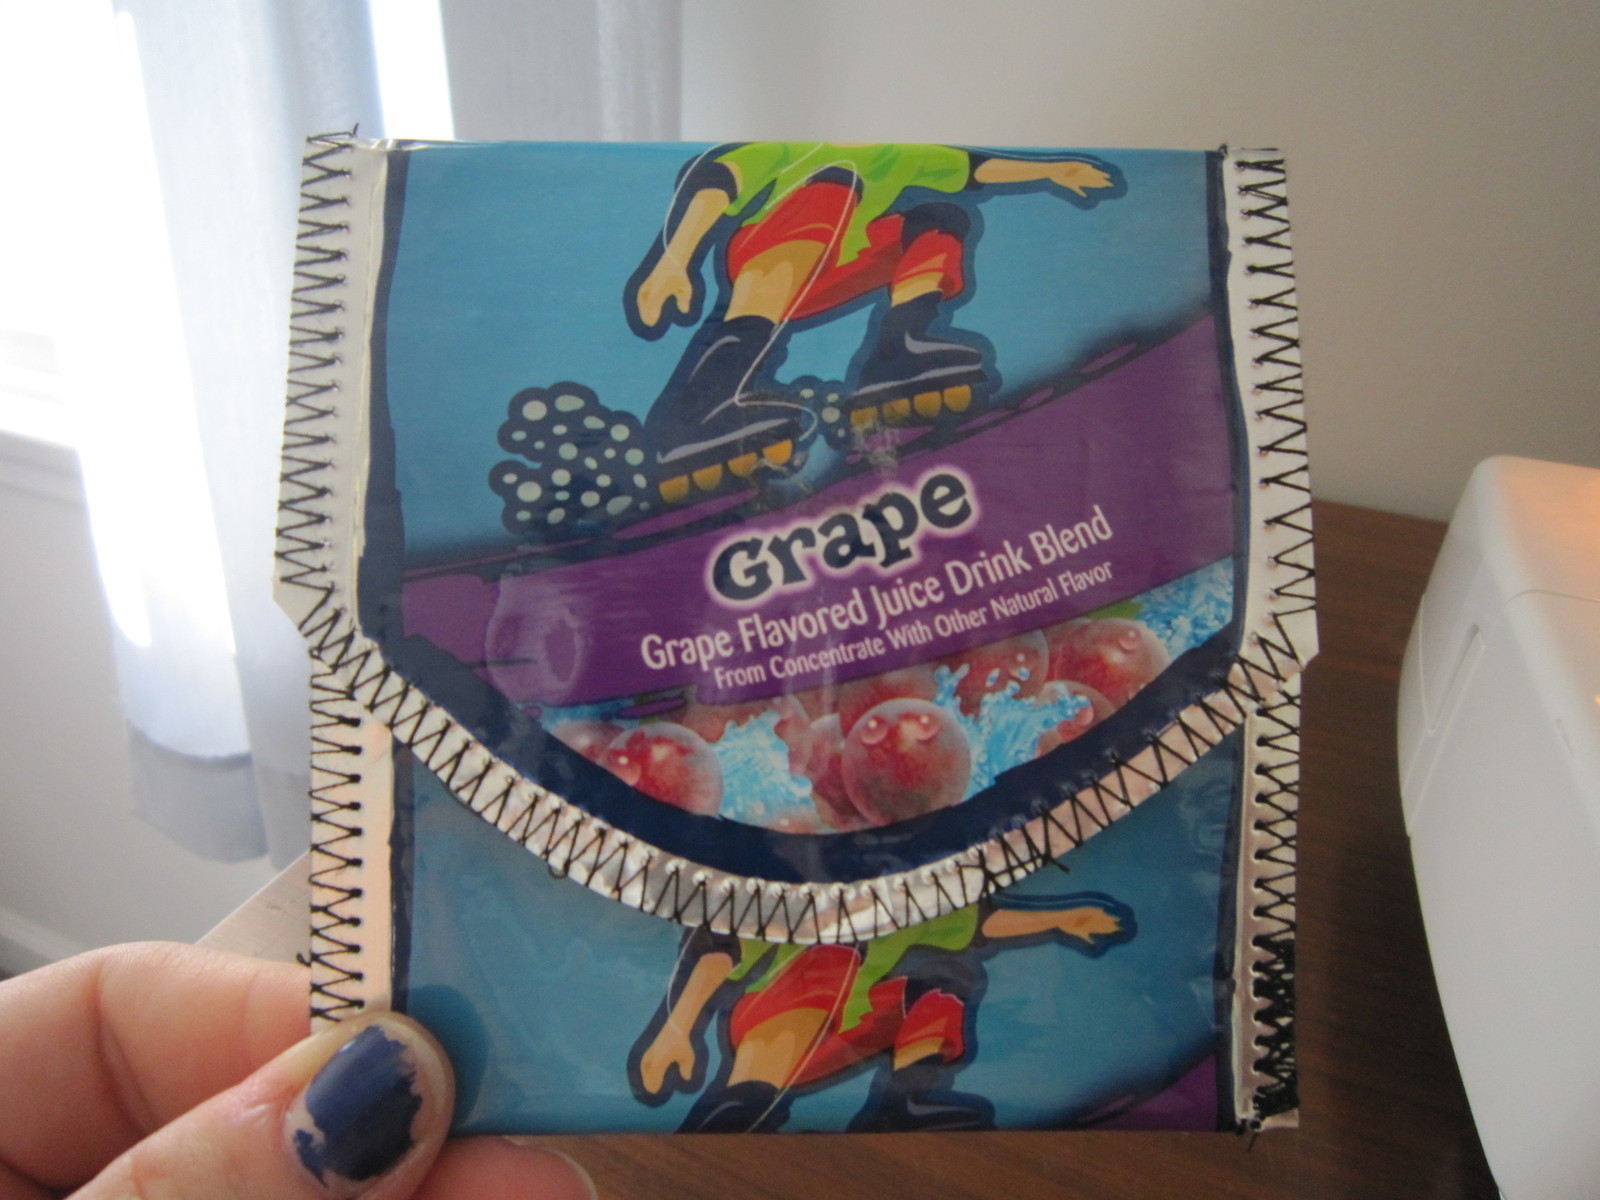
Here it is :D


XOXOX
Great tute - very well explained
CO + K User
and like your desing too, have seen a lot of them but this is a great one. thank you for the great tute you've made and the sharing really love this cool one of yours!!!!;-D