


About
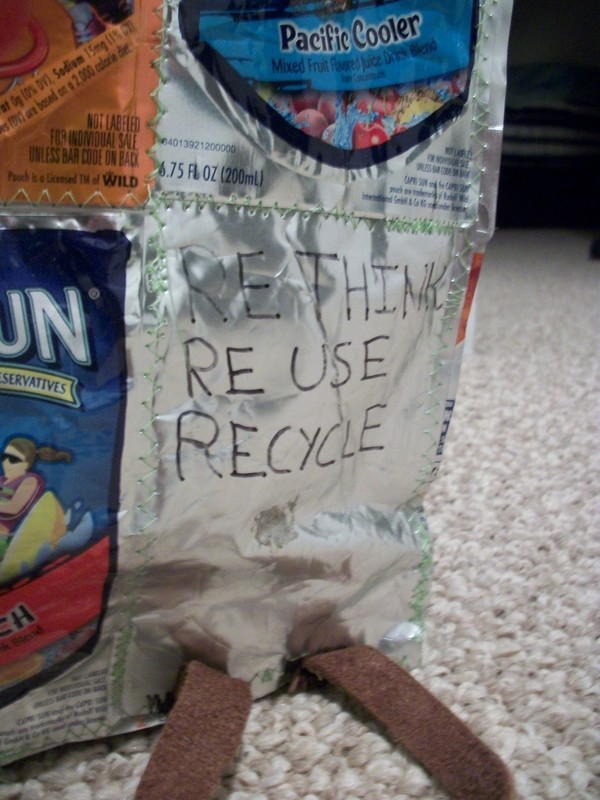
This is definitely an eye-catcher!
I made this backpack last year for school. A couple of my friends were really into making juice pouch totes. I thought they were pretty neat but I had no use for a tote. As for a backpack, I could definitely use one of those!
I've definitely seen much nicer looking juice pouch backpacks but I was too lazy to make it rounded and such. Besides having it rectangular made it able to carry my schoolbooks better.
Ignore that download by the way. It's nothing and I can't make it go away.
Downloads
- 100_1450.JPG 2.53 MB [ Download ]
-
 Calah L. added Juice Pouch Backpack to ACCESSORIES
18 Jan 16:17
Calah L. added Juice Pouch Backpack to ACCESSORIES
18 Jan 16:17
-
 ben.jake.1232 added Juice Pouch Backpack to Halloween
05 Jul 22:26
ben.jake.1232 added Juice Pouch Backpack to Halloween
05 Jul 22:26
-
 vstearnes favorited Juice Pouch Backpack
26 Jul 12:39
vstearnes favorited Juice Pouch Backpack
26 Jul 12:39
-
 Krista J. favorited Juice Pouch Backpack
14 Nov 02:48
Krista J. favorited Juice Pouch Backpack
14 Nov 02:48
-
 Amanda B. favorited Juice Pouch Backpack
14 Oct 14:17
Amanda B. favorited Juice Pouch Backpack
14 Oct 14:17
-
samiirah s. favorited Juice Pouch Backpack
15 Sep 21:00
You Will Need
-
 Step 1
The Details:
H (height) = 15 1/2"
W (width) = 11"
D (depth) = 7"
(See picture if you're still confused.)As far as the leather strips that was my method of keeping the backpack closed, if you think something else would be better by all means do that. :)
-
 Step 2
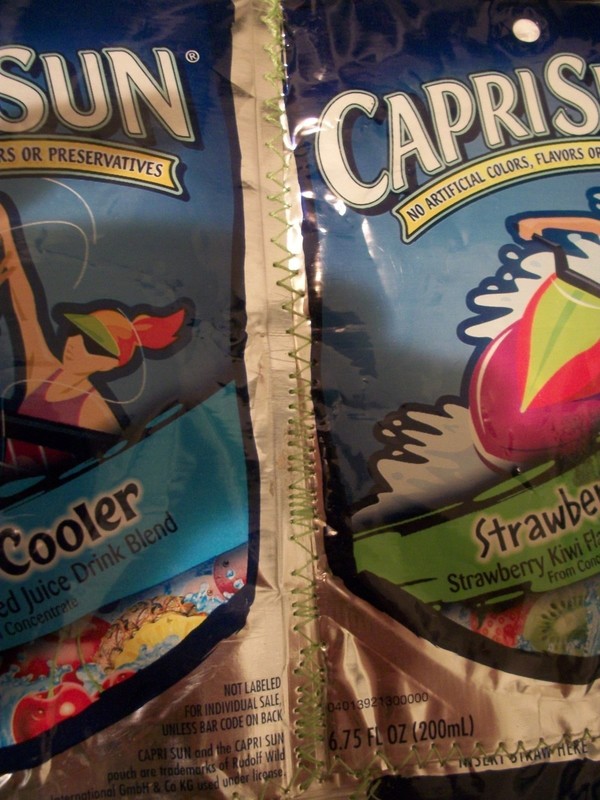
The first order of things is to wash those juice pouches!
Cut the bottom of your pouches open.
Fill up your sink with warm, soapy water.
I simply rubbed my hand around and then placed them into my second sink (I have two sinks side by side. :P)
Also make sure that your juice pouches are all the same size. Mine were not and so I had to trim some.
-
 Step 3
Set your machine to a zigzag stitch.
Now we're going to sew the pouches together to make panels.
Place the pouches side by side (but overlapping just a bit for extra strength) and sew.The amounts of the panels are as follows.
2(panels of): 3(pouches)x 3(pouches)
2: 2x3
2: 2x2
1: 1x3 -
 Step 4
Take a 3x3 panel and a 2x3 panel.
The 3x3 panel will be the front of the backpack and the 2x3 will be one of the sides.Lay the panels down so the insides are against each other and sew.
Repeat on the other side with another 2x3 panel. -
 Step 5
Now we're going to sew the back panel (3x3) on.
Just like before, lay the back panel on a side panel with the insides against each other and then sew. Continue with the other side.
Hooray! Now you have a square shape. We're almost there. :D -
 Step 6
Next we have to sew on the bottom of the backpack. This might be a little more difficult than the rest of the project just because it's awkward to sew.
You're going to continue to sew like before, putting the insides against each other. Use a 2x2 panel.
Take your time with this part and make sure it's aligned correctly.
-
 Step 7
It's flap time!
Take a 2x2 panel and a 1x3 panel.
Sew these together like we regularly have. Make sure that the 2x2 panel is sideways.
-
 Step 8
Let's get that flap connected!
Sew the flap as usual on to the back of the backpack (this is when your front and back will actually need to be decided on).
AWESOME! You've just sewed the backpack part together! Now we just have two final touches. :)
-
 Step 9
Now, I took these straps off a moldy backpack I found. The straps were fine but the backpack was not at all. I'm not really sure if you can buy just straps but you can check.
I would pin these onto the backpack if you can so you can make sure they're in the right place. Try it on an all.
WAIT A MINUTE BEFORE YOU SEW!
-
 Step 10
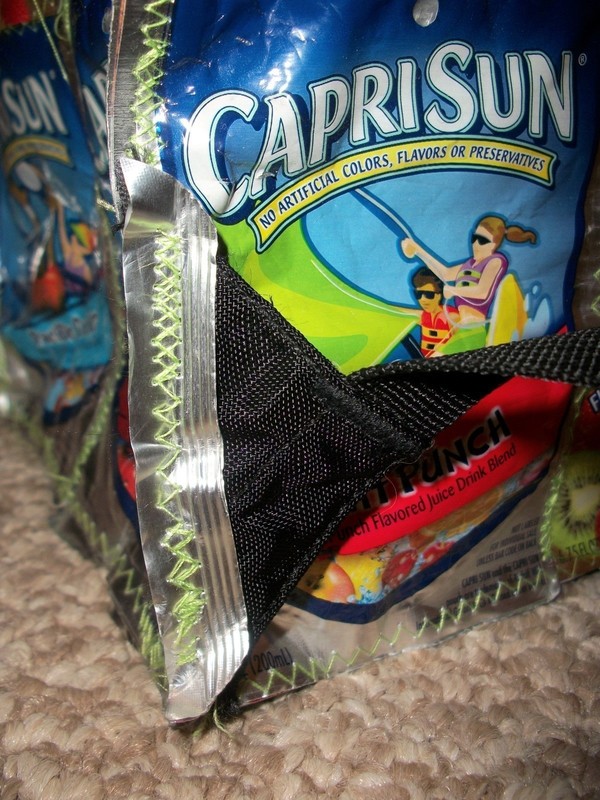
You really want to make sure you reinforce these straps. I didn't reinforce the top part of the straps but I did with the bottom. Unfortunately the top part started ripping. So you REALLY need to do this.
Oh and yes. This is where that single leftover pouch will be used.Cut the pouch into 8 strips.
place a strip in between the backpack strap and on top of the backpack strap. Sew all of this together. Do this with all four corners. -
 Step 11
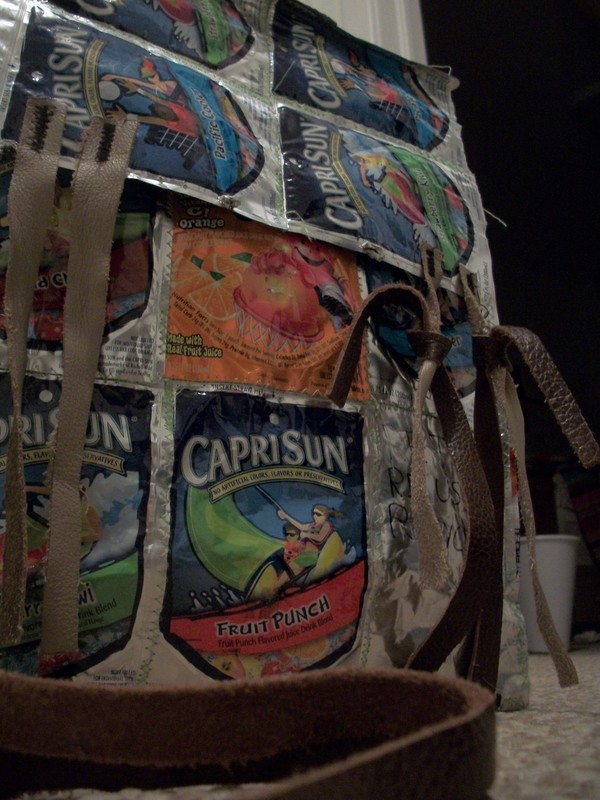
The final step!
Add on your leather strips. I used 4 light strips for the flap and 4 dark strips for the backpack part.
I think it's kind of obvious what to do here. Sew these across from one another.
You simply tie them to keep your backpack closed.
-
 Step 12
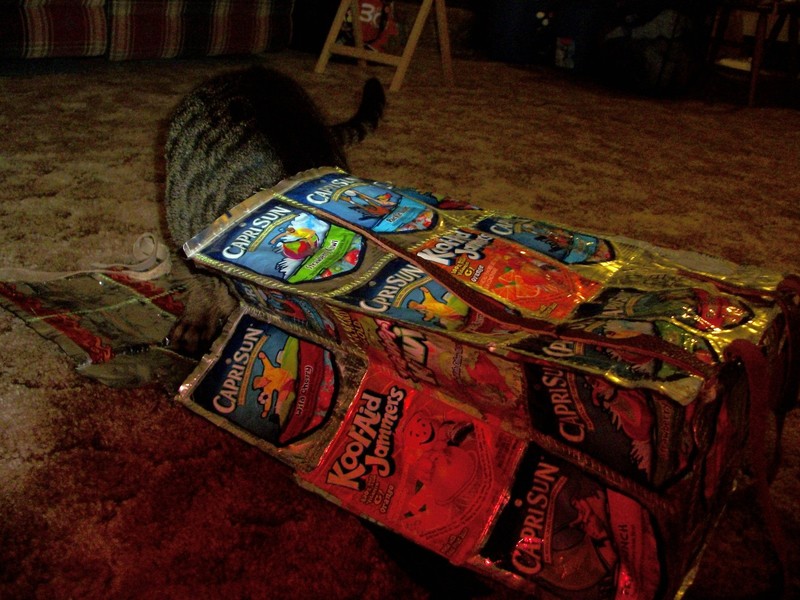
Give yourself a round of applause! You're all done. Be sure to proudly wear your backpack all around. :D
Uno had to inspect the quality of my backpack and I think it passed...
If you have any questions feel free to ask. :)


CO + K User
And you're so very welcome. ^_^