


About
Possible arts and crafts journal
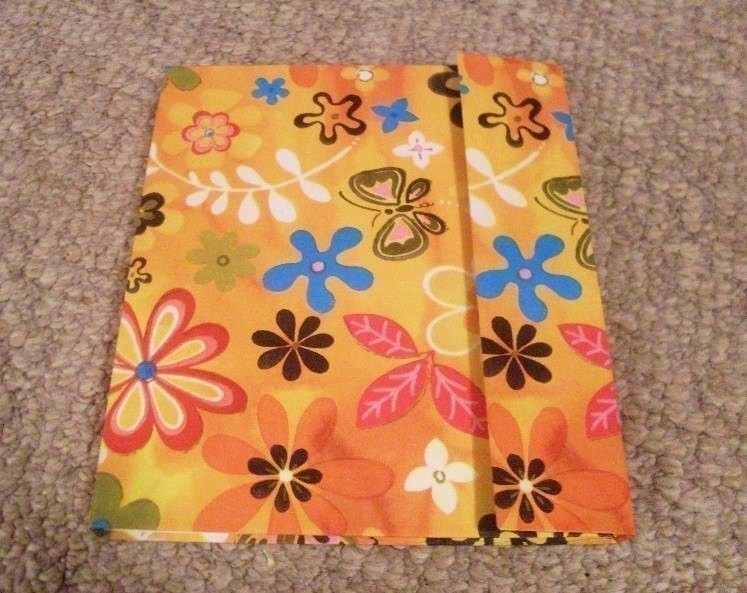
I think I might make this an arts and craft journal where I will be adding my craft ideas that have not been made reality yet, some that have been created, copies of my old drawings as well as new ones and whatever else I can think of.
This book has an added flap that's held down with velcro and wrapping paper covering cardstock as the cover. I love this one.
BTW, this is the same way I make my other books not including the flap.
-
 autumnrose.lee favorited Journal
27 Jan 03:02
autumnrose.lee favorited Journal
27 Jan 03:02
-
 geekieglam favorited Journal
19 Dec 01:31
geekieglam favorited Journal
19 Dec 01:31
- fay.schouten favorited Journal 16 May 15:20
-
 sandra.peguero favorited Journal
01 Mar 14:47
sandra.peguero favorited Journal
01 Mar 14:47
-
 ely d. favorited Journal
15 Aug 19:23
ely d. favorited Journal
15 Aug 19:23
-
 Creativemind entered her project Journal to Glue Contest
17 Apr 00:49
Creativemind entered her project Journal to Glue Contest
17 Apr 00:49
-
 Step 1
I used 8 1/2 X 14 inch copy paper, so you would follow the steps in any size paper you are using if you're not using the size shown.
Fold each piece in half width wise then use boning tool to make crisp creases. You can use a number of things for this if you don't have a boning tool, i.e. a popsicle stick will work just as well. -
 Step 2
Cut two piece of cardstock (in any color you choose) for your end papers of the book. The first piece should be same size as the pages of your book. The second piece has an added 2 1/2 inches for the flap.
-
 Step 3
Cutting out the cover, it should be the same size as the end covers with an added 1/8 inch on all sides and space in the middle for the spine.
-
 Step 4
ON the flap end page, measure in and fold 1 1/2 inces from the edge and the width of the spine from the first crease. Again, make all folds a crisp crease.
-
 Step 5
Put the pages together with end pieces on the outside, specifically with the flap end on the bottom.
Even the edges of the spine and place a clamp on the folded flap to hold in place. -
 Step 6
Use two piece of particle board or paints sticks as I have and place clamps as shown.
-
 Step 7
Add glue (E6000 or Elmer's cement glue) to the spine parts that are exposed. Spread the glue making sure that the end pages are also glued. I use a plastic knife for spreading, which I use a number of times when making books before throwing it away and using a new one.
-
 Step 8
After about 5 to 10 minutes, move clamps to expose the parts that aren't glued to repeat step 7.
-
 Step 9
Lay out book 1/8 inch from the top and bottom and side of the cover. This is making sure the book itself is placed correctly on the cover. Place a mark at spine, top and bottom on the cover.
-
 Step 10
Lift the book placing the spine at the first marks and mark on the other side of the spine top and bottom.
-
 Step 11
Measure 1/8 out from the pages and mark from that spot to the width of the spine. Or you can just lay out the flap end page and mark the creases from that page as shown.
-
 Step 12
Close the book to make sure it fits correctly.
-
 Step 13
Now for covering the book. Much to my delighted surprise, my wrapping paper had a grid for easy cutting.
-
 Step 14
Cut the wrapping paper or material or whatever your using to cover your book a half inch bigger on all sides.
-
 Step 15
Using spray adhesive which works best for this step, even though it can get very sticky. EWWW! Don't overspray with thin papers, it will show through and not look good on the finished project. I am usually very generous with the spray, making sure to get the edges and corners.
Starting at one end of the sprayed cover sticky side up, place cardstock cover an half inch from the side and top and bottom and slowly roll down over sticky surface. I hope that wasn't confusing, but I didn't have enough hands to take a picture. Do not smooth out. -
 Step 16
Flip over and rub out any bubbles from the center to the edges, lifting carefully if necessary and resticking. This is some tacky stuff, so it will still stick if you have to pull it back before it dries.
-
 Step 17
Fold up corners first then press the remaining sticky cover over the cardstock cover. You have to click on the image to see the whole thing, and if you've noticed, I didn't get it exactly centered over the sticky cover, which is why I gave so much le-way just in case that happens so you will still have enough left to cover with the end pages
-
 Step 18
It should like look so when the cover is completed with the creases pressed again so that you get a nice smooth spine.
-
 Step 19
Spray front end paper and lay squarely on second crease and 1/8 from top and bottom edges.
-
 Step 20
I got that second pair hands for this step. Holding the front edge of the pages against the spine, press the cover from the spine to edge of the end page and press.
-
 Step 21
You will then have finished the front cover. Again, if you have to peel the pages apart to re-align, do this now before it dries.
-
 Step 22
Flip the book over to the back cover and repeat step 20 to finish the back cover.
-
 Step 23
Place sticky hard side of the velcro on the flap just below the exposed wrapping paper. Stick the soft side so that the sticky side is facing out.
-
 Step 24
Carefully lay flap down on front cover making sure that the folds are at an perfect angle covering the front of the pages.
-
 Step 25
So now when you pull the velcro apart, the soft side is stuck to the cover.
And there you have it.


Comments


