About
Turn your jewels into a piece of art to decorate your room with
I've seen several jewellery organisers before, but most of them needed an antique wooden picture frame, which I don't have. The ones I've seen also were not very easy to attach and detach your jewels, since you had to get to the back of the frame every time. I thought lace ribbons would allow me to put ear studs onto it without having to put my arm on the other side to put the closings on. I think the result looks lovely, and I am eager to find out what kinds of variations you will come up with!
Tags
-
 Rebecca C. favorited Jewellery Organiser
29 Jul 06:36
Rebecca C. favorited Jewellery Organiser
29 Jul 06:36
-
 Pimke added Jewellery Organiser to Nähmuster
02 Feb 06:53
Pimke added Jewellery Organiser to Nähmuster
02 Feb 06:53
-
 polkadot entered her project Jewellery Organiser to Punchdrunk Panda
08 Aug 17:42
polkadot entered her project Jewellery Organiser to Punchdrunk Panda
08 Aug 17:42
-
 nancy.shugar favorited Jewellery Organiser
12 Apr 19:48
nancy.shugar favorited Jewellery Organiser
12 Apr 19:48
-
Mary J. favorited Jewellery Organiser
23 Mar 18:09
-
C T. added Jewellery Organiser to Accessories! x
12 Feb 03:11
-
Debbie V. added Jewellery Organiser to Jewelry
10 Feb 03:53
-
Debbie V. favorited Jewellery Organiser
10 Feb 03:53
-
 iscrafte added Jewellery Organiser to Inspiration
24 Jan 15:43
iscrafte added Jewellery Organiser to Inspiration
24 Jan 15:43
-
iscrafte added Jewellery Organiser to To do
09 Jan 13:47
-
 Step 1
Take your wood tile. Or, if you don't have one that's big enough like I did, glue some smaller tiles together.
-
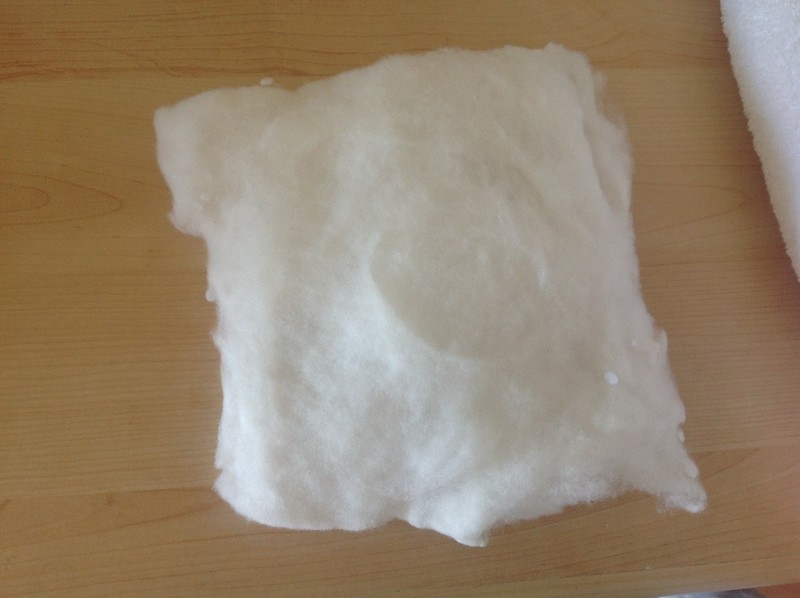
 Step 2
Glue some cushion filling onto the front and the sides of the tile. Just use a liiiiittle bit of glue! You just want to secure the filling so it won't move, you don't want it to stiffen.
-
 Step 3
Select the lace you want to use. Experiment, combine, have some fun with it.
-
 Step 4
Sew the lace onto your fabric. Make sure you have enough lace to cover up the front and the sides.
-
 Step 5
Make a ring cord by sewing a piece of elastic cord between two ribbons. Make a loop at both ends of the elastic. Make another loop (about 5 cm in height). This will be used to hang your organiser on the wall.
-
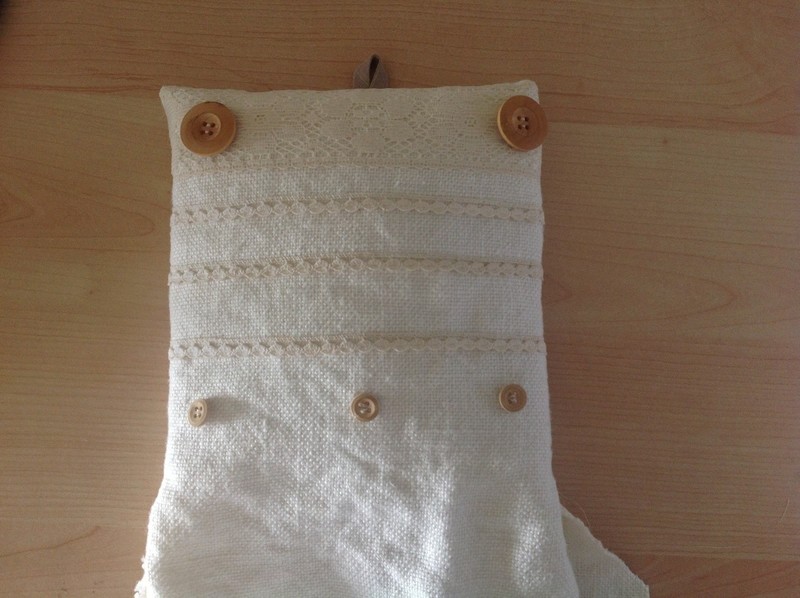
 Step 6
Sew on some buttons. Make sure that the distance between the two upper buttons is the same as the length of the ring ribbon.
If you have a staple gun, you can stretch up your fabric and shoot the edges on the back of the wood tile. Staple the loop in the middle of the upper edge. Cut out a square piece of fabric and glue it on the back of the tile, covering up the staples.
If you don't have a staple gun, like I did, cut out a square of fabric that is on all edges 1,5 cm wider than your tile. Put this piece on the good side (with laces and buttons) and sew three sides together (pay special attention to the corners, because this is a tricky part!) DO NOT FORGET TO PUT THE LOOP BETWEEN THE SEAM! Otherwise it will be very difficult to attach the loop later on. Turn the good side out and put this cover over the wood tile. -
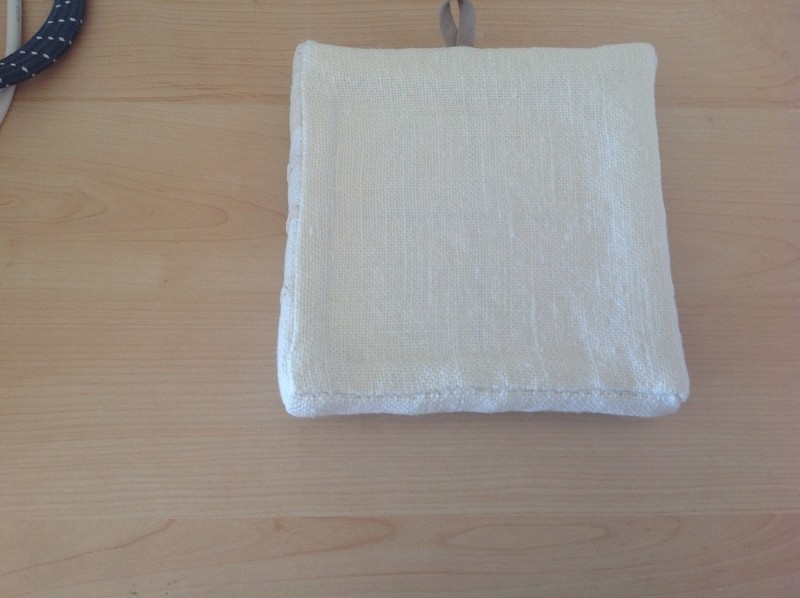
 Step 7
Picture from the back when three sides are sewn. Use your special forces to squeeze your hand between the fabric and the tile to put all of the filling in place, in case it moved a little bit. Use your special forces again to squeeze your hand AND a tube of wood glue between the wood and the fabric, while you put on juuuust al little bit of glue to secure the back piece.
-
 Step 8
Hand sew the bottom edge, again with special attention for the tricky corners.
-
 Step 9
Attach the ring ribbon on the upper buttons. Take some time to admire your work. Take some pictures. Smile.
-
 Step 10
Put a pin in your wall and hang up your masterpiece. Decorate with all kinds of jewellery. Take some more pictures and share them with your fellow-crafters. Drink a cup of tea and take a nap. You deserve it.