About
A simple project to jazz up any cube organizer!
Adding fabric to the back of a cube organizer is a fun way to personalize this piece of furniture!
-
 Kimberly published their project Jazzing Up A Cube Organizer
30 Sep 06:00
Kimberly published their project Jazzing Up A Cube Organizer
30 Sep 06:00
-
 Step 1
Gather all of your materials. You will need:
- Cardboard squares that came with the cube organizer
- Fabric (ironed)
- Nails (the furniture usually comes with nails to attach the back squares, otherwise buy short nails
- Hammer
- Stapler
- Duct tape or masking tape -
 Step 2
Cut the fabric for each cardboard square you want to cover. I had a 9 cube organizer and decided to just cover 4 of the cardboard squares and leave 5 uncovered - you could do this or cover all of them! I cut my fabric to be about 1"-2" larger on every side of the cardboard square.
-
 Step 3
Wrap the fabric around each cardboard square and staple it in place. Make sure to smooth your fabric so it is taut and staple close to the edges. I started in the center of each side, then did the corners, and then added staples between all of these. I ended up with about 3 staples per side and 1 in every corner.
-
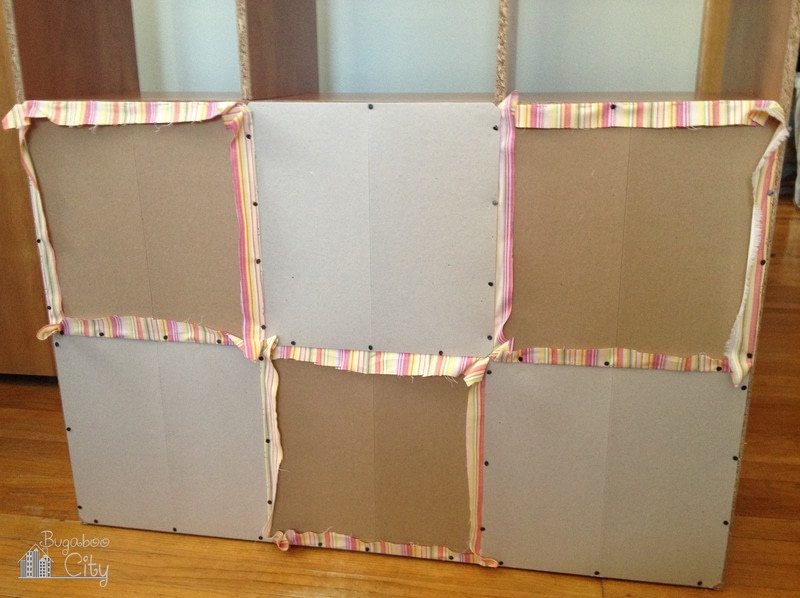
 Step 4
Nail the cardboard squares to the back of the cube organizer. At this point you are basically following the directions that came with the furniture.
-
 Step 5
Secure the fabric edges on the back of each square. I chose to use duct tape because my cube organizer is against the wall and the back will never be seen.
-
 Step 6
Your cube organizer is officially jazzed up! I love how playful and fun the fabric is!