


About
Turn an Old Sheet into a Ironing Board Cover
~If your like me your ironing board winds up dealing with some dirty deeds during your crafty multi tasking. I love crafty ironing tactics like Wonderunder and fusible webbing but I hate the gooey residue it leaves on my ironing board cover(I know I should be more careful, but who can be careful when your creative genius has taken over).
So needless to say...one ironing board cover will not suffice( and 2 irons is not a bad idea either, pick up your extra one at the thrift or a yard sale). It just seems silly to spend $10-15 for an ironing board cover for gooey messes when I always have old full size sheets stock piled. I have been meaning to make another cover for about a year. I even had a pattern for it but, that too seemed a little tedious when I wanted to be making clothes or anything else . I recently relocated and reorganized my studio and it just seemed wrong not to give my board a new cover( since my old cover is just a mess). During the last few weeks of trying to sew in a disheveled studio I laid one of my sheets on the board , to protect from the messes. I broke down last night and turned that sheet into a super quick and easy cover. And then I made another one to show you how.
The full fitted sheet has the perfect amount of elastic to stretch around the standard sized ironing board. Now I recommend using the cover you make as the catch all the gooey stuff one. Then you can just pull it off when you need a crisp clean ironing surface.( I learned this one the hard way))
-
 forbunnie favorited Ironing Board Cover
05 Mar 23:40
forbunnie favorited Ironing Board Cover
05 Mar 23:40
You Will Need
-
 Step 1
cut elastic off sheet, Just leave the sheet remnants
-
 Step 2
There should be two pieces of elastic
-
 Step 3
cut sheet. lay sheet on ironing board put a few books on top to keep it in place and cut around the entire board leaving about 3 1/2" over the edge.
-
 Step 4
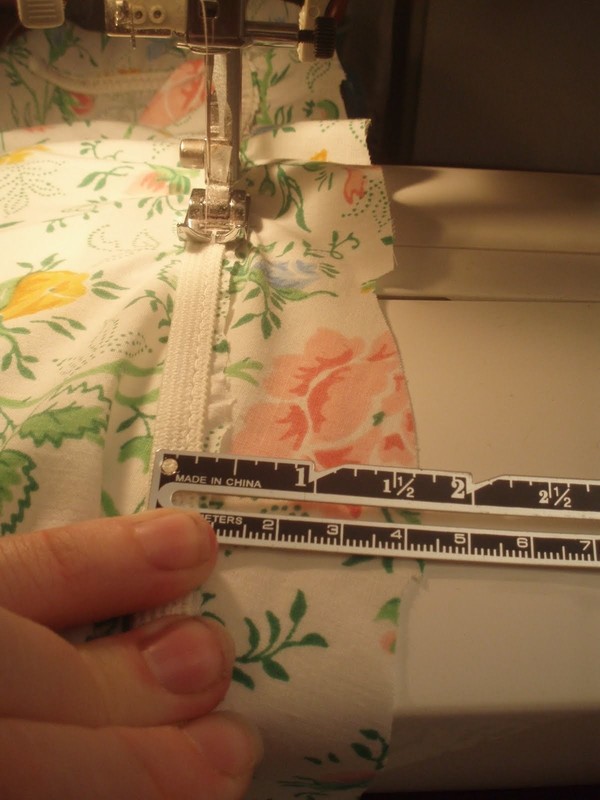
Sew elastic to cover.
-
 Step 5
I started at the mid point of the front leaving 1 3/4 " seam allowance. Using a wide zigzag stitch, start sewing a little to attach the elastic and then fully stretch the elastic as you sew.
-
 Step 6
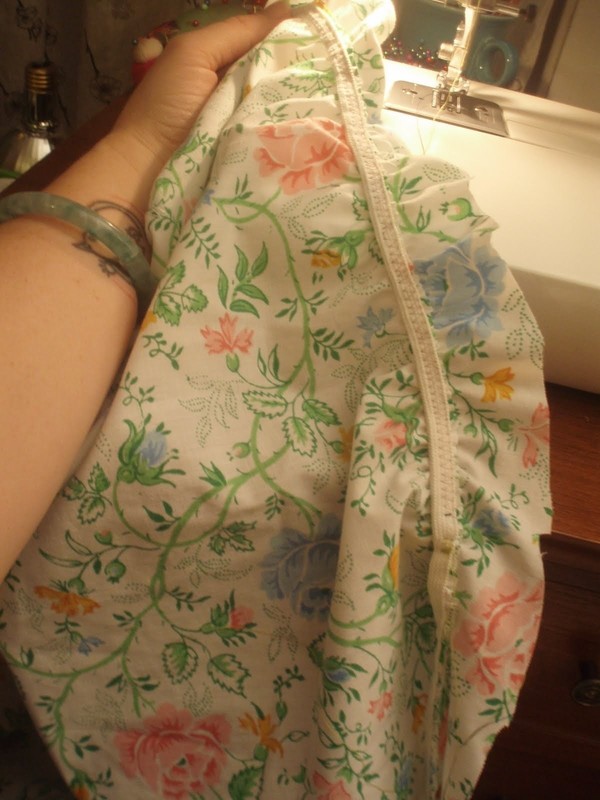
I like the elastic on top of the fabric but you could do It under too.For the second piece I start at the back end of the cover and sew it the same way .
-
 Step 7
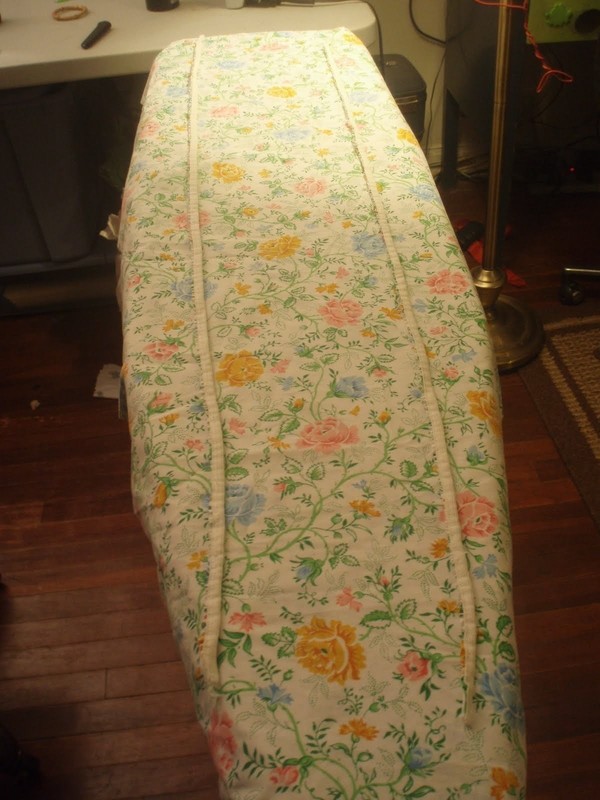
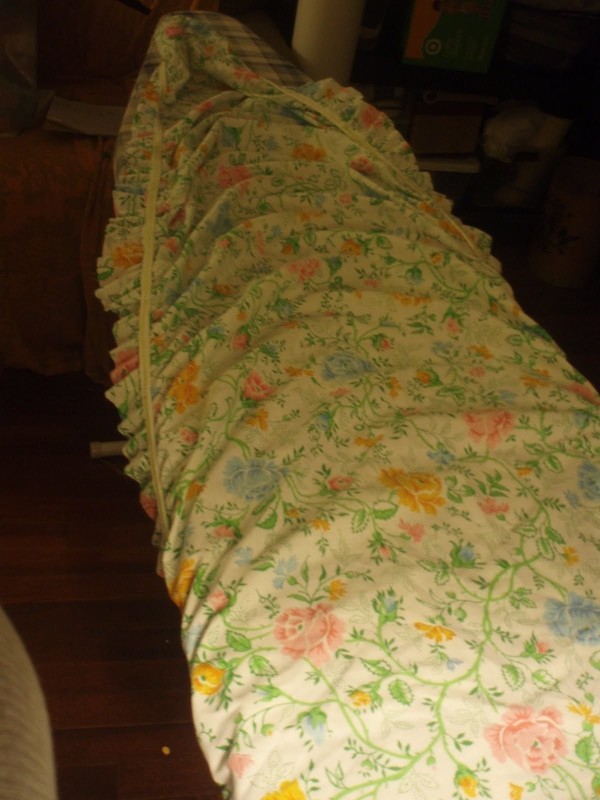
Cover your board.
-
 Step 8
You can take your other cover off if you like but I just put it over the other cover


Comments


