


About
Make a bokeh lens with interchangeable shape slides for getting arty with photograph!
This was the perfect project to make with the Silhouette Portrait. Making the lens took a few minutes and then I was able to cut out tiny accurate shapes for the slides which would have been really difficult to do by hand.
Downloads
- 107929_2F2015-03-12-121410-InterchangeableBokehLens.studio3 73.1 KB [ Download ]
-
 Emilie B. favorited Interchangeable Bokeh Lens
28 May 00:55
Emilie B. favorited Interchangeable Bokeh Lens
28 May 00:55
-
 Katrina P. favorited Interchangeable Bokeh Lens
05 Jul 03:42
Katrina P. favorited Interchangeable Bokeh Lens
05 Jul 03:42
-
 Penny F. added Interchangeable Bokeh Lens to TO MAKE!
27 Apr 09:43
Penny F. added Interchangeable Bokeh Lens to TO MAKE!
27 Apr 09:43
-
Alissa B. favorited Interchangeable Bokeh Lens
21 Apr 01:31
-
 Kim T. favorited Interchangeable Bokeh Lens
15 Apr 00:50
Kim T. favorited Interchangeable Bokeh Lens
15 Apr 00:50
-
 Jacqulene C. favorited Interchangeable Bokeh Lens
08 Apr 22:26
Jacqulene C. favorited Interchangeable Bokeh Lens
08 Apr 22:26
-
Nichole V. favorited Interchangeable Bokeh Lens
03 Apr 00:14
-
 Cheryl H. favorited Interchangeable Bokeh Lens
02 Apr 22:04
Cheryl H. favorited Interchangeable Bokeh Lens
02 Apr 22:04
-
 Crafterella featured Interchangeable Bokeh Lens
02 Apr 22:00
Crafterella featured Interchangeable Bokeh Lens
02 Apr 22:00
-
 WerewolfCas favorited Interchangeable Bokeh Lens
29 Mar 09:04
WerewolfCas favorited Interchangeable Bokeh Lens
29 Mar 09:04
You Will Need
-
 Step 1
Open the InterchangeableBokehLens.studio3 file (see attachments) in your Silhouette Studio. This file is designed to fit my Canon EOS M lenses, so you may want to measure your camera lens and make adjustments to get the perfect fit.
Create some slides using shapes in your library. I've left my Cat slide in the file to give you an idea for scale. Send the file to your Silhouette Portrait cutting machine and cut out on a sheet of black card.
-
 Step 2
We'll start by peeling off the long strip that folds around your lens.
-
 Step 3
Fold the card around your lens so that it has a nice tight fit.
-
 Step 4
Glue or tape the strip together at the edges.
-
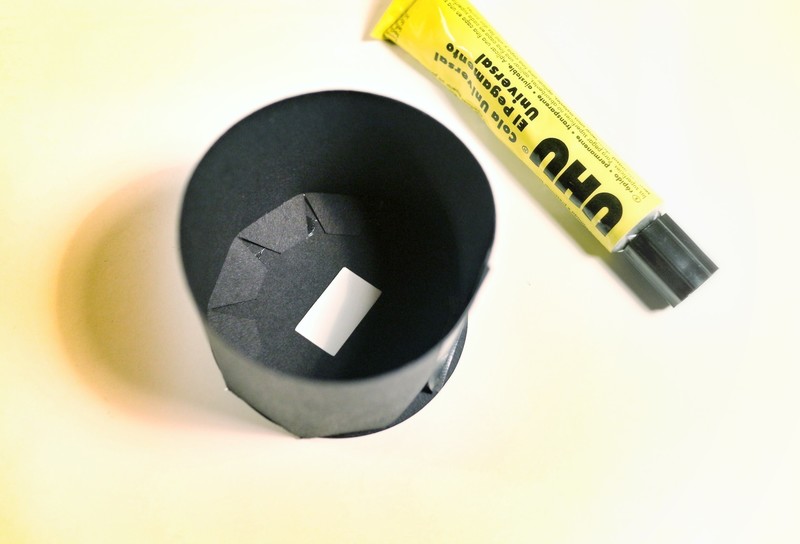
 Step 5
Press the perforated edges of the strip into the middle and peel off the lens piece.
-
 Step 6
Place some glue on the perforated edges and place down onto the lens piece, making sure they sit flat. Leave to dry.
-
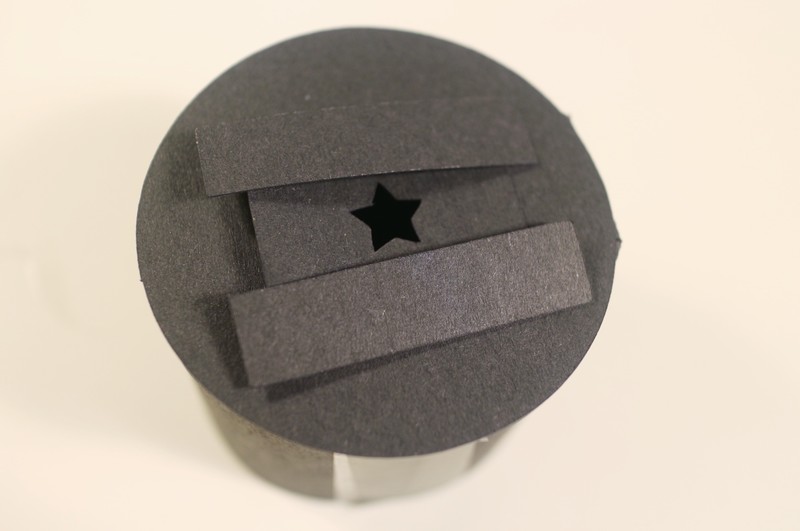
 Step 7
Peel off the two strips and the shape slide and position over the hole on the lens piece.
-
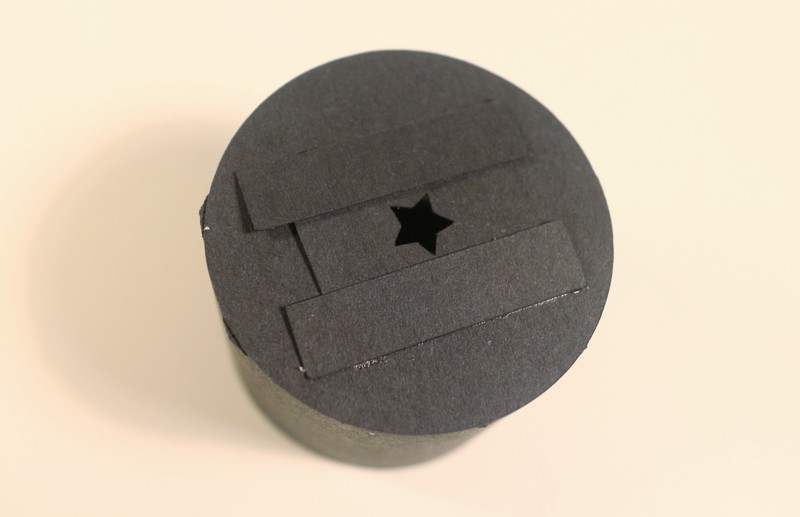
 Step 8
Glue the two strips at the top and bottom of the lens hole, so that there's enough space to slip the shape slide in and out.
-
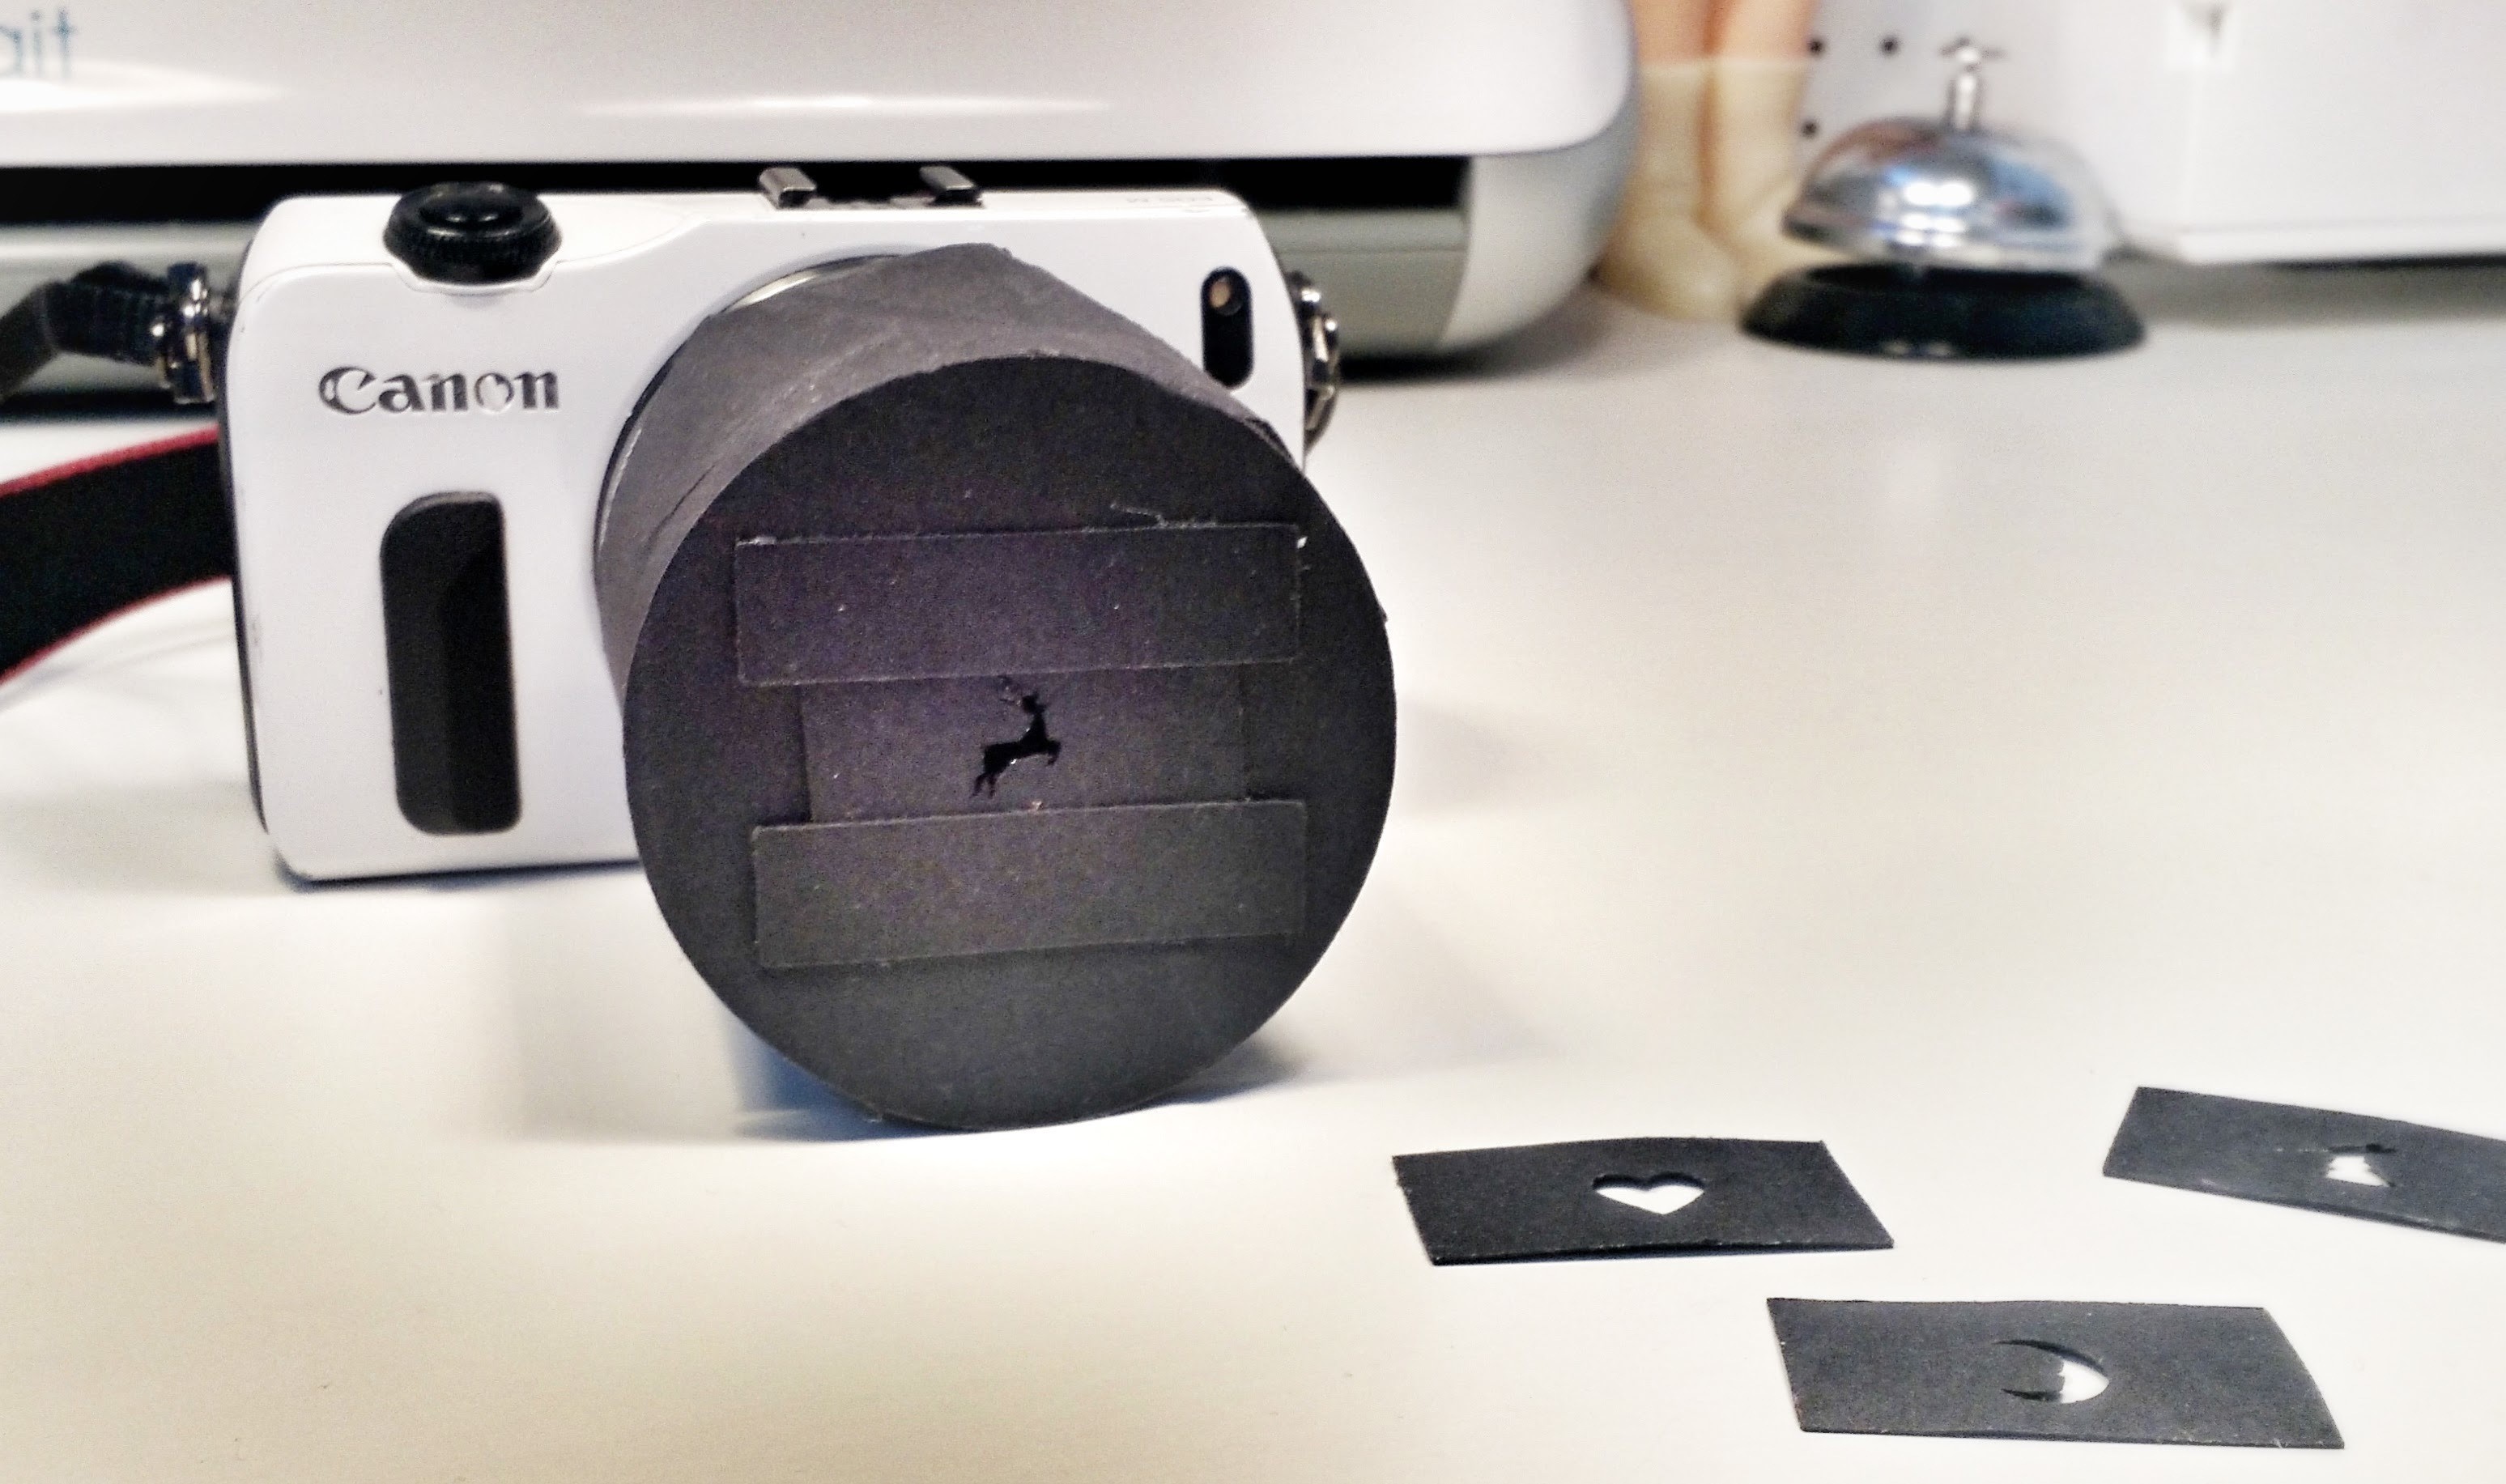
 Step 9
Make multiple shape slides for your lens. Have fun experimenting with different shapes!
-
 Step 10
Slip your bokeh lens over your camera lens and start taking photos.
-
 Step 11
To use the lens, put your camera on manual mode, focus on some lights and adjust your lens until they're out of focus and soft blurry circles.
-
 Step 12
Slip your bokeh lens on and move your camera until you find a pattern of shapes you like before taking a photo.
-
 Step 13
Experiment by taking photos of foreground objects in focus, picking up shapes with your fingers. Traffic lights and fairy lights are perfect for this!