


About
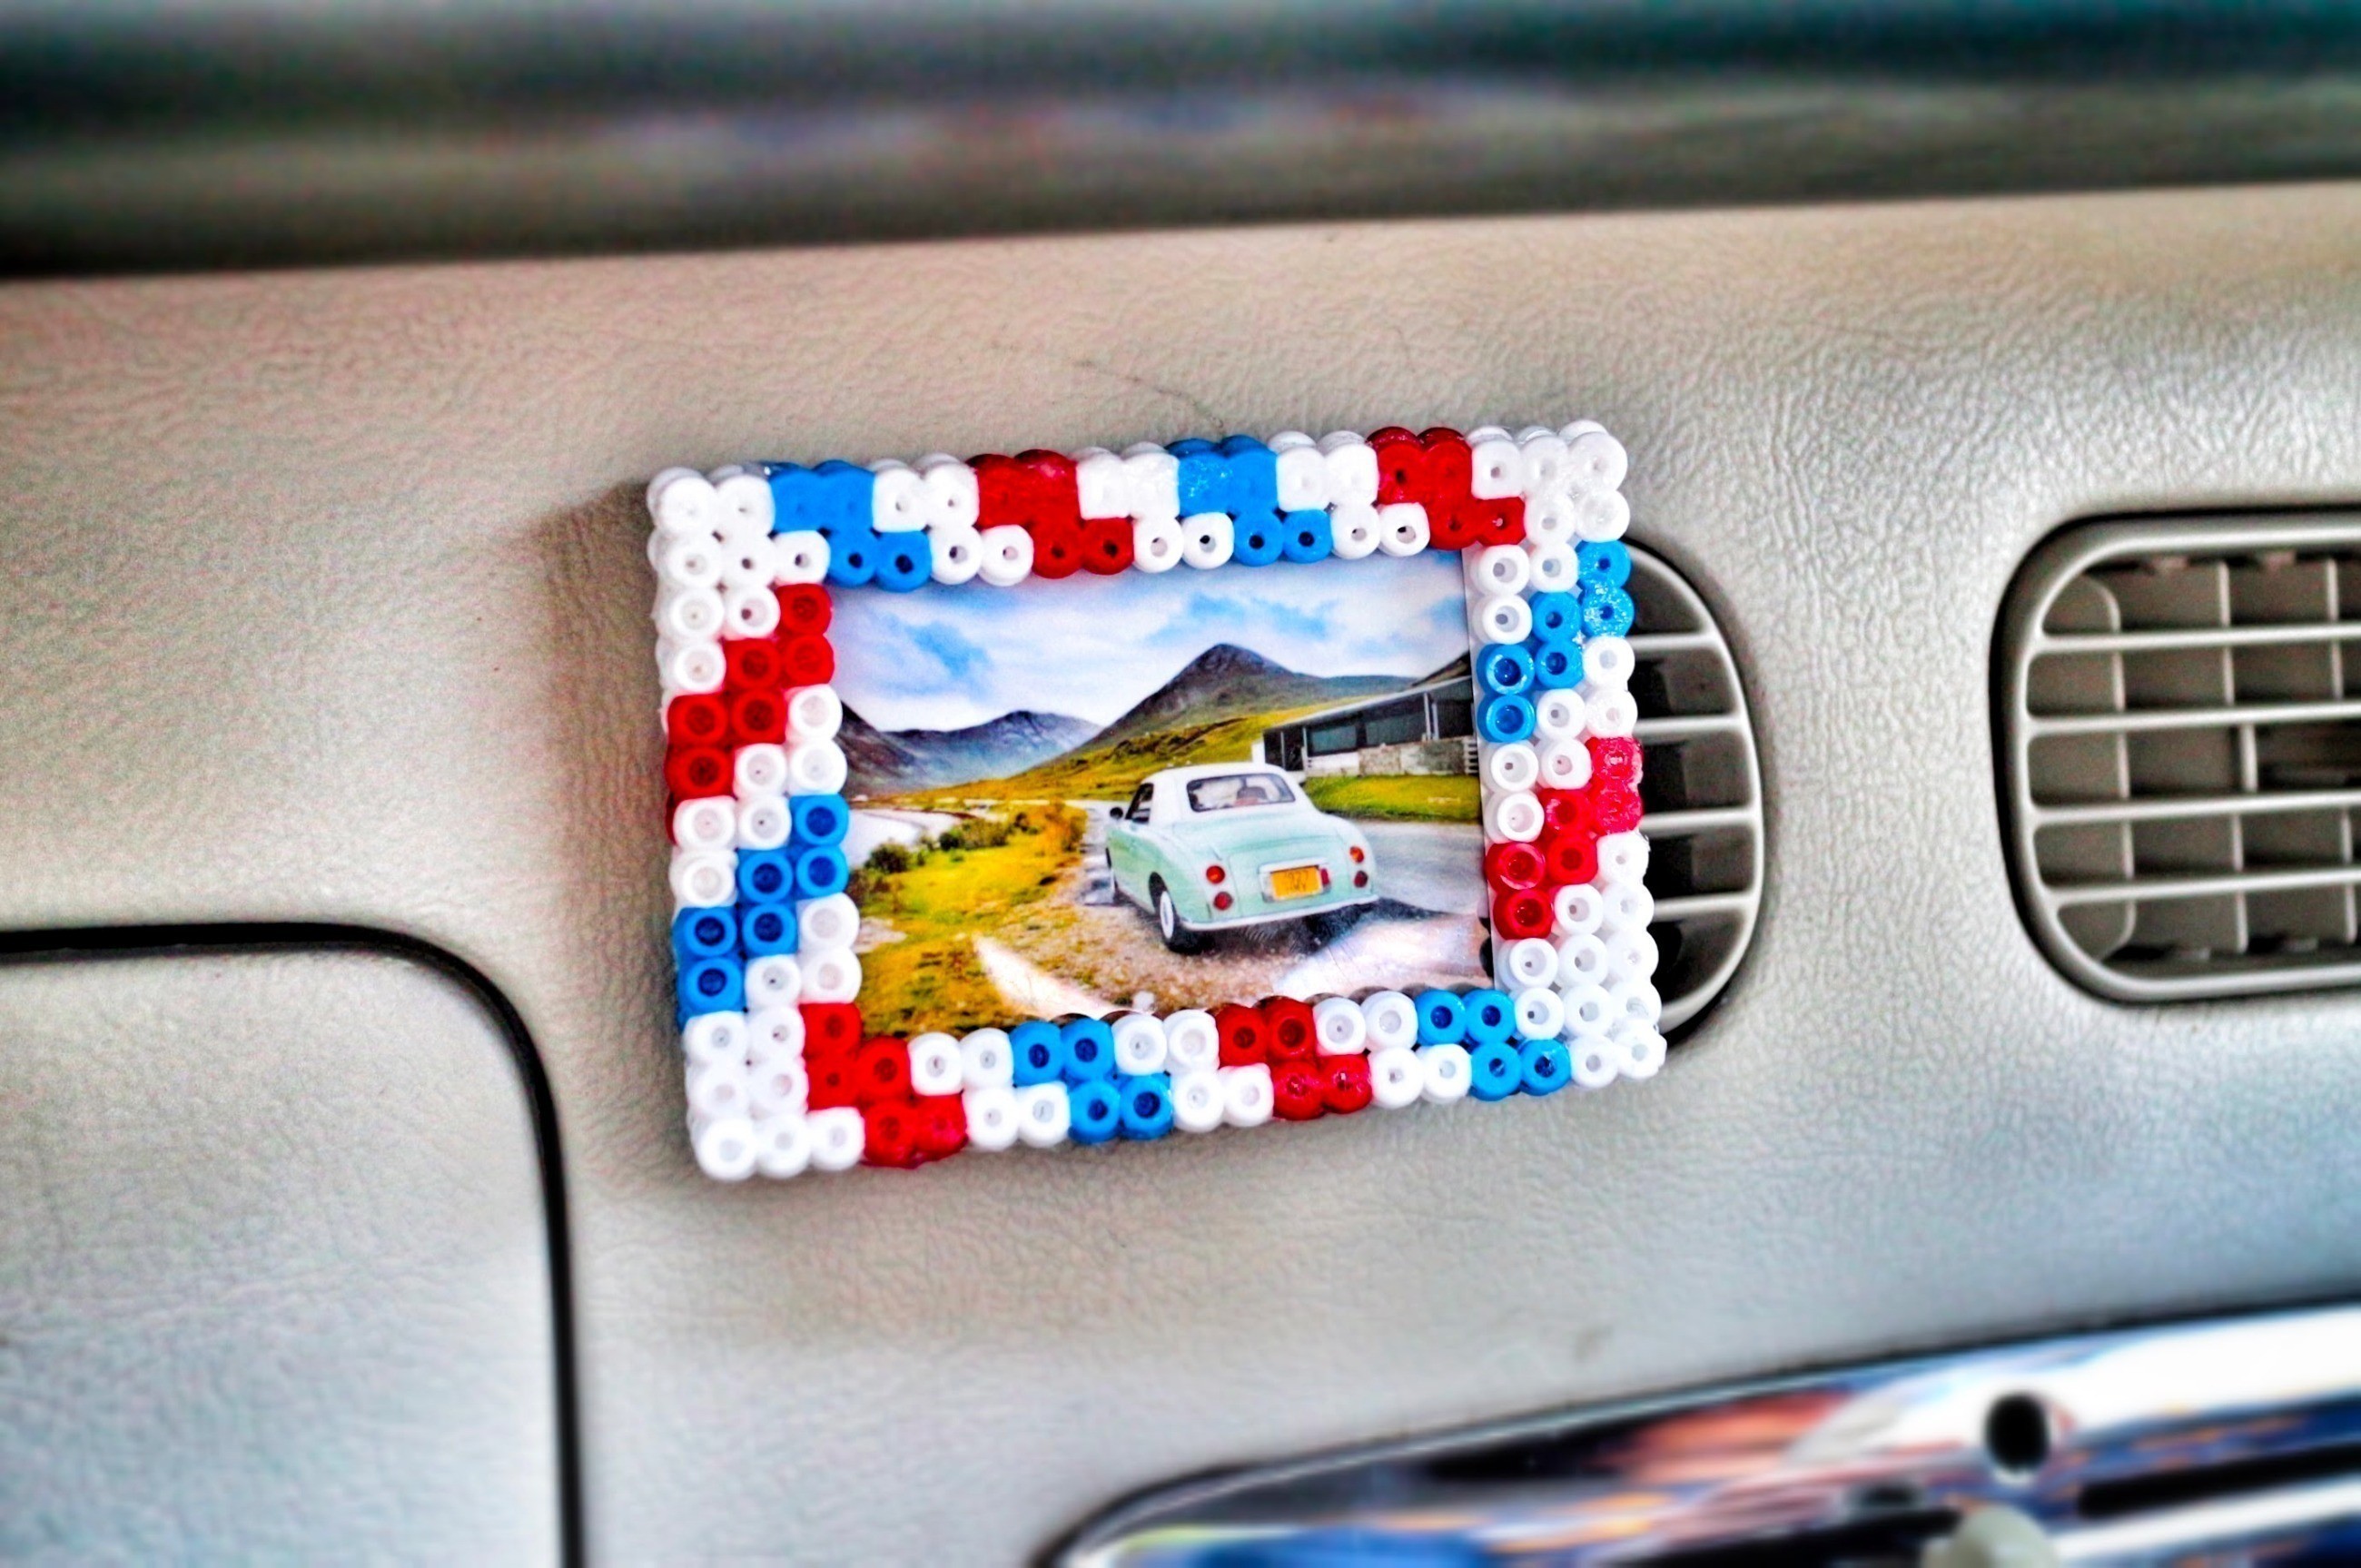
Put your road-trip photos on display in your car!
I've been excited to craft some fun accessories for our new car and the first thing on my list was a cute little frame for Instax photos, so we could remember our favourite road-trips. The frame is designed to look like a postcard with a cute background when it's empty and has a clip made from sugru on the back so you can attach it to your cars air vents.
-
 Chudames favorited Instax Road Trip Photo Frame
21 Mar 00:49
Chudames favorited Instax Road Trip Photo Frame
21 Mar 00:49
-
 dippydiscoball added Instax Road Trip Photo Frame to To-make list
27 Nov 06:11
dippydiscoball added Instax Road Trip Photo Frame to To-make list
27 Nov 06:11
-
 Cat Morley published her project Instax Road Trip Photo Frame
23 Nov 13:55
Cat Morley published her project Instax Road Trip Photo Frame
23 Nov 13:55
-
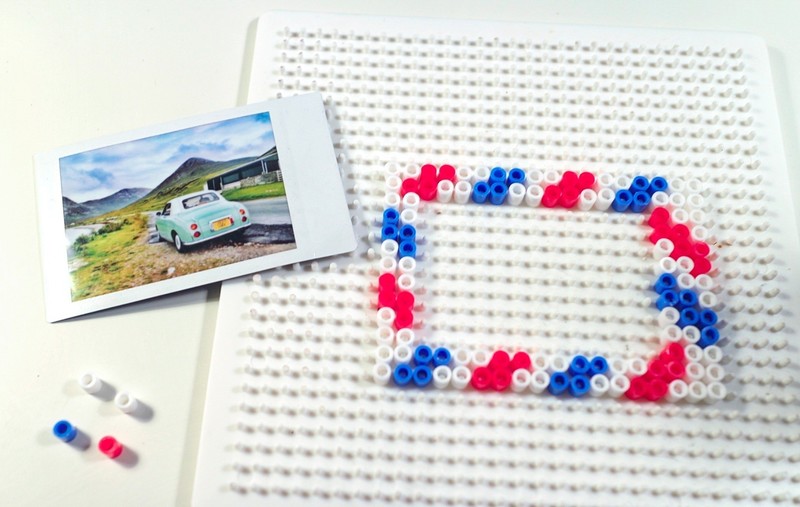
 Step 1
Using an Instax photo for reference and scale, design the outer frame with hama beads. If you're using regular hama beads, this will be roughly 19 beads wide and 13 beads tall.
-
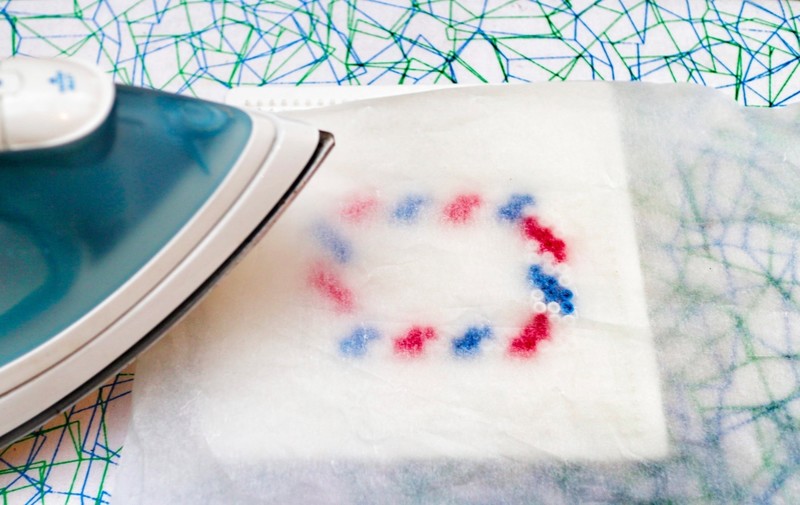
 Step 2
When you're happy with the design, cover it in wax paper and gently fuse the beads together with an iron.
-
 Step 3
Make sure all the beads have fused before removing it from the frame.
-
 Step 4
Now make the background for the frame. It should be the same size as the front of the frame but with a cute design in the middle which will show through when you don't have a photo in place.
-
 Step 5
Finally, we're going to make the middle of the frame which is one bead wide and only has one side, so we can slip our photos in and out.
-
 Step 6
Check that your photo fits nicely inside the middle frame before fusing the frame together.
-
 Step 7
Fuse together the back and middle of the frame.
-
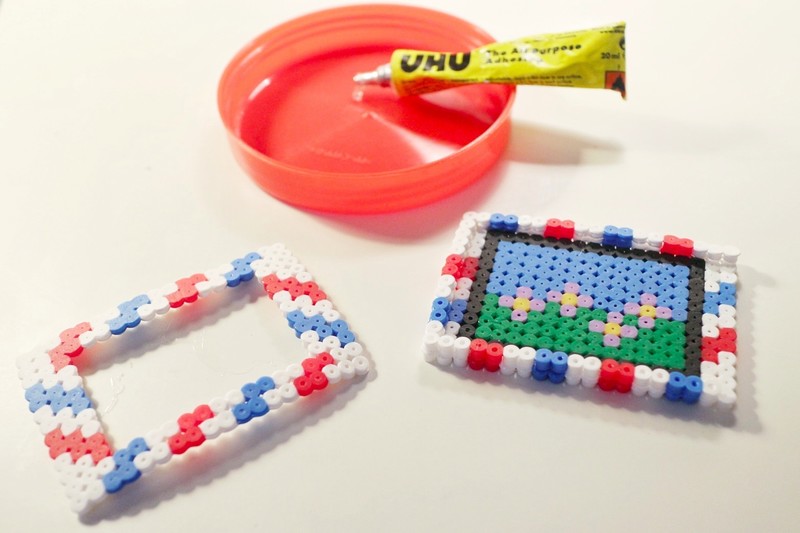
 Step 8
Now use a strong all purpose glue to stick the middle of the frame onto the back frame.
-
 Step 9
And then glue the front of the frame on top.
-
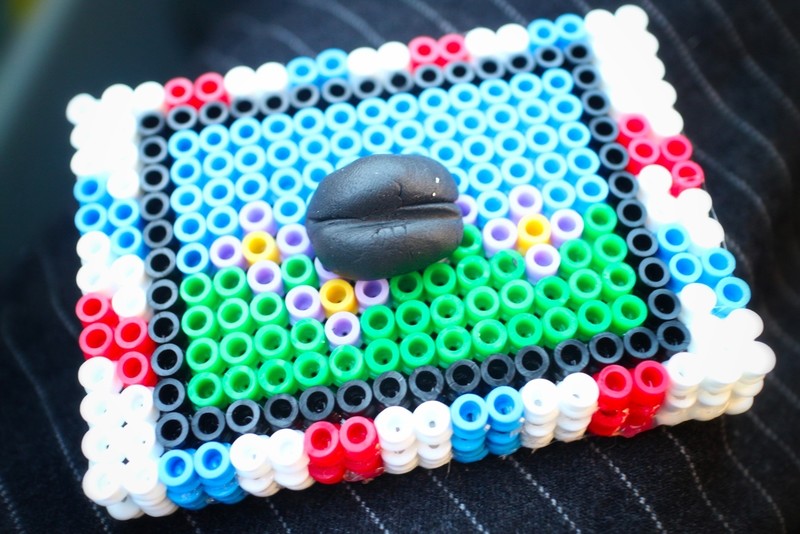
 Step 10
Roll some sugru into a ball and press into the air vent on your car, so that it fits around one of the slats.
-
 Step 11
Remove the sugru and carefully press onto the back of your pegboard frame. Leave to harden overnight.
-
 Step 12
Clip your frame onto your air vent and it's ready to use.
-
 Step 13
Pop a favourite road-trip photo inside and you'll be all inspired to take your next trip!