


About
Skull bag
My inner crafter (I call her Sabrina) woke me up at 5:30 am on Halloween morning. I tried to shut it up so I could get some more sleep, but it would not be ignored. You see, the night before I had been at Walmart, browsing the craft clearance, and had picked up a bag of random fabric pieces. Once I got home, I found that deep in this bag was a 6 inch wide strip of gray cotton, covered in skulls. I knew I should use it for Halloween, but was too tired to come up with something. Apparently, Sabrina had been hard at work while I was sleeping, because I had a picture of this in my head when I woke up.
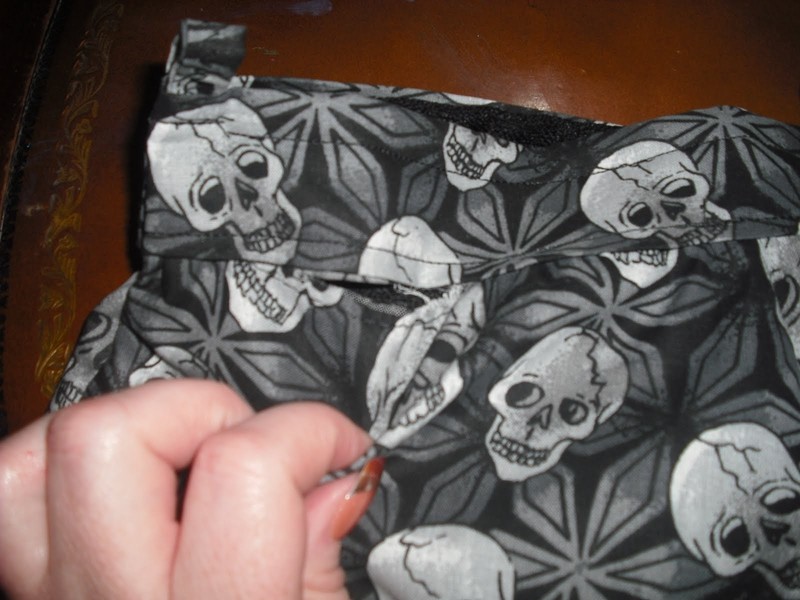
I couldn't get a very good picture of it, for some reason, but there is a cute little floret on the top left corner. In the picture it just looks like a blurry spot. Anyway, here are directions if you have a little piece of extra fabric and would like to make one yourself. In keeping with the Halloween theme, I used a piece of chain that used to hang paper lanterns from my ceiling as the strap. You could use another piece of fabric or pick up some store-bought purse handles.
These are the pieces for the outside, which I cut from the skull fabric:
2 - 11"x 6" (front and back pieces)
2 - 4"x 8 3/4" (top for front and back pieces)
2 - 2" x 3 1/2" (to make loops for the strap)
Lining:
2 - 8" x 8 3/4" (inside front and back)
2 - 6" x 4" (inside pockets - optional)
There was also the chain for the strap and a little button that I had on hand.
Tags
-
 Allison N. favorited In The Spirit Bag
08 Oct 22:42
Allison N. favorited In The Spirit Bag
08 Oct 22:42
-
 Blair M. favorited In The Spirit Bag
14 Mar 03:30
Blair M. favorited In The Spirit Bag
14 Mar 03:30
-
 Queen of the Sidhe favorited In The Spirit Bag
10 Nov 21:38
Queen of the Sidhe favorited In The Spirit Bag
10 Nov 21:38
-
 Ella W. commented on In The Spirit Bag
24 Feb 15:08
Ella W. commented on In The Spirit Bag
24 Feb 15:08
-
Ella W. favorited In The Spirit Bag
24 Feb 15:07
-
 jim71964@hotmail.com commented on In The Spirit Bag
30 Sep 03:12
jim71964@hotmail.com commented on In The Spirit Bag
30 Sep 03:12
-
 Shari J. favorited In The Spirit Bag
27 Jul 23:54
Shari J. favorited In The Spirit Bag
27 Jul 23:54
-
 Lana O. entered her project In The Spirit Bag to Cath Kidston's Sew! Contest
13 Nov 18:31
Lana O. entered her project In The Spirit Bag to Cath Kidston's Sew! Contest
13 Nov 18:31
You Will Need
-
Step 1
I folded the top outside pieces in half lengthwise and ironed them. Then I folded their edges under and ironed that, too.
-
Step 2
I hemmed the inside pockets, then sewed them onto the inside front and back pieces.
-
Step 3
I did a basting stitch across the top of the bigger front and back outside pieces, then gathered them slightly, so that they would match up with the tops that I cut.
-
 Step 4
I placed the gathered edge in between the folded edges of the top piece that I previously ironed, and sewed them together. I did the same for both front and back.
-
Step 5
With right sides together, I stitched the front and back pieces, doing the sides first and starting at the top edge, because when I start at the bottom, I always end up with uneven top edges.
-
 Step 6
Before sewing the inside and putting it in, turn what you have right-side-out and check to see that the seams are all strong. I got a little too close to the edge when I sewed the top on the front and had to fix it by hand, because I didn't notice until I had put the whole thing together.
-
Step 7
With right sides together, I sewed together the inside front and back. I then put the inside into the outside and pinned the bottom to keep it in place while I got the top ready. I folded the edge of the lining down, toward the outside, and pinned it in place.
-
Step 8
The 2" strips were folded in fourths, with the cut edges folded under, and I just did a zigzag stitch down the middle of each one. I then folded them in half and stuck the ends in between the outside and the lining, then sewed around the top of the purse.
-
Step 9
I put a buttonhole in the front center and sewed the button to the inside edge of the purse.
-
 Step 10
The ruffled floret was an afterthought, created to cover my hand stitching. I cut the remaining pieces of skull fabric into 1" strips and hand stitched through the center of the strips in a tight spiral pattern onto a piece of black fabric. Once I had it the way I wanted it, I cut away the extra backing and attached it to the purse using a blanket stitch.
FYI: If you're using chain as the strap, learn from my mistakes and don't put it on until you're all finished with everything else.
Finally, Sabrina was satisfied and, since Baby Bear was with her daddy this weekend, I took a nap. :-)


Comments


