
About
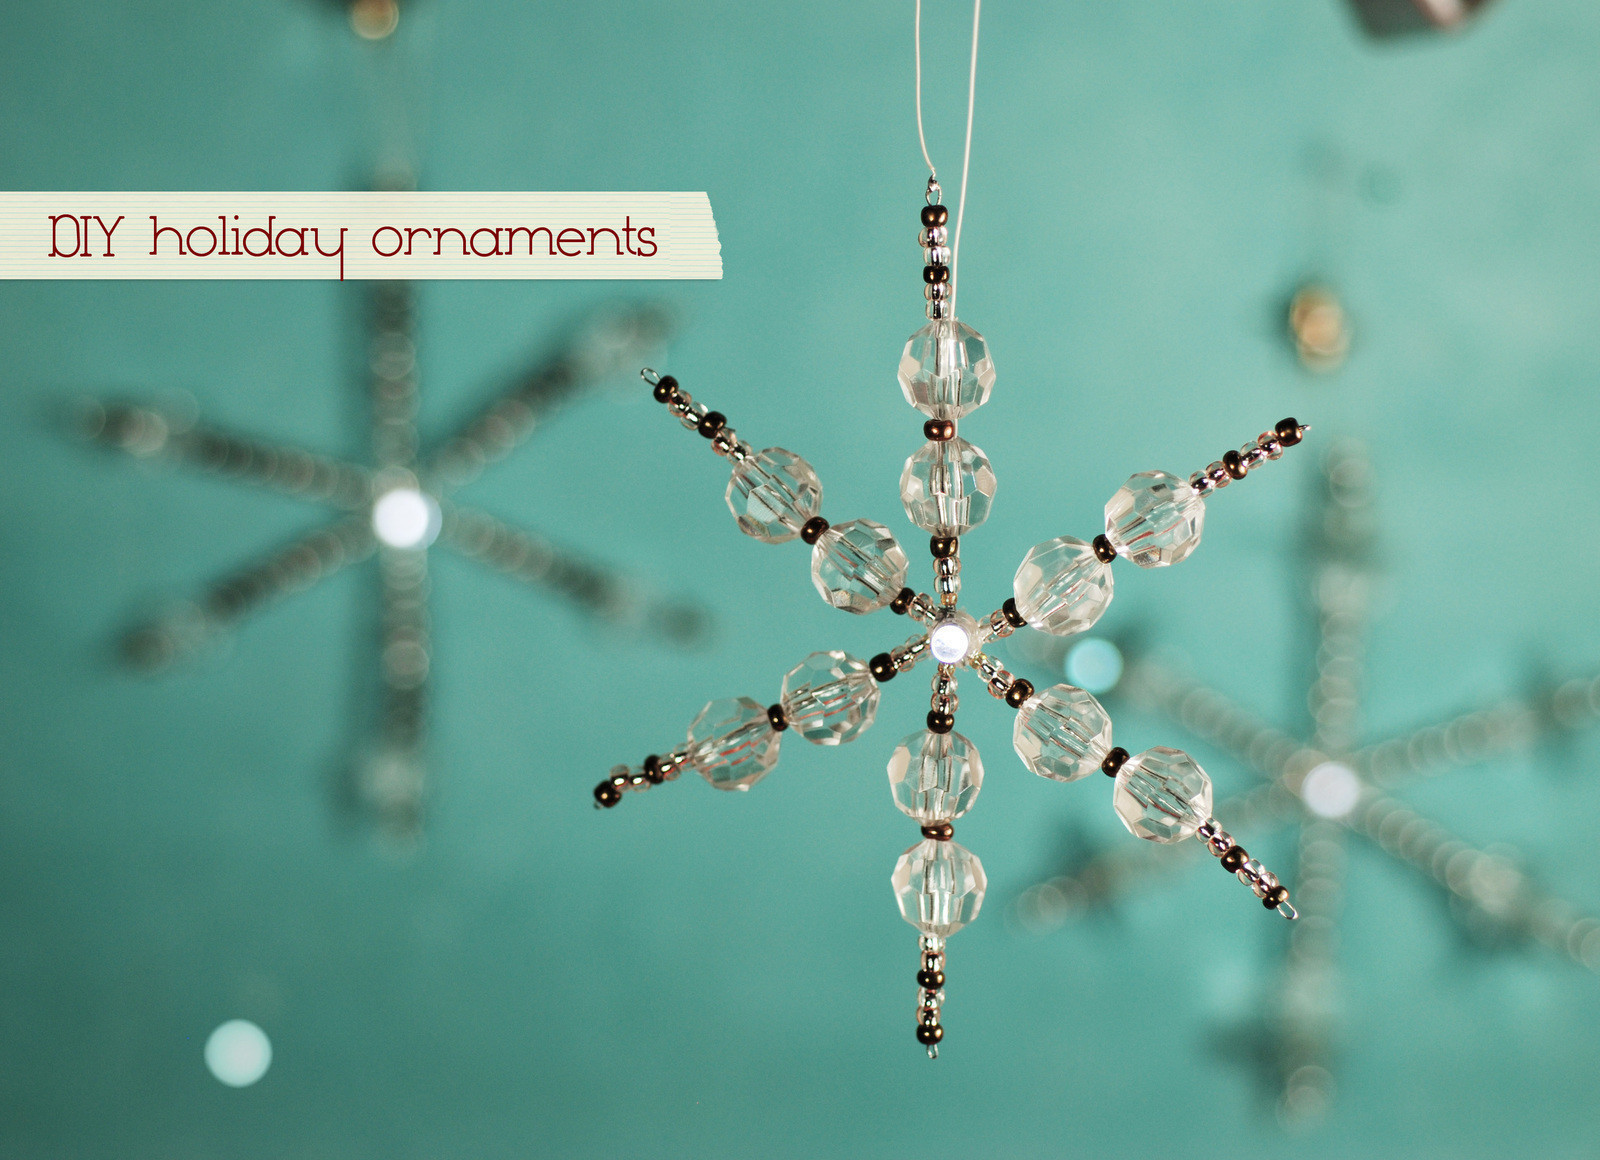
Simple and elegant, the illuminated snowflake ornament will brighten up your holidays.
These LED snowflake ornaments are super-easy to make and only take about 15-20 minutes each (depends on how long you experiment with the beading). This is the first project that I've really "beaded" but I can imagine such beautiful forms from crafters/makers with actual beading experience.
This tutorial does require some soldering skills. If you don't know how to solder, you can find video tutorials on www.fashioningtech.com.
Tags
-
 rene c. favorited Illuminated Snowflake Ornament Tutorial
30 Nov 11:19
rene c. favorited Illuminated Snowflake Ornament Tutorial
30 Nov 11:19
-
 Emma H. favorited Illuminated Snowflake Ornament Tutorial
16 Feb 18:38
Emma H. favorited Illuminated Snowflake Ornament Tutorial
16 Feb 18:38
-
 Arida added Illuminated Snowflake Ornament Tutorial to Elsa of Arendelle
01 Sep 11:26
Arida added Illuminated Snowflake Ornament Tutorial to Elsa of Arendelle
01 Sep 11:26
-
 02jhseaby added Illuminated Snowflake Ornament Tutorial to Try
08 Jun 17:32
02jhseaby added Illuminated Snowflake Ornament Tutorial to Try
08 Jun 17:32
-
02jhseaby favorited Illuminated Snowflake Ornament Tutorial
08 Jun 17:32
-
 Crafterella added Illuminated Snowflake Ornament Tutorial to Christmas Tree Ornaments
05 Dec 20:56
Crafterella added Illuminated Snowflake Ornament Tutorial to Christmas Tree Ornaments
05 Dec 20:56
-
 WaterAngel added Illuminated Snowflake Ornament Tutorial to Holiday
23 Apr 19:40
WaterAngel added Illuminated Snowflake Ornament Tutorial to Holiday
23 Apr 19:40
-
 Alice N. added Illuminated Snowflake Ornament Tutorial to Room Deco
21 Jan 19:21
Alice N. added Illuminated Snowflake Ornament Tutorial to Room Deco
21 Jan 19:21
-
 Mai added Illuminated Snowflake Ornament Tutorial to Festiveness
20 Jan 03:52
Mai added Illuminated Snowflake Ornament Tutorial to Festiveness
20 Jan 03:52
-
 Cacbaz favorited Illuminated Snowflake Ornament Tutorial
09 Dec 18:50
Cacbaz favorited Illuminated Snowflake Ornament Tutorial
09 Dec 18:50
You Will Need
-
 Step 1
Materials:
— 3" Head Pins {6} Any conductive wire can be used—brass, nickel and copper jewelry wire works great.
— Beads (with a large center-hole to fit head pin AND wire wrap wire)
— Crimp Beads {6} *optional
— 3 or 5mm LED
— Wire Wrap Wire {12"} You can substitute wire wrap for any other thin insulated wire
— Metallic Magnetic Jewelry Clasp
— 3V Coin Cell Battery
— SolderTools
— Needle-nose pliers
— Wire cutter and stripper
— Soldering Iron
— Glue Gun -
 Step 2
Design the Snowflake
String the beads on the head pin, leaving at least 1/4" of the pin free on opposite end. If you have crimp beads handy, add a crimp bead at each end to prevent the beads from moving. Repeat four times, creating a total of 5 beaded pins.
-
 Step 3
Add the Battery Wire
Cut the wire into one 8" and 4" piece. Strip 1" of wire off both ends.For the 6th pin, string the beads along the 8" wire AND pin. (If the center hole of a bead is too small to fit both the wire and pin, string the bead on the pin only.)
This wire, along with the one of the head pins will be used to the LED to the coin cell battery.
-
 Step 4
Prepare LED
Using wire cutters, trim the LED leads to about 1/2". -
 Step 5
Solder the LED
Insert the LED in between two beaded pins, one with the wire and one without the wire.If the LED lead fits, secure the lead inside the last bead of each pin, making sure the LED lead and pin overlap.
Solder the LED lead to the beaded pin with the wire, making sure that you do NOT solder the wire accidentally. You will be soldering the wire to the opposite pin.
Wrap the stripped end of the wire around the LED lead and pin (without wire). Solder, creating a nice solder joint.
-
 Step 6
Assemble the Snowflake
Using a hot glue gun, glue the remaining four beaded pins symmetrically to the center of the LED. -
 Step 7
Solder the First Magnetic Clasp
Wrap one stripped end of the 4" wire around the loop of a magnetic clasp. Wrap the opposite end around the loop of the pin. Solder.
-
 Step 8
Solder the Second Magnetic Clasp
Wrap the stripped end of the 8" wire around the loop of the remaining magnetic clasp. Solder.
-
 Step 9
Add Battery
Congratulations! Your ornament is complete! Place the battery in between the two magnetic clasps and check to see if your LED light is on. If the LED does not turn on, flip the battery!
Note: To turn the ornament off, simply flip the battery.