


About
$15 and one evening is all you need to glam up your prefab furniture!
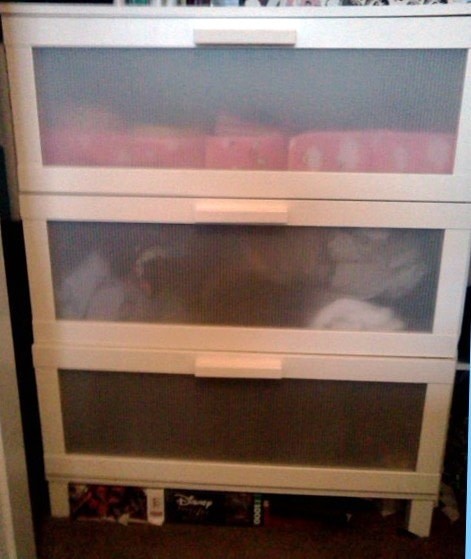
I enjoy people seeing my unfolded pajamas and brightly colored underwear organizer as much as the next person but I thought it time to fix my Ikea dresser up.
This tutorial is inspired by Amber W. 's Ikea Dresser Hack project
who did an amazing job on her own ikea dresser.
Also, my dresser is in my closet, not because I don't like it but because of space issues... that being said, it's no reason for it to be ugly!
Tags
Downloads
- Missing file
-
 Meredith A. added Ikea Dresser Gone Glam to Miss Piggy's Bedroom
13 Sep 00:13
Meredith A. added Ikea Dresser Gone Glam to Miss Piggy's Bedroom
13 Sep 00:13
-
 Ruby Autumn favorited Ikea Dresser Gone Glam
05 Feb 11:43
Ruby Autumn favorited Ikea Dresser Gone Glam
05 Feb 11:43
-
 Heather C. added Ikea Dresser Gone Glam to Mortica Adams
16 Aug 16:40
Heather C. added Ikea Dresser Gone Glam to Mortica Adams
16 Aug 16:40
-
 Emmyann07 entered her project Ikea Dresser Gone Glam to Bug Bingo & DIY Board Games
21 Jan 17:08
Emmyann07 entered her project Ikea Dresser Gone Glam to Bug Bingo & DIY Board Games
21 Jan 17:08
-
 MissDarkMark added Ikea Dresser Gone Glam to Dita von teese room
10 Oct 17:25
MissDarkMark added Ikea Dresser Gone Glam to Dita von teese room
10 Oct 17:25
-
 CountessAudronasha added Ikea Dresser Gone Glam to Dracula's room
24 Aug 22:42
CountessAudronasha added Ikea Dresser Gone Glam to Dracula's room
24 Aug 22:42
-
Emmyann07 entered her project Ikea Dresser Gone Glam to Doxie Flip Contest
04 May 17:49
-
Emmyann07 entered her project Ikea Dresser Gone Glam to Allstarco Contest
18 Feb 02:37
-
 Mónica O. favorited Ikea Dresser Gone Glam
19 Jan 14:48
Mónica O. favorited Ikea Dresser Gone Glam
19 Jan 14:48
-
Emmyann07 entered her project Ikea Dresser Gone Glam to Cherry Walls
08 Jan 18:52
-
 Step 1
Need:
- One boring Ikea dresser
- 3 brushed metal drawer pulls 3 3/4"
- 9 pieces of scrap book paper (a few more if your nervous about mess ups)
aaaand a cutting mat, t-ruler, exacto knife, craft glue or rubber cement, and a screw driver
-
 Step 2
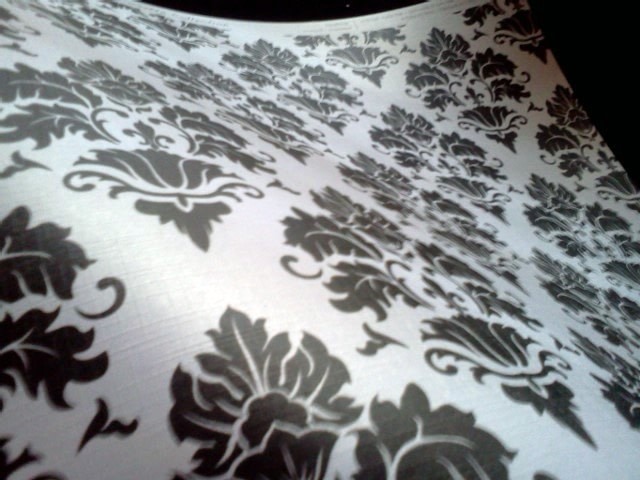
Instead of doing the faux tin ceiling tiles like I originally wanted (but quickly abandoned due to cost - $20 a sheet!). I opted for this beeeeaaautiful scrap book paper that cost only $1 a sheet from Michael's.
The paper has a large, but not busy, damask print. In addition it is pressed to look like woven fabric and has a sheen to it.
-
 Step 3
Cutting the paper:
- the dresser panels are 7 3/4" x 27 3/4"
- cut the paper height to 8" (leave the length as is)
- it will be a 1/4" taller but that is because the paper will sit in the gap between the panel and the dresser by about that much
- cut all pieces to this height, I used the edge of the unused piece as a template/ruler for the rest so I wouldn't have to keep measuring each time
-
 Step 4
Placing your first sheet paper in:
- Once cut apply glue to the area on the OUTSIDE of the plastic panel
- Carefully slide paper in place remembering that the paper edges will fit in between the dresser and panel gap.
- I have a small ruler that I used to smooth out any bubbles using it's edge
- Apply a small amount of glue to the exposed edge to seal
-
 Step 5
Covering the rest of the panel:
This next step has to be done quickly because the glue dries fast
- Apply glue to middle portion of panel as well as edge of finished paper
- Carefully insert second (or third) paper sheet on panel, placing edges in between the panel gap
- Make sure to line the prints up, lightly sliding paper as needed (this is where the quick part comes in)
- Smooth out, but do not push to hard or else risk sliding the paper over
- Seal edges with a small amount of glue
-
 Step 6
- For the third sheet of paper repeat step 5. This one may be trickier to fit in and aline but be careful and you should be fine
- Also I had to cut about 1/4" from the end of the last piece in order to make the pattern aline. Make sure you check to see how the last piece fits before gluing in place
- Once finished repeat until all drawers are done
-
 Step 7
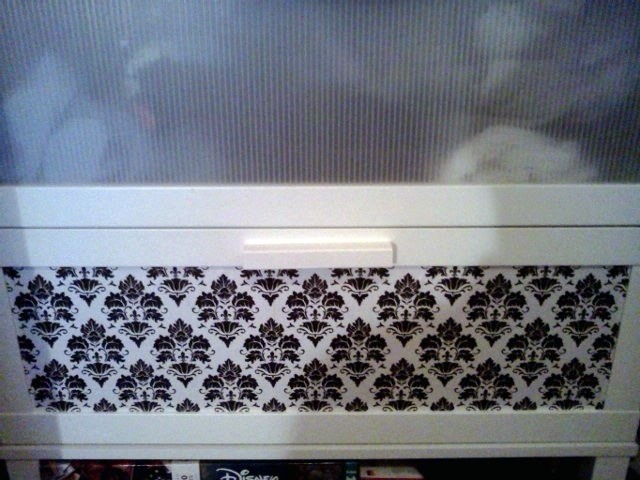
Your drawers may be covered but you're not done yet!
- Unscrew ugly drawer pulls (one drawer at a time or else you wont be able to open your drawers without finagling)
- Replace with pretty brushed metal pulls of your choice!
- Note: I originally bought these really cute and inexpensive drawer pulls that looked like they had wings. Sadly I didn't pay attention to the size (3") so they had to go back. I replaced them with these correctly sized 3 3/4" handles which were a little more money but probably for the best.
-
 Step 8
Enjoy your new damask dresser that no longer looks like it belongs in a dorm room! :)


Comments


