How To Whittle
Extract from Victorinox Swiss Army Knife Book of Whittling • By Chris Lubkemann • Published by Fox Chapel Publishing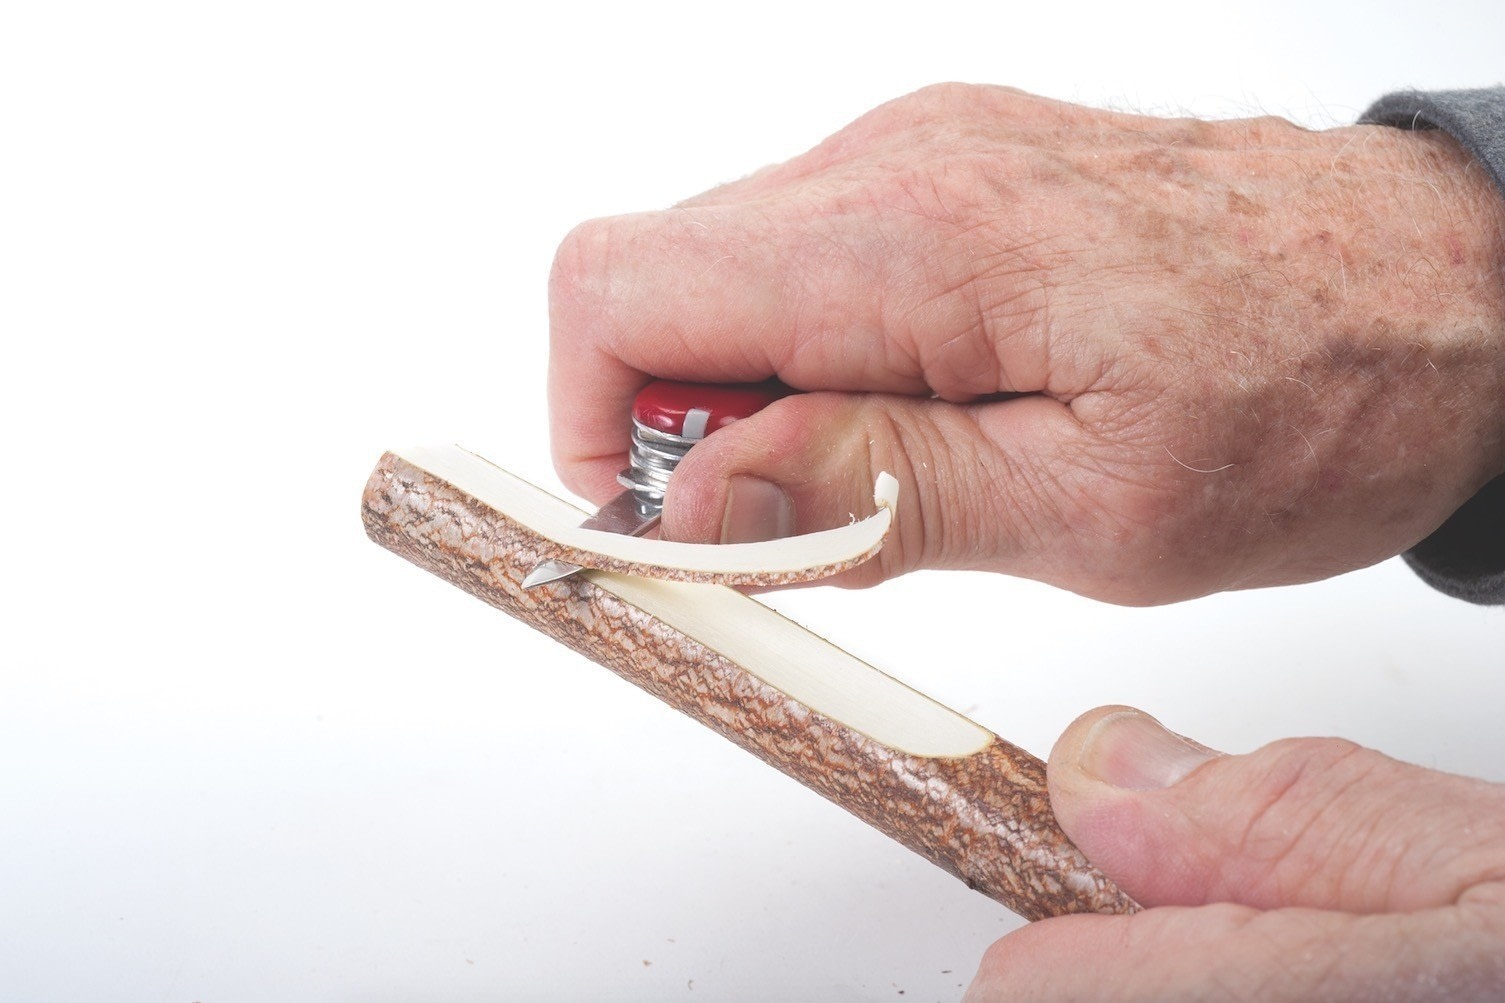

About
Basic Cutting Strokes
There are many ways to cut with a knife. These are the strokes I use the most often. I am demonstrating them for right-handed carvers. Left-handers, of course, will reverse the hands, following a mirror image of the photographs.
-
 Sarah Sylvia S. favorited How To Whittle
18 Jul 06:25
Sarah Sylvia S. favorited How To Whittle
18 Jul 06:25
-
 shelly.anderson.547 added How To Whittle to Whittling and such
03 Oct 14:36
shelly.anderson.547 added How To Whittle to Whittling and such
03 Oct 14:36
-
shelly.anderson.547 favorited How To Whittle
03 Oct 14:35
-
 Alissa B. favorited How To Whittle
20 Sep 03:34
Alissa B. favorited How To Whittle
20 Sep 03:34
-
 Fox Chapel Publishing published her project How To Whittle
18 Sep 06:00
Fox Chapel Publishing published her project How To Whittle
18 Sep 06:00
-
 Step 1
I have been carving for many years and rarely, if ever, cut myself, largely because I constantly keep in mind a three-word rule: “Air, not meat!” The knife blade doesn’t know the difference between wood (what you’re carving) and meat (any part of you). So when you hold the wood and cut it, position your hands (and other parts) so the blade hits air on its follow-through, not meat. You won’t believe how much this simple rule helps!
Next, make small, controlled cuts. Don’t be too aggressive when you cut into the wood. And finally, keep your knife sharp! A sharp knife is much easier to control because you won’t have to shove or tug it through the wood, and it won’t have the tendency to skid as you’re cutting.
Some carving instructors recommend that beginning carvers wear protective gear while they get used to their knife. They suggest an inexpensive gardening glove and a leather thumb guard (or even a piece of duct tape wrapped around your thumb). I don’t like to have anything on my hand or fingers (and I always remember my three-word rule!), but I feel I should pass on these suggestions. -
 Step 2
Straightaway Cutting. This cut is good for removing a lot of wood or bark quickly. Hold the wood in your left hand and, using long, firm strokes, cut away from yourself with your right hand. Lock your right wrist so it doesn’t bend during the cutting stroke. Don’t dig too deeply into the wood on these strokes. You’ll find it easier to make shallower strokes, even if it takes a few more slices to remove the same amount of wood.
-
 Step 3
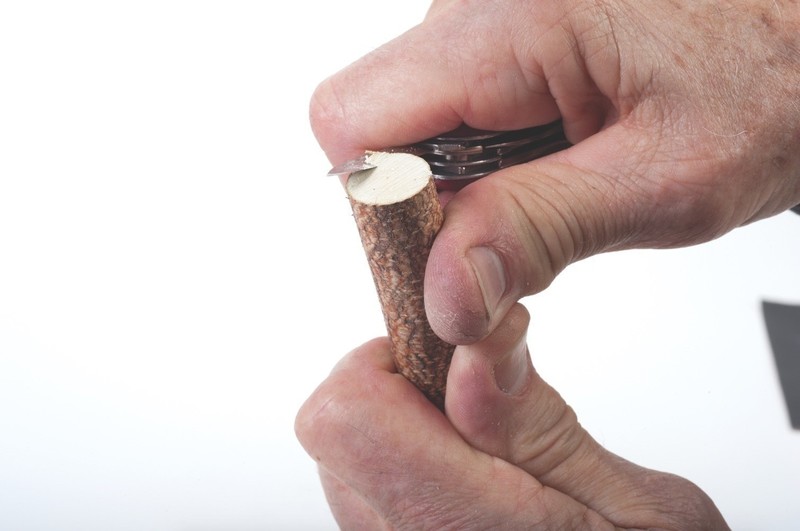
rawcutting. Hold the wood in your left hand and the knife in your right. Cut toward yourself (sort of like peeling an orange) with short strokes, using your right thumb as
a brace against the wood. Keep your right thumb braced on your left thumb, not on top of the wood itself. That way, you don’t run the risk of the blade cutting into your right thumb when it clears the end of the wood. -
 Step 4
Thumbpushing. This particular stroke
is practical for small cuts where you need precise control and don’t want to overcut. Hold the wood in the four fingers of your left hand, leaving your left thumb free. Grip the knife in your right hand, keeping your right thumb against the back of the blade. With your left thumb, push either the back of the blade or the back of your right thumb. -
 Step 5
V-notch. A combination of strokes, the V-notch is an extremely common and useful cut. Hold the knife at an angle toward the center of the cut and thumbpush into the wood. Turn either the knife or the project and make a second cut that meets the
first in the bottom of the V; the chip should pop right out. Make a series of connected V-notches to cut a groove.