


About
How to make a zombie burger bag!
Making bags can seem tricky; but this is so easy to make! and will only take you 3 hours max. Depending on the size; you can use this bag for anything, CD's, essentials; or Halloween!
If your up to making one and a little bored; then please send me your pictures, I would love to see them :D
Enjoy!
Tags
Downloads
- bag_1.jpg 491 KB [ Download ]
-
 Trisha J. favorited How To Make A Zombie Burger Bag!
27 Nov 02:56
Trisha J. favorited How To Make A Zombie Burger Bag!
27 Nov 02:56
-
 Marci F. favorited How To Make A Zombie Burger Bag!
06 Aug 18:23
Marci F. favorited How To Make A Zombie Burger Bag!
06 Aug 18:23
-
 Evelyn C. favorited How To Make A Zombie Burger Bag!
06 Jun 05:58
Evelyn C. favorited How To Make A Zombie Burger Bag!
06 Jun 05:58
-
 amanda.shillito added How To Make A Zombie Burger Bag! to To make
16 Dec 12:40
amanda.shillito added How To Make A Zombie Burger Bag! to To make
16 Dec 12:40
-
 Mikoto added How To Make A Zombie Burger Bag! to Inspiration
30 Nov 21:59
Mikoto added How To Make A Zombie Burger Bag! to Inspiration
30 Nov 21:59
-
 Kendell V. favorited How To Make A Zombie Burger Bag!
30 Nov 19:48
Kendell V. favorited How To Make A Zombie Burger Bag!
30 Nov 19:48
-
 Nobody Special commented on How To Make A Zombie Burger Bag!
29 Nov 16:59
Nobody Special commented on How To Make A Zombie Burger Bag!
29 Nov 16:59
-
Christine B. favorited How To Make A Zombie Burger Bag!
28 Nov 21:54
-
 Flo Di favorited How To Make A Zombie Burger Bag!
28 Nov 08:24
Flo Di favorited How To Make A Zombie Burger Bag!
28 Nov 08:24
-
Shantelle t. added How To Make A Zombie Burger Bag! to how to clothing
23 Oct 17:56
-
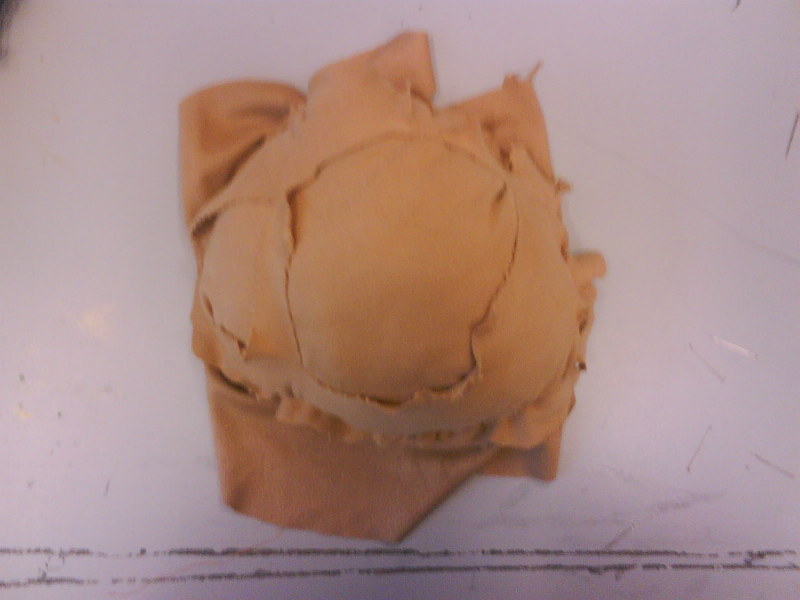
 Step 1
I started off by cutting out a circle pattern shape that would provide the coverage for the top bun of my burger. Considering I would be later stuffing the material with padding later on, I decided to make the circle larger than i actually wanted my bag to be (as should you!)
-
 Step 2
Once I had cut a couple of them out; i then layered and made several holes in order to create that zombie look. Then stuffing it with wadding (you can use anything; reuse old cushions or old toys) Then either hand sew or machine around the edge; furthermore pluming it up to give the right shape.
-
 Step 3
I then thought about what I would use for lettuce; luckily this was a print on one of my old t shirts that I had just cut out; but you can use anything from old scrap material, to painting old material in acrylics of fabrics paints!
Then gather it through the middle with a needle and sew. -
 Step 4
I then hand sewed around the edge, keeping the burger in place; I also had sewn a few through the burger bun to make it look further like a burger bun with the bumps and seeds edge going on..
-
 Step 5
The for the bottom part of the burger bun; I measured what the burger top measured as now and replicated that into the bottom; then around the edge adding a plastic stiffener to give it shape.
-
 Step 6
I then focused onto the actual burger eat; I cut out some foam and painted it all, using a variation of brown and green to give it that real zombie texture!!
(using acrylic)
-
 Step 7
This is the burger when dried.
-
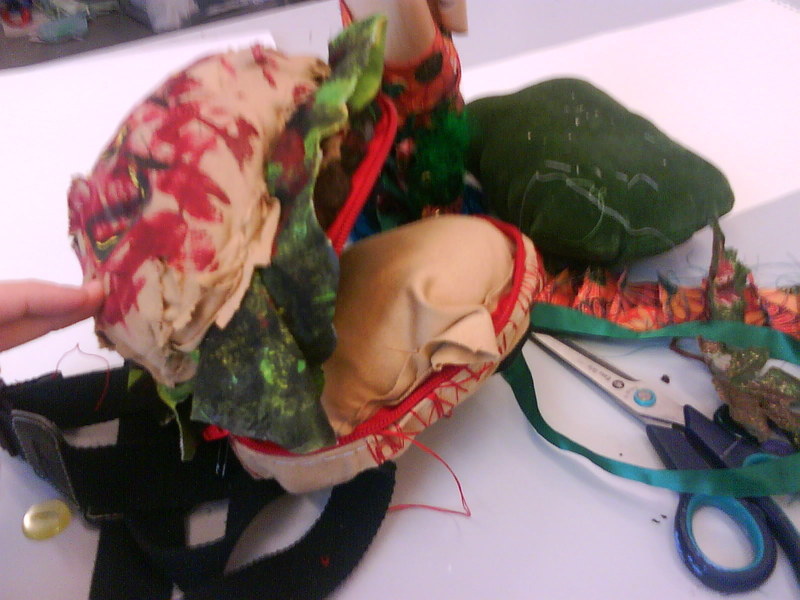
 Step 8
I then stitched it into the top following a thick red tooth zip to symbolize ketchup; and also attaching it to the bottom half. When it comes to this part your more or less done! Oh I also forgot to mention attaching the straps on; which I had done with the machine, making it into a back pack. For added embellishment, you can do some random red stitching (or any color you want) to give it that rough zombie texture!
Goodluck and I hope you try this at home :3 they are so much fun to make!


Comments


