


About
A Plushie felt mushroom :)
This is how to make a small mushroom out of felt. hope you enjoy
Tags
-
 Sarah Sylvia S. favorited How To Make A Felt Mushroom
23 Jul 09:55
Sarah Sylvia S. favorited How To Make A Felt Mushroom
23 Jul 09:55
-
 Abby favorited How To Make A Felt Mushroom
27 Jul 09:22
Abby favorited How To Make A Felt Mushroom
27 Jul 09:22
- Lilian E. added How To Make A Felt Mushroom to crafts 2 21 Jul 10:07
-
 Kate M. favorited How To Make A Felt Mushroom
13 May 20:15
Kate M. favorited How To Make A Felt Mushroom
13 May 20:15
-
 Sandra T. added How To Make A Felt Mushroom to Gift Ideas
24 Mar 22:07
Sandra T. added How To Make A Felt Mushroom to Gift Ideas
24 Mar 22:07
-
 Melissa G. favorited How To Make A Felt Mushroom
21 Mar 00:15
Melissa G. favorited How To Make A Felt Mushroom
21 Mar 00:15
-
 Stittchedupdoll favorited How To Make A Felt Mushroom
21 Feb 06:22
Stittchedupdoll favorited How To Make A Felt Mushroom
21 Feb 06:22
-
 Shelby W. added How To Make A Felt Mushroom to Felt
30 Jan 00:22
Shelby W. added How To Make A Felt Mushroom to Felt
30 Jan 00:22
-
Moonstar added How To Make A Felt Mushroom to To-make list
10 Jan 19:46
-
 pink added How To Make A Felt Mushroom to things i want to make in the future
03 Oct 03:12
pink added How To Make A Felt Mushroom to things i want to make in the future
03 Oct 03:12
-
 Step 1
These are the materials you'll be needing.
-
 Step 2
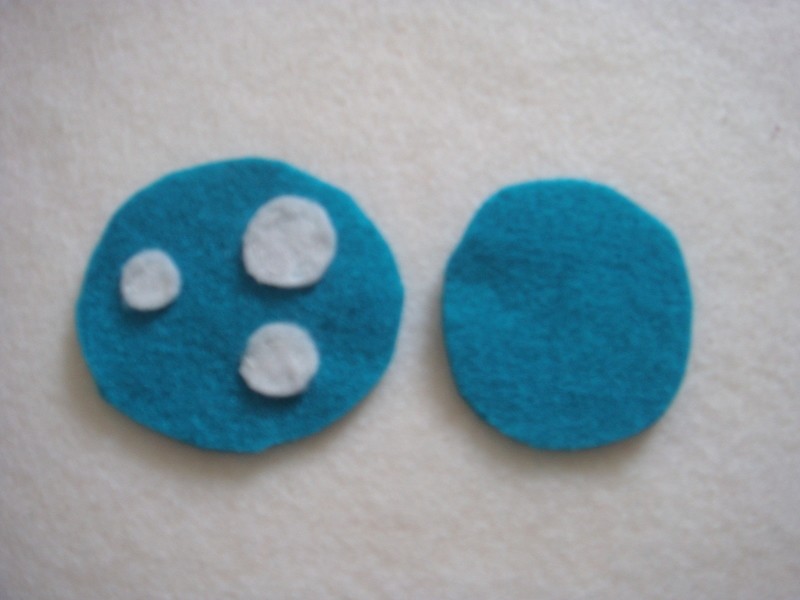
So first, cut out 2 oval/circles for the mushroom cap. make one slightly bigger than the other. the bigger one is for the top of the mushroom cap.
-
 Step 3
Cut out some white circles for the sopts on the mushroom cap.
Place them where you want them to be on the BIGGER circle and sew them on or glue them on(don't sew too close to the edge) -
 Step 4
This is now what you should have. A bigger circle with white spots on it and a smaller plain circle.
-
 Step 5
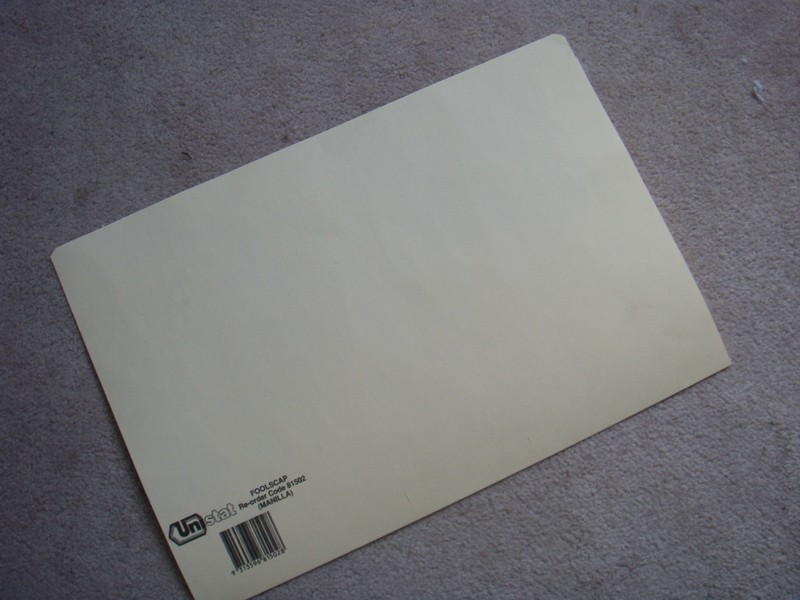
get the board/card and cut out a small circle, slightly smaller than the small mushroom cap circle.
-
 Step 6
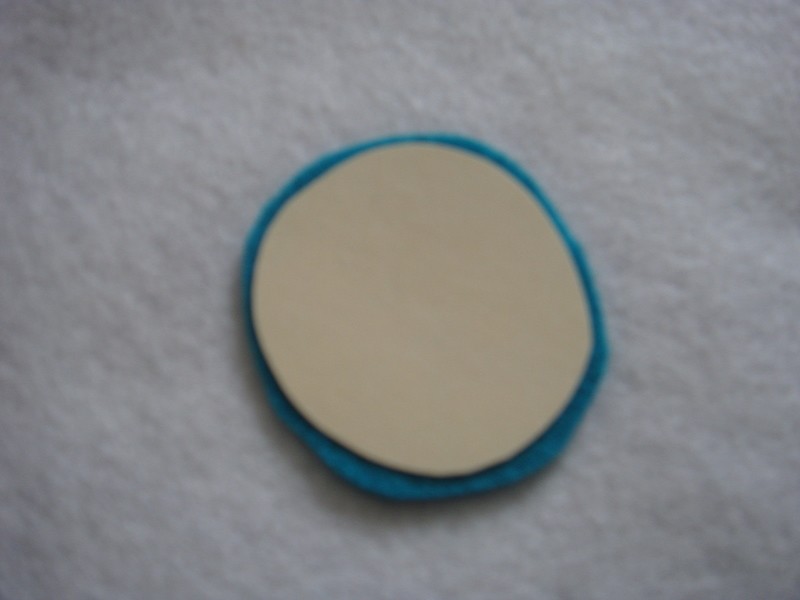
This is a picture of the picec of card ontop of the small circle.
-
 Step 7
You can now sew the mushroom caps together the right side up, but don't put the card in yet. Sew it using blanket stitches and using creases(read next step).
-
 Step 8
To make the creases, fold a loop in the bigger circle of felt. . .
-
 Step 9
Now bend it together. . .
-
 Step 10
Squish the loop down flat. . .
-
 Step 11
Sew the flat loop down very carefully.
-
 Step 12
This is what the crease-thing would look like. you need to do a few of these so the bigger circle will fit with the smaller circle. but be careful and don't do too many creases!
-
 Step 13
remeber to leave a little gap at the end of the sewing! You can slide the card in now.
But don't sew it up yet! -
 Step 14
Place the card at the BOTTOM of the mushroom cap. the bottom is where the smaller crcle is
-
 Step 15
Stuff the mushroom cap with stuffing now :)
But make sure you place the stuffing ON TOP of the card. Don't let any stuffing get under the card.
When you are happy with the amount of stuffing inside, sew it up! -
 Step 16
and . . . here is it! a finished mushroom cap!
-
 Step 17
Time to make the stalk. . .
cut out a trapezium shape out of white felt. -
 Step 18
Fold the trapezium in half and sew up the side, but DON'T SEW THE BOTTOM!
Flip it inside out -
 Step 19
Cut out a circle for the bottom of the mushroom. Trim it to fit. Then sew it to the stalk.
-
 Step 20
This is would you should have. And now, stuff it!
Stuff with a pen if its too narrow. -
 Step 21
Sew the top of the stalk to the centre of the mushroom cap. Sew with a blanket stitch and make it as secure as you can.
-
 Step 22
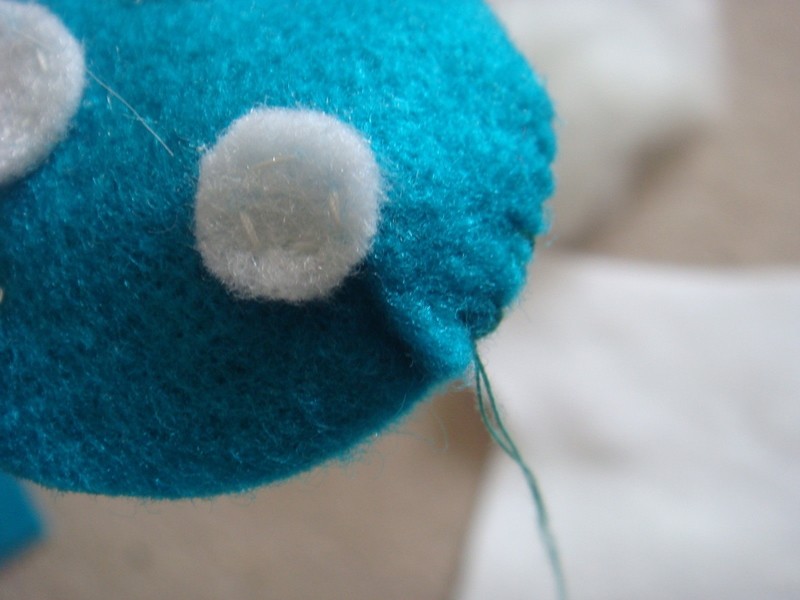
A close-up on the stalk to the mushroom cap.
-
 Step 23
TA DAAAA
here is your finished mushroom!!!
:)have fun!


Great way of explaining it!