

About
How to make that snap shot really look like something professional
-
 catarina n. favorited How To Create An Affect Black And White Image In Adobe Photoshop
28 Jul 18:12
catarina n. favorited How To Create An Affect Black And White Image In Adobe Photoshop
28 Jul 18:12
-
Nora E. added How To Create An Affect Black And White Image In Adobe Photoshop to Photography Ideas
05 Apr 02:46
You Will Need
-
 Step 1
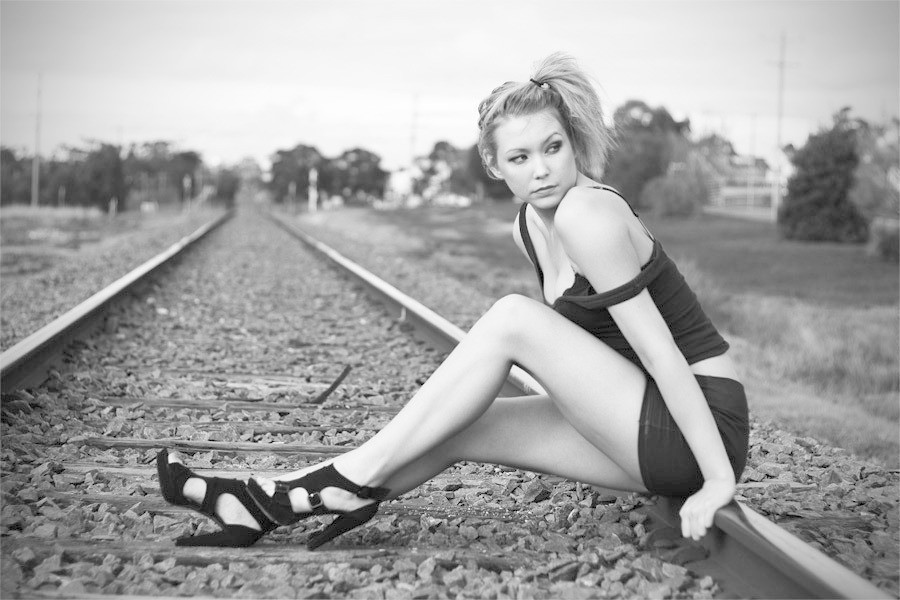
This is my starting image. I opened this in photoshop, you can do this in any version of photoshop, but the version i'm using is adobe cs4
-
 Step 2
The first i thing i did after opening the image in photoshop, was up the top i went to Image > Adjustments > desaturate. which just removes all the colour from your image and turns it black and white.
-
 Step 3
Then you go to Image > Adjustments > Curves, this tool helps the exposure of the image, but in this case it gives more definite black and whites instead of the image being so grey.
-
 Step 4
In this image you can see the before (just after it was desaturated) with the curves tool opened, and you can see how grey the image looks.
-
 Step 5
On the side you can see i've moved the lines, you don't have to do it the same as I did, you're welcome to play around til the image suits your personal taste.
But in this instance this is how I did it.
And already you can see the dramatic change it has made to the image. -
 Step 6
This step is optional, this is just something i personally like to do with some of my black and white images.
Go to Filter > Distort > Lens Correction.
-
 Step 7
Where the red line is where i played around, you can again like i said move this bar to what suits your personal taste, this tool gives a dark edge around your image, and makes the subject in the middle stand out more.
-
 Step 8
This is what the image looks like with the dark edge.
-
 Step 9
This is something I do with some of my images, Canon cameras can sometimes produce unsharp images, so I like to sharpen up my image a bit, So i went to Filter > Sharpen > Smart Sharpen
-
 Step 10
Where the red circle is where i moved the bar, now I only did 2.0 do not do it to intense you want your photo to look as natural and unphotoshopped as you can.
-
 Step 11
And my final image! A more effective and dramatic and non ametuer black and white, this is how the professionals do it :)


Thank you ^^