About
How to Create a Photo Wall
Check out this great tutorial on how to create a photo shelf gallery wall!! Great for your living room, dining room or entry hall!!
-
 jolene r. added How To Create A Photo Shelf to That Spare Room
20 May 01:06
jolene r. added How To Create A Photo Shelf to That Spare Room
20 May 01:06
-
 Elizabeth F. favorited How To Create A Photo Shelf
09 Mar 15:00
Elizabeth F. favorited How To Create A Photo Shelf
09 Mar 15:00
-
Kristen L. published their project How To Create A Photo Shelf
01 Nov 23:56
You Will Need
-
 Step 1
We haven't hung much on the walls since we moved in mostly because I am still looking for home decor and deciding what I want each room to look like. What I did know was that I wanted a place that I could display some of our Wedding photos. I picked out some of my favorite photos (both black and white and color) and had them printed on Shutterfly (affiliate link here). I also found various sized pictures frames at Home Goods, Marshall's and Bed, Bath & Beyond. I went with a metallic silver theme, but you can coordinate different metals, colors, textures, etc. to get the look that you want. I made sure that my frames were a variety of sizes, shapes and textures to make the nook a little more interesting.
-
 Step 2
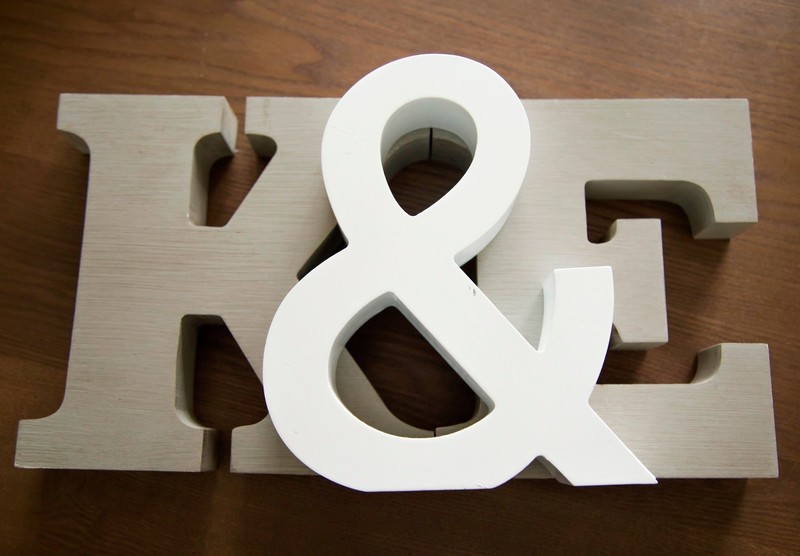
I also found these great letter and ampersand blocks at TJ Maxx before we moved. I knew I had to have them, but I wasn't sure where I would put them. Why not the picture nook you ask? That's exactly what I'm thinking!
-
 Step 3
If you are hanging your shelves in a hallway, you will want them to be 4-5 feet from the floor and if you are handing your shelves in a living or dining room, the shelves should be 4-4.5 heet from the floor.
-
 Step 4
I then went to work arranging my gathered knick-knacks. In addition to my picture frames and block letters, I added a shell from our last vacation and a deer antler (because hunting decor is totally chic right now)!
-
 Step 5
This is what I came up with! I made sure to vary the size, shape and texture of the frames on the shelves to give a look that was both balanced and asymmetrical. I also dispersed the block letters and ampersand in a way that looks random, but still makes sense and looks good.
-
 Step 6
I really just played around with everything until I liked it, which is exactly what you should do.
-
 Step 7
The great thing about these shelves is that I can change the decor any time by swapping out different photos or changing the accessories all together. For now, we are sticking with the wedding photos and the block letters!! I hope this post was helpful! Good luck with your nooks!