


About
One-Hour Cheese
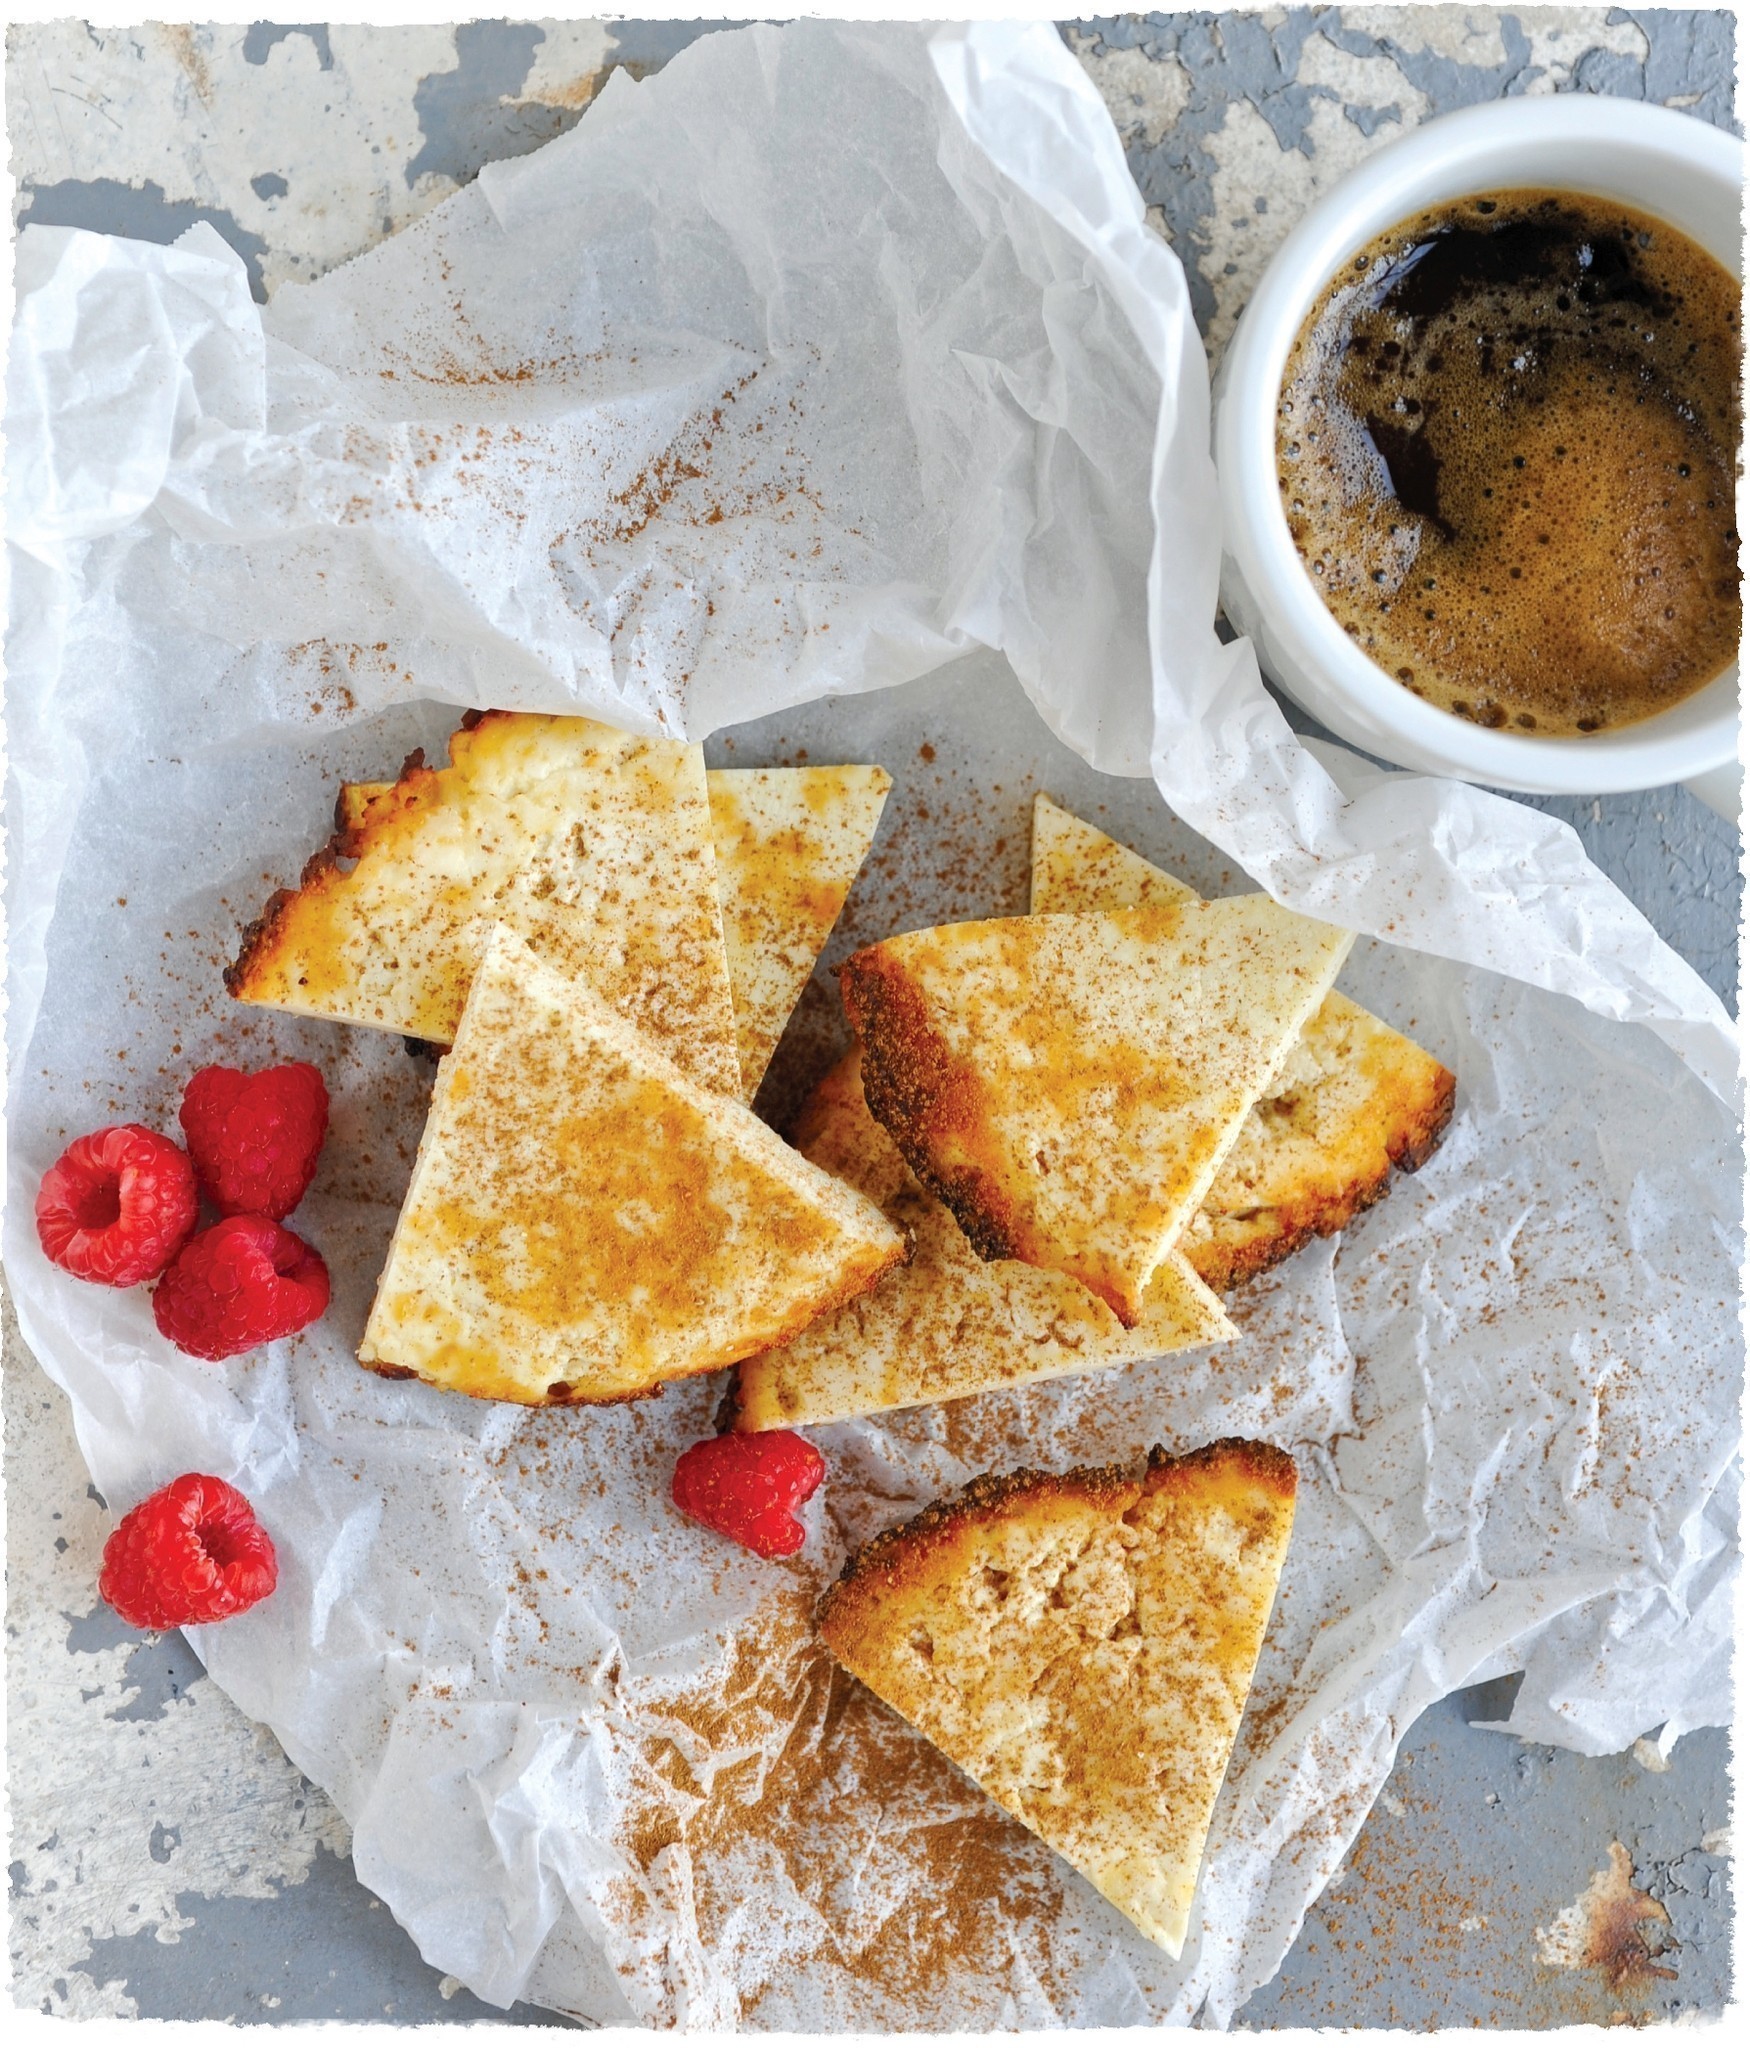
My inspiration for this recipe is the Finnish cheese juustoleipä (also known as bread cheese), a precooked cheese originally made of reindeer milk that can be dunked in coffee and eaten for breakfast like toast. I couldn’t pass up the opportunity to play with that idea!
I infused this incarnation with cardamom flavor (which is not Finnish, but is inspired by ras malai, an Indian treat made with paneer and flavored with cardamom syrup), which adds a warm spiciness on a chilly day.
When it’s allowed to cool or is just toasted slightly, this cow’s milk version is like buttered toast. Freshly broiled, Honeyed Toast Cheese tastes like and has the consistency of a ricotta cheesecake. Top it with juicy berries to enjoy as a delicious dessert, or do like the Finnish and have it take a dive into your coffee!
How Easy Is It?
Level: Easy Easier Easiest
Ready to Eat In: 1 hour
Makes: 1/2 pound
Biggest Pain: Extra broiling step, which means more dirty dishes.
Uses: As toast, as cheesecake, or in place of a crust for a fruit tart.
Recommended Milk:
1/2 gallon whole cow’s milk (very flexible; see variations).
Worth Mentioning: You can broil it right before serving as instructed or skip broiling. The cheese will firm up just by cooling and will be similar to paneer, but sweet.
-
 Lotusburger favorited Honeyed Toast Cheese
11 Jan 13:30
Lotusburger favorited Honeyed Toast Cheese
11 Jan 13:30
-
 Suzi T. favorited Honeyed Toast Cheese
07 Nov 22:11
Suzi T. favorited Honeyed Toast Cheese
07 Nov 22:11
-
 Workman published her project Honeyed Toast Cheese
04 Sep 11:04
Workman published her project Honeyed Toast Cheese
04 Sep 11:04
You Will Need
-
Step 1
Crush the cinnamon and cardamom pods with a mortar and pestle to release their oils and aroma.
-
Step 2
Collect and tie the spices into the small piece of cheesecloth or coffee filter to create a bundle. Set it aside.
-
Step 3
Line the colander with cheesecloth. Place a bowl underneath if you want to collect the whey; otherwise, place the lined colander in your clean sink.
-
Step 4
Pour the milk into the pot.
-
Step 5
Drop the bundle of spices into the pot of milk. Then heat the milk, on medium, to 200°F.
-
Step 6
Stay close and monitor the heat, stirring every few minutes to prevent a skin from forming on the surface of the milk. Check for sticking milk at the bottom of the pot. (Reduce the heat if you feel any milk sticking.)
-
Step 7
Look for steam and frothy bubbles as the milk approaches 200°F. (Note: It should look like foam, not a rolling boil.) Remove the bundle of spices just as the milk reaches temperature.
-
Step 8
Confirm that the milk temperature has reached 200°F.
-
Step 9
Add and stir in the apple cider vinegar. Within seconds, coagulation should happen—and it is dramatic. (If for some reason it is not obvious, add another tablespoon of apple cider vinegar; some brands can be a little weaker.)
-
Step 10
Lower the heat and gently stir the curds for 2 minutes (don’t break them up, just move them around). Stirring assists them in shrinking and releasing whey, which will make the Toast Cheese firm.
-
Step 11
Turn off the heat and carefully pour the curds and whey into the cloth-lined colander.
-
Step 12
Drain the curds for 3 to 5 minutes or until their texture resembles popcorn. You may stir them gently to help release whey.
-
Step 13
Add the salt and stir it in quickly and thoroughly.
-
Step 14
Gather the cheesecloth corners and twist them to create a tight bundle, squeezing to release more whey.
-
Step 15
Unwrap the curds and place them in the medium-size mixing bowl. Mix in one tablespoon of the honey. (Note: Honey varies in color from a pale creamy hue to a deep molasses color. Experiment—they’ll all provide slightly nuanced flavors.)
-
Step 16
Use your hands to knead the curds into a doughlike texture, about a minute. You will know it’s the right consistency when a handful clumps together. Your cheese is ready to eat warm now (try it on toast with jam on top) or store for later.
-
Step 17
Melt the butter and remaining honey in a skillet, about 1 minute.
-
Step 18
Pour the melted honey butter into a small bowl. Leave the residual coating in the skillet.
-
Step 19
Use a spoon to press the doughy cheese into the skillet immediately.
-
Step 20
Pour the remaining honey butter over the flattened cheese. Most will soak into the cheese as it heats in the next step, with some remaining at the top.
-
Step 21
Broil, brown with a culinary torch, or bake in a preheated oven at 450°F until the top gets toasty and the butter and honey is absorbed, about 15 minutes. Allow cheese to cool in the pan.
-
Step 22
Invert the skillet over a cutting board or other work surface, allowing the cheese to fall, top-side down. The bottom should appear toasted as well. (Note: If you torched it, leave it in the skillet to slice—the bottom will not have browned.)
-
Step 23
Slice up the cooled cheese and, using a fork, dunk a slice into your coffee. Make sure you Finnish the whole cup!
-
Step 24
Serving Suggestion
Strawberry-Covered Chocolate Cheesecake
— Serves 4 —Everyone knows and loves chocolate-covered strawberries, but what about strawberry-covered chocolate? On top of a cheesecake! That totally wins.
2 ounces dark chocolate
1 pan (or 3 small patties) Honeyed Toast Cheese
5 to 8 ripe strawberries, washed and slicedShave the dark chocolate using a cheese grater (of course!) onto the hot Toast Cheese at Step 6 in Part 2. If you are using cooled cheese, melt the chocolate and spread or drizzle it over the cheese. Press sliced strawberries into the melted chocolate. Eat immediately or better yet, chill the cheesecake in the freezer for 15 minutes or until the chocolate firms up and holds the strawberries. Serve with strong hot or iced coffee.


