


About
Paper Pom Poms
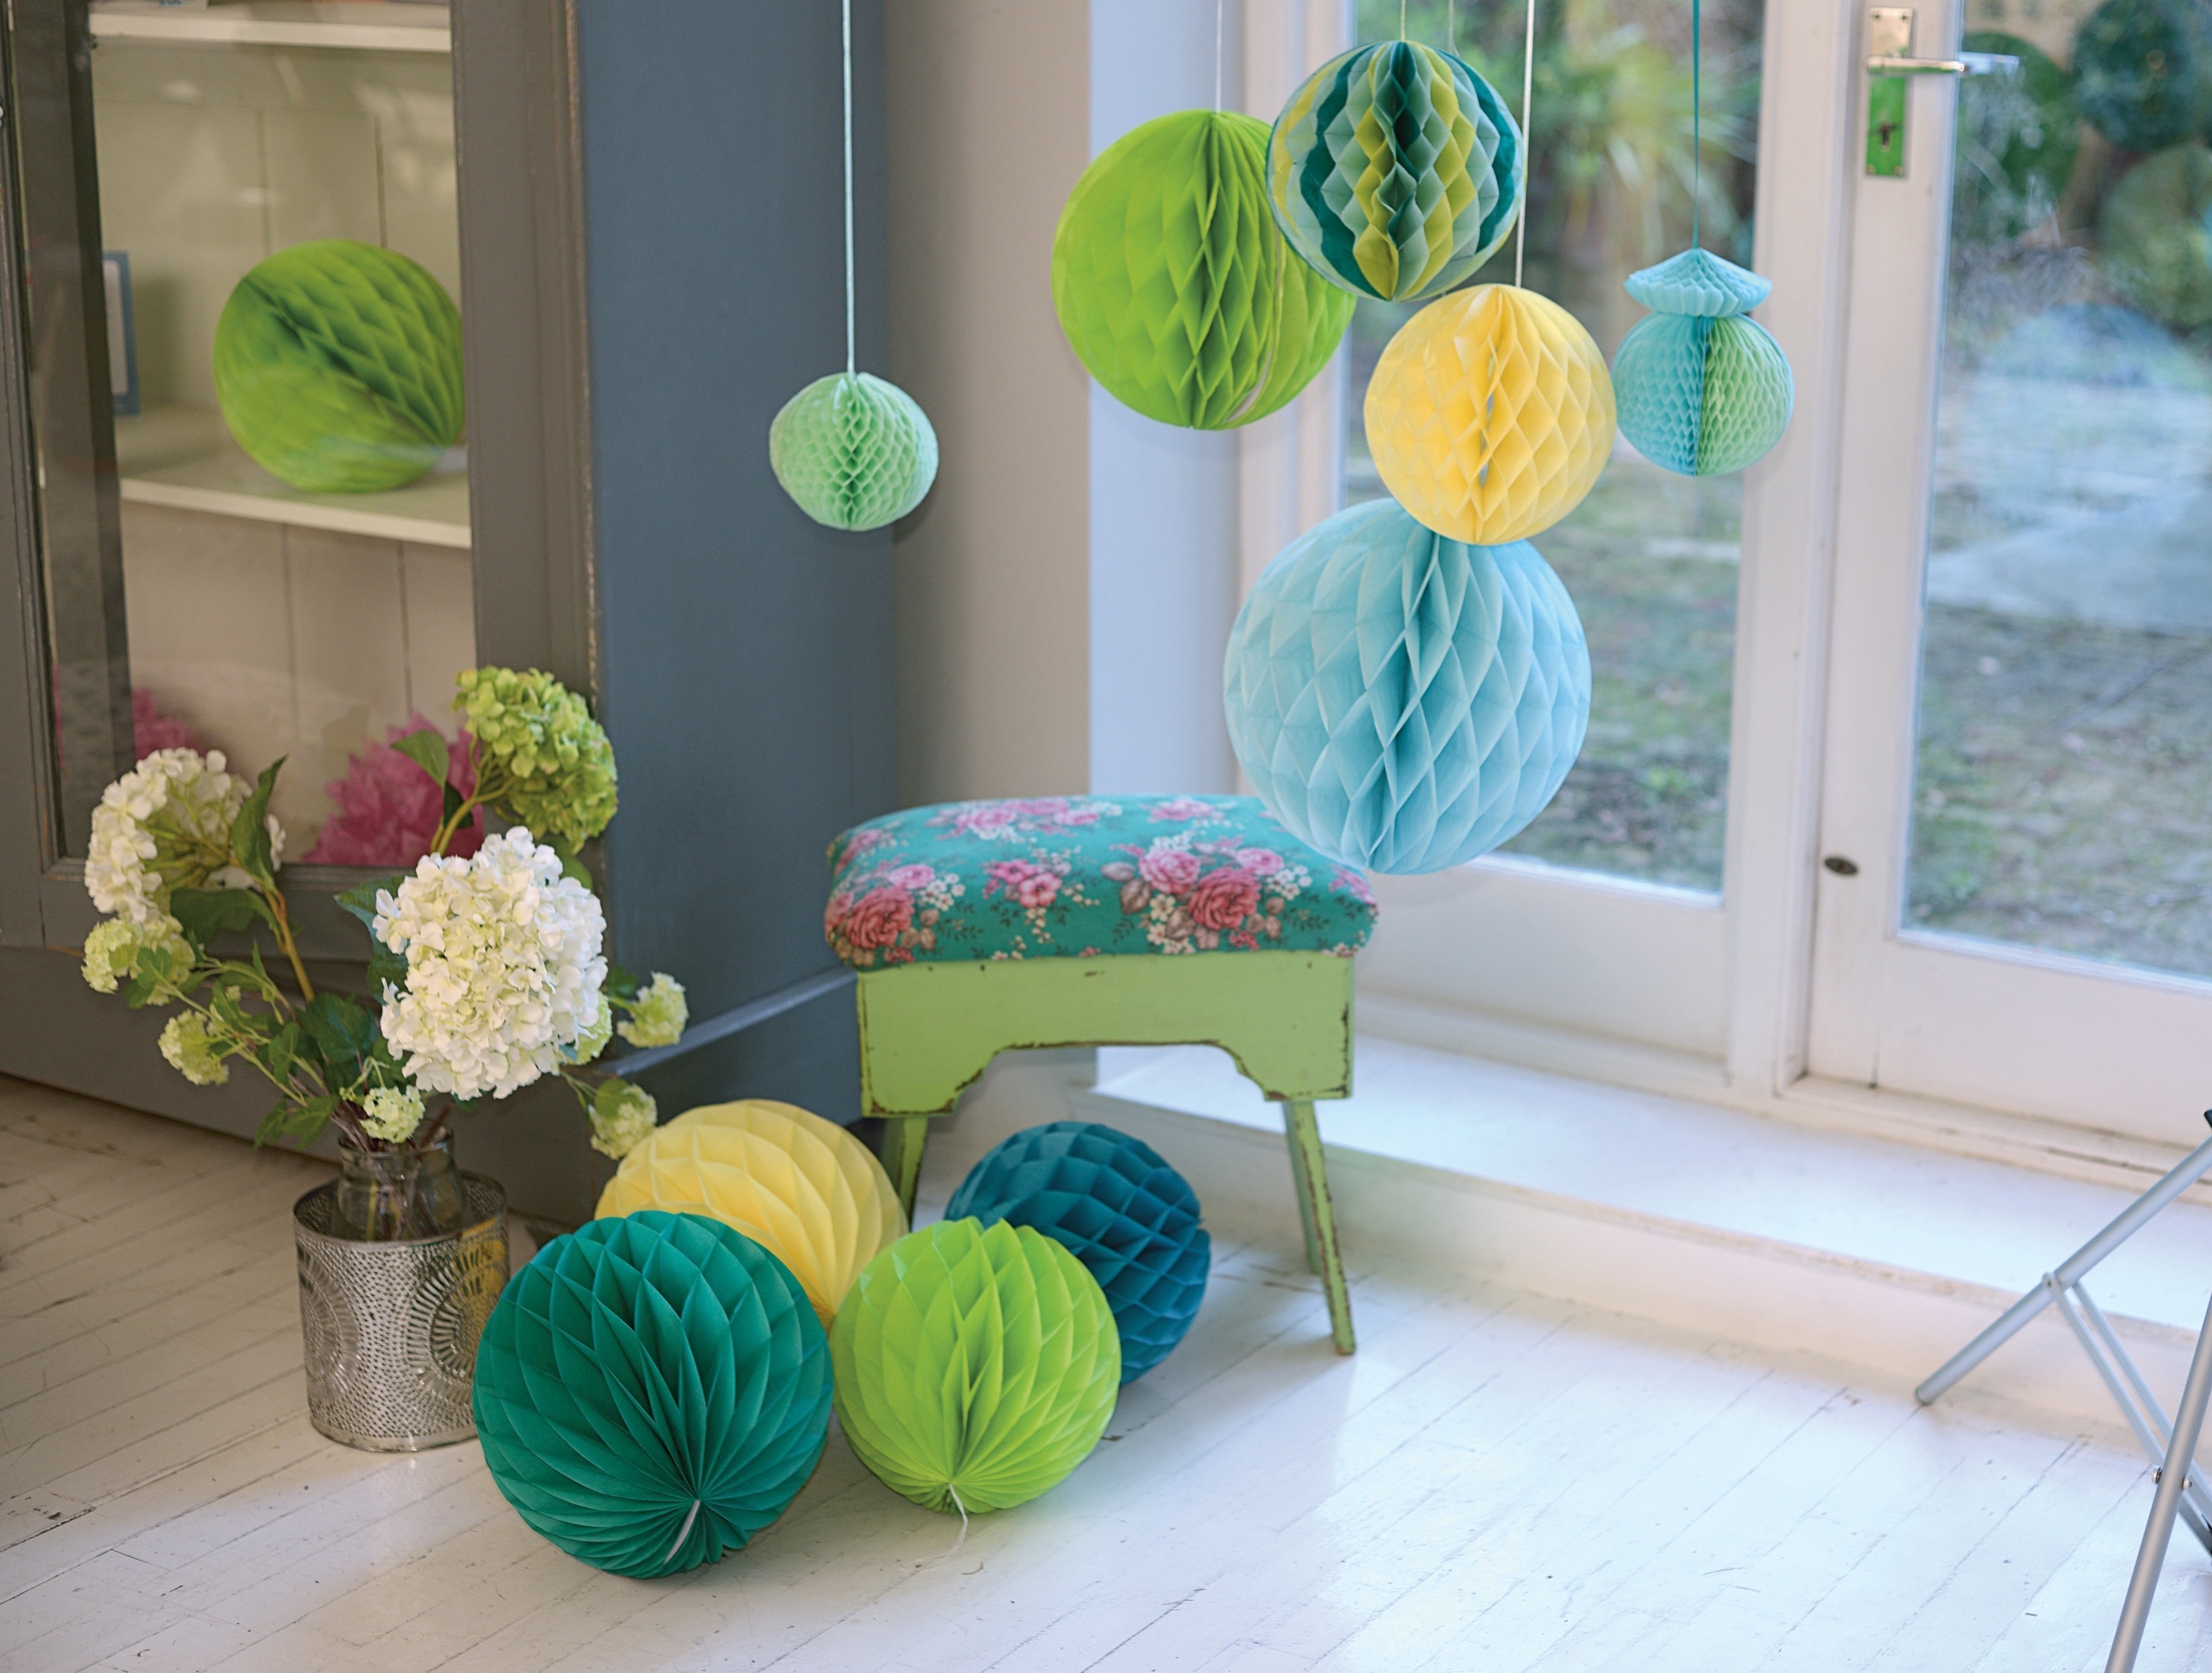
Honeycomb-effect paper pom-poms are a great way to create small or large home and party decor. With little more than glue, ribbon and paper, you can transform a space. Even the most cramped reception room can feel light and airy with the addition of these spectacular looking pom-poms. Not only can honeycomb pom-poms be hung from the ceiling in elegant clusters or made into colorful garlands, they can also be arranged on the floor or sit on a shelf as an interesting art display.
How to make it
You can buy honeycomb paper readymade, which is then simple to cut into a semi-circle and turn into a three-dimensional shape, but if you want to try out your craft skills and create a perfectly matched rainbow honeycomb, you should make your own. This is how you do it.
-
 TNTish added Honeycomb Pom Pom to Rainbow Party
04 Feb 19:54
TNTish added Honeycomb Pom Pom to Rainbow Party
04 Feb 19:54
-
 Sam C. favorited Honeycomb Pom Pom
06 Jan 00:53
Sam C. favorited Honeycomb Pom Pom
06 Jan 00:53
-
 Paris A. favorited Honeycomb Pom Pom
10 Dec 19:53
Paris A. favorited Honeycomb Pom Pom
10 Dec 19:53
-
 Emilia Botani favorited Honeycomb Pom Pom
22 Sep 06:53
Emilia Botani favorited Honeycomb Pom Pom
22 Sep 06:53
-
 English Ginger favorited Honeycomb Pom Pom
21 Sep 20:06
English Ginger favorited Honeycomb Pom Pom
21 Sep 20:06
-
 Crafterella featured Honeycomb Pom Pom
09 Sep 23:00
Crafterella featured Honeycomb Pom Pom
09 Sep 23:00
-
Alissa B. favorited Honeycomb Pom Pom
08 Sep 20:23
-
 Carlton Books published her project Honeycomb Pom Pom
07 Sep 09:00
Carlton Books published her project Honeycomb Pom Pom
07 Sep 09:00
-
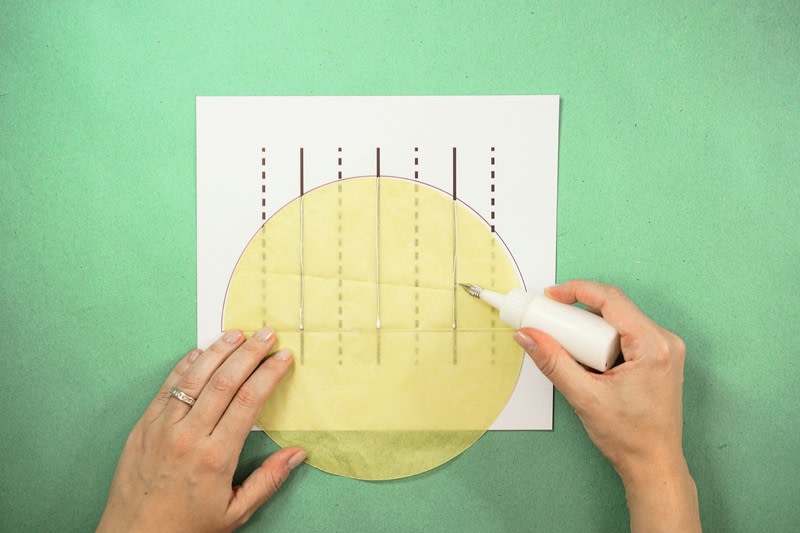
 Step 1
Photocopy the template on page 93 at 100%. Fold a tissue paper circle in half, then open it up and position on the template semi-circle. Using the solid lines as a guide, apply three thin lines of glue. Fold the circle in half and press until the glue sets.
-
 Step 2
Place the semi-circle back on the template. Add four fine lines of glue following the dashed lines and then add a further fine line along the straight edge of the bottom fold. The less glue you use the better.
-
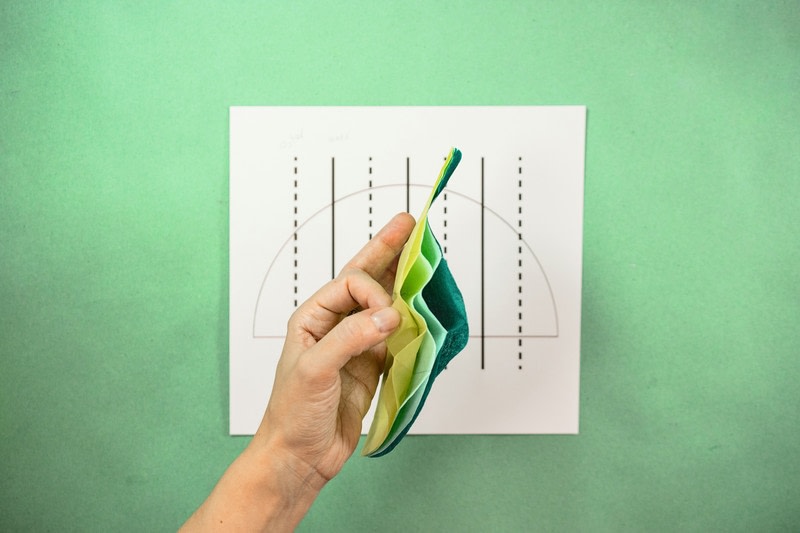
 Step 3
Repeat Step 1 with a different colored tissue paper circle and place it over the first semi-circle.
-
 Step 4
Repeat Steps 1–3, using alternating colors of tissue paper, until you have glued all 24 circles in place. You will see that the honeycomb effect starts to take place.
-
 Step 5
Using a similar colored card to the top layer of tissue paper, cut a semi-circle of the same size. Glue a piece of ribbon along the straight edge of the cardstock.
-
 Step 6
Glue the cardstock onto the tissue paper semi-circle with the ribbon on the inside.
-
 Step 7
Cut another semi-circle piece of cardstock – this time to match the color of the other end of the tissue paper honeycomb. Glue onto the honeycomb. Leave to set.
-
 Step 8
Open out the pom-pom and secure the two sides of cardstock together with glue or small paper clips (clips are a good idea, if you want to fold back safely and store flat).