


About
You can make any shape you want.
This project in essence is like quantum physics; in theory, it's rather self evident, but in practice it's a whole other story.
-------------------------
I tried this with a can of soda first; the can won't bend easily, and the blood makes such a mess.
The fondant cupcakes were made with the cookie cutters I made that spawned this confusing explanation.
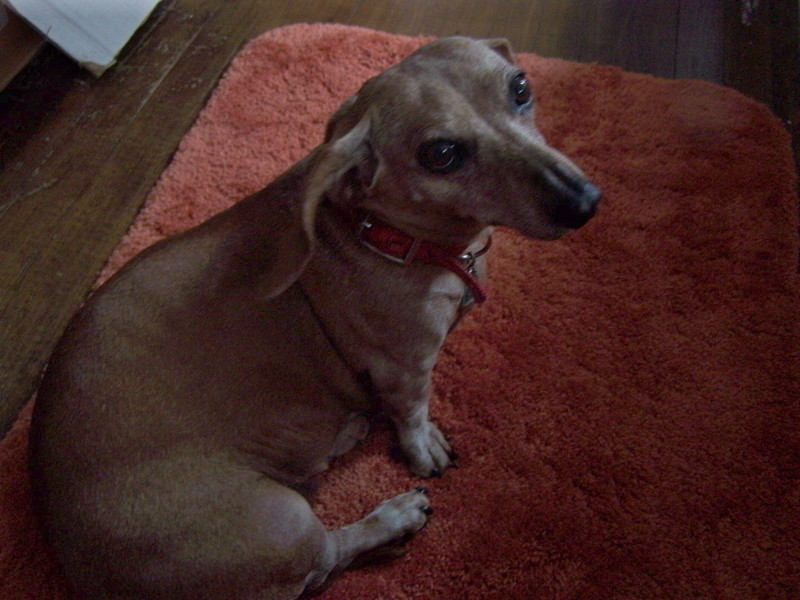
Last picture is my dog Canela, who likes to eat anything that rolls off the table, that's why she's so fat.
Tags
-
 CraftyQT added Homemade Cookie Cutters to cookie cutter tutorial
15 Mar 17:32
CraftyQT added Homemade Cookie Cutters to cookie cutter tutorial
15 Mar 17:32
-
 deborah.potterfullerton favorited Homemade Cookie Cutters
10 Dec 18:39
deborah.potterfullerton favorited Homemade Cookie Cutters
10 Dec 18:39
-
 Toni D. favorited Homemade Cookie Cutters
10 Oct 19:33
Toni D. favorited Homemade Cookie Cutters
10 Oct 19:33
-
 lilcalcb@gmail.com added Homemade Cookie Cutters to Craftwork
25 Aug 15:39
lilcalcb@gmail.com added Homemade Cookie Cutters to Craftwork
25 Aug 15:39
-
 ap1997 favorited Homemade Cookie Cutters
12 Dec 00:06
ap1997 favorited Homemade Cookie Cutters
12 Dec 00:06
-
aloosh a. added Homemade Cookie Cutters to Home
25 Oct 19:31
You Will Need
-
 Step 1
First, pick the image you want to render into cookie cutter form. The easier the outline, the better.
I picked this cheeky picture of Kuroneko Sama.
Keep in mind that, the bigger the picture is, the easier it will be to outline.
Also, if it's the first time you try this, try to use an easy shape to start with. I did some stars and hearts before I underwent this wretched cat.
-
 Step 2
Print out the image, and cut around it, leaving a little margin around it.
I won't do the whiskers, for they would be too thin to show up on the cookie.
-
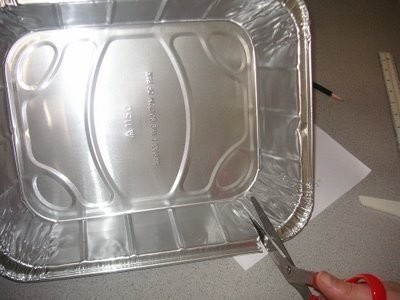
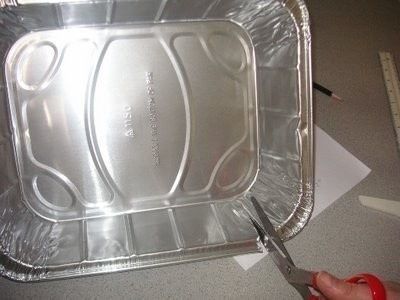 Step 3
Cut out the bottom of the turkey pan, we won't need the sides. Don't worry about all the grooves, bumps or letters on it for now.
-
 Step 4
Cut two rectangles of pan big enough to fit your image and stample them together.
If you don't have faith in your scissors, then you can cut thru one rectangle at a time, then stample it to the second one and repeat.
My blalant disregard for my scissors' well-being allows me to do both layers at once.
-
 Step 5
Cut around the perimeter of the image
Try to be as faithful as possible. Obviously, thin details, like the tail of my cat will be harder to cut.
-
 Step 6
Cut a long strip of pan, try to be as straight as possible.
The one I cut for my cat is about an inch thick.
Depending on the perimeter of your shape, you might need more than one strip. If you feel it would need more than one, then you might as well prepare a couple.
-
 Step 7
Fold lenghtwise to make a lip, this will be the upper segment where you press. The thin side will be the cutting side.
-
 Step 8
To get rid of the bumps and wrinkles, I used the handle of my scissors and applied pressure to the metal. (Sort of rub it up and down the length of the strip of metal)
It will curl slighty as you work it, but it doesn't matter, we'll be bending it anyways.
You could use a rolling pin too; I haven't tried it, but theoretically it would work.
-
 Step 9
This is the tricky part: You have to carefully bend the strip around your image, try to get all the little bends as best as you can.
Focus on the bottom edge only, since it will be the one doing the cutting.
I won't lie to you, this part is a headache. I actually threw it away and went to watch TV until I regained my patience.
-
 Step 10
Before you glue the ends together, fit the image inside the perimeter.
Since the metal is pretty maleable, the cut-out will give it stability and help the cutter retain its shape.
-
 Step 11
Add glue so the shape won't move around, this part was quite difficult for me.
Once you go all around, glue the ends together in place. If you glue the ends before, the shape won't fit and the cookie cutter wil bend in and lose shape.
-
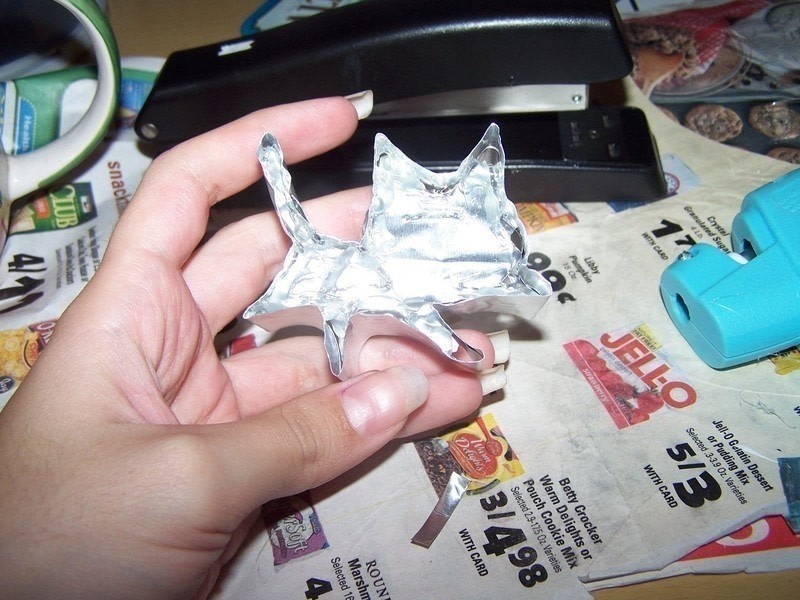
 Step 12
Once it's glued, you can make little adjustments.
The top looks weird, but remember it's the bottom part we need. Adjust it if necessary, I did some delicate curves with the pointy end of my scissors.
-
 Step 13
I don't really like cookies, so here's my fondant rendition of my mischevious Kuroneko-Sama using my newly made cookie cutter.
There you go, knock yourselves out.


thanks