


About
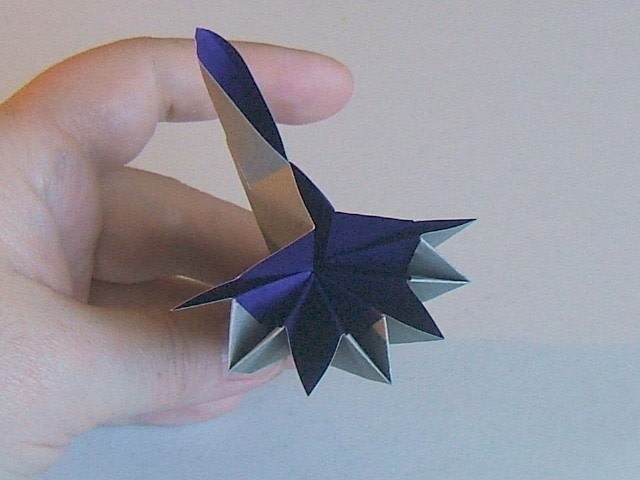
This is a very impressive looking Origami Kusudama
Create a beautiful kusudama that will receive many "wowzers".
Tags
-
 Dreamingofrain favorited Here's The Venus!
28 Mar 17:57
Dreamingofrain favorited Here's The Venus!
28 Mar 17:57
-
 DehSpieller added Here's The Venus! to To do
28 Nov 18:00
DehSpieller added Here's The Venus! to To do
28 Nov 18:00
-
 teresa.moorman.12 commented on Here's The Venus!
26 Jan 13:59
teresa.moorman.12 commented on Here's The Venus!
26 Jan 13:59
-
teresa.moorman.12 favorited Here's The Venus!
26 Jan 13:43
-
 JellyfishJam added Here's The Venus! to Gifts
16 Jan 05:00
JellyfishJam added Here's The Venus! to Gifts
16 Jan 05:00
-
 vickie.m.ruff added Here's The Venus! to Pretty Ball
10 Dec 21:51
vickie.m.ruff added Here's The Venus! to Pretty Ball
10 Dec 21:51
-
vickie.m.ruff favorited Here's The Venus!
10 Dec 21:51
-
 Call me Buddy favorited Here's The Venus!
30 Nov 22:01
Call me Buddy favorited Here's The Venus!
30 Nov 22:01
-
 Veronica B. favorited Here's The Venus!
30 Aug 16:48
Veronica B. favorited Here's The Venus!
30 Aug 16:48
-
 Kasia M. favorited Here's The Venus!
29 Aug 17:03
Kasia M. favorited Here's The Venus!
29 Aug 17:03
You Will Need
-
 Step 1
I'm using two sided origami paper to make ONE PIECE of the Kusudama. Purple on one side, grey on the other. To make the complete project you will need 36 pieces of paper measuring 3 inches by 3 inches square. All 36 units will be folded the same way. Once you learn how to fold ONE PIECE, you will be able to make the full project. Let's begin:
Take your square, and fold in half as shown. -
 Step 2
Now, unfold it, and fold the other way as shown. :)
-
 Step 3
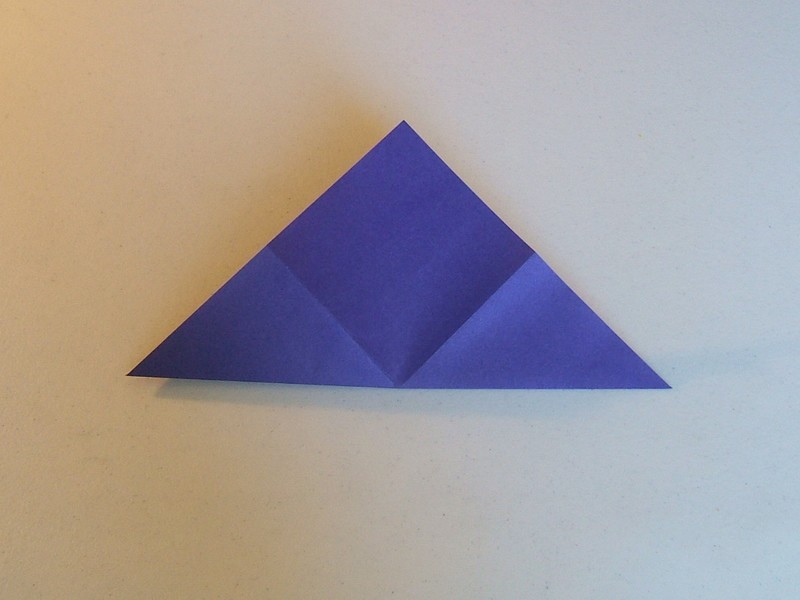
Okay...unfold again, then fold diagonally as shown.
-
 Step 4
Unfold again. Turn over paper, and fold diagonally with the other two remaining corners. The grey side is shown now, with the purple on the inside.
-
 Step 5
Unfold...with the grey side of the paper facing up, place your finger at the centre point of the paper, and press down. This should make the paper square "pop-up".
-
 Step 6
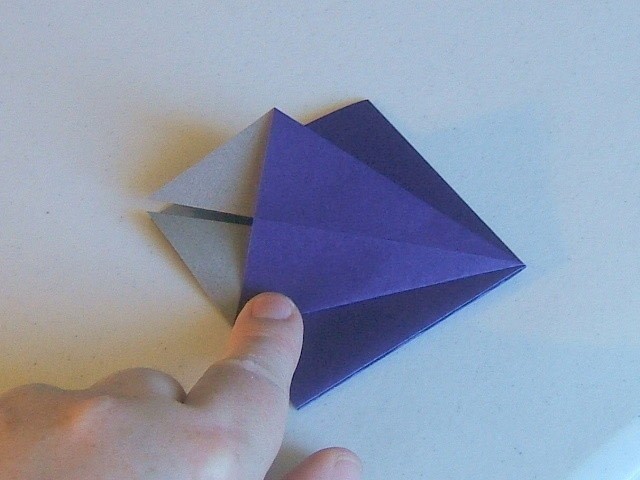
Grasp two of the diagonal corners as shown...
-
 Step 7
Then slowly bring in the other two sides as shown.
-
 Step 8
Okay...this is what you should have now. :)
-
 Step 9
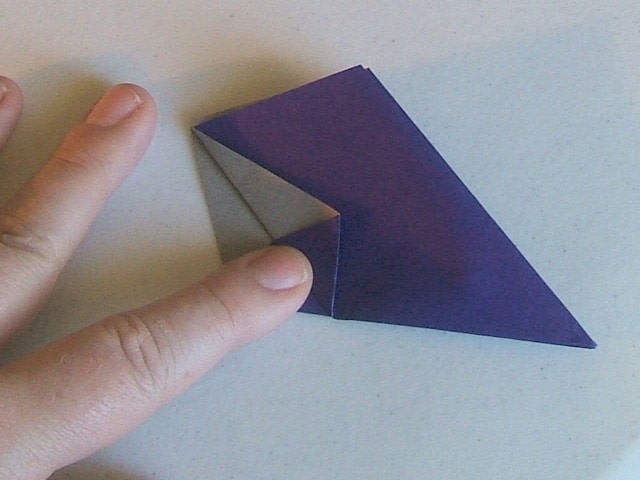
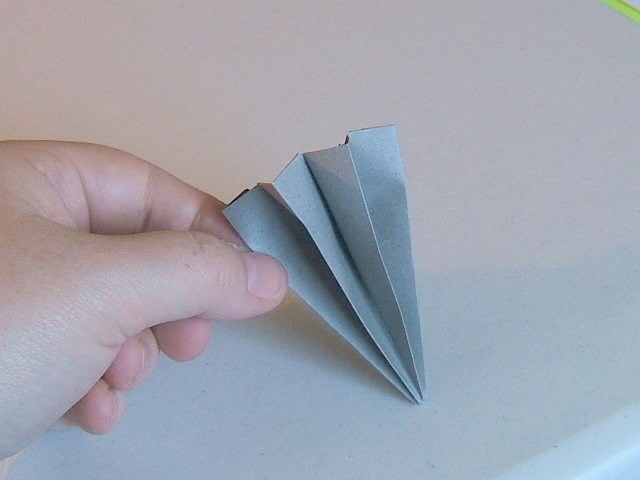
Lay flat, so it looks like a small purple square on your table. Focus on one tab as shown and create a flute shape (refer to diagram), and press down flat.
-
 Step 10
Once you've pressed the paper down, your unit should look like this. Repeat this step for the remaining 3 sides.
-
 Step 11
Okay, once the back side is folded, your unit looks like this.
-
 Step 12
Turn the flap over on both sides so that it the one solid color on both sides as shown in the diagram.
-
 Step 13
Fold down the left flap toward the centre line, then the right side.
-
 Step 14
This is what your unit should look like now.
-
 Step 15
Fold the flap down as shown in the diagram. Do the same for the remaining 3 sides.
-
 Step 16
This is what your unit should look like now. :)
-
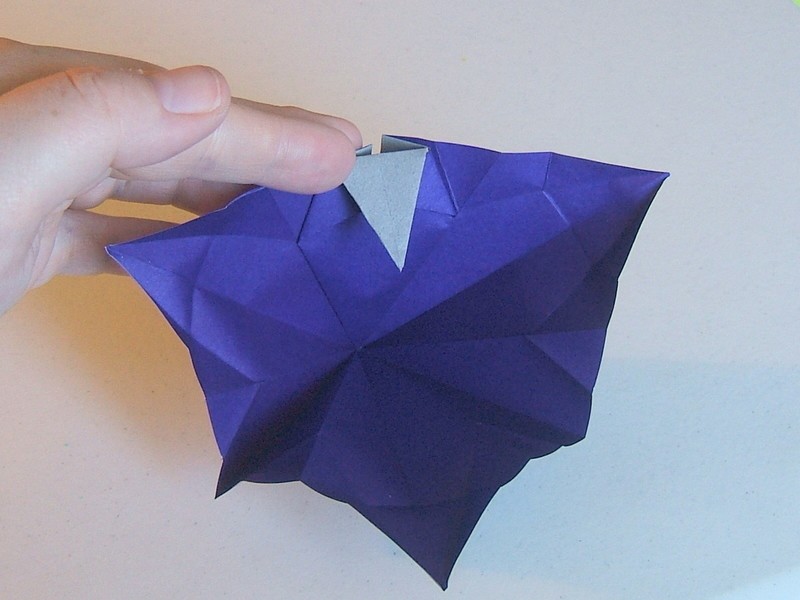
 Step 17
Here is the top view of what it should look like.
-
 Step 18
Now...you're going to love this....gently unfold your work...yup!
-
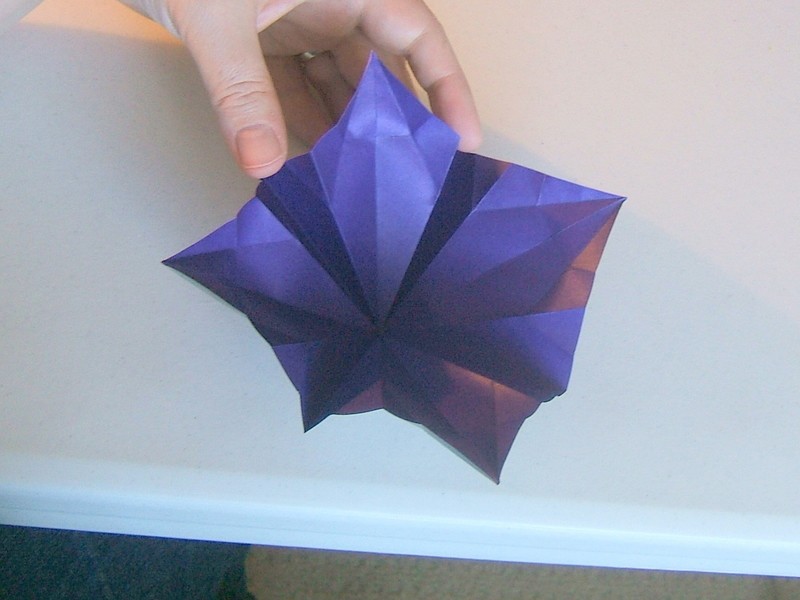
 Step 19
Place your index finger over the pointed center tip and press down. This will "pop" the corners of the unit up.
-
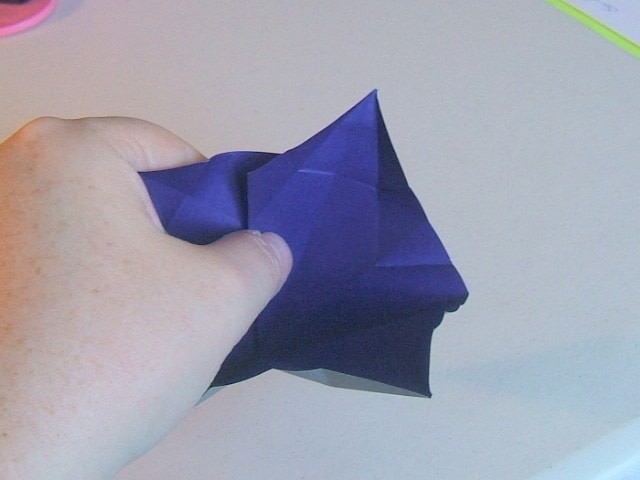
 Step 20
Now...pay attention....lets work on one of the four corners. Look at the diagram. Do you see where my thumb and pointer fingers are placed? Pull back those sections behind the first corner of your unit...
-
 Step 21
Fold over the left flap of the "corner" towards the centre line. This should be easy to do as we have already made all of the "pre-fold" work in steps 1-17.
-
 Step 22
Now fold over the other flap towards the centre line as shown.
-
 Step 23
Fold flap down as shown.
-
 Step 24
Now work on the second corner in exactly the same manner.
-
 Step 25
After completing the second corner, this is what you should have now. Lets work on the third corner...
-
 Step 26
Now we have completed the third corner. Look to the next diagram.
-
 Step 27
To complete the fourth corner, you have to spread out the 3 completed corners to give your fingers room to complete the fourth.
-
 Step 28
Now we just tuck in the fourth flap. This will hold secure the entire unit. :)
-
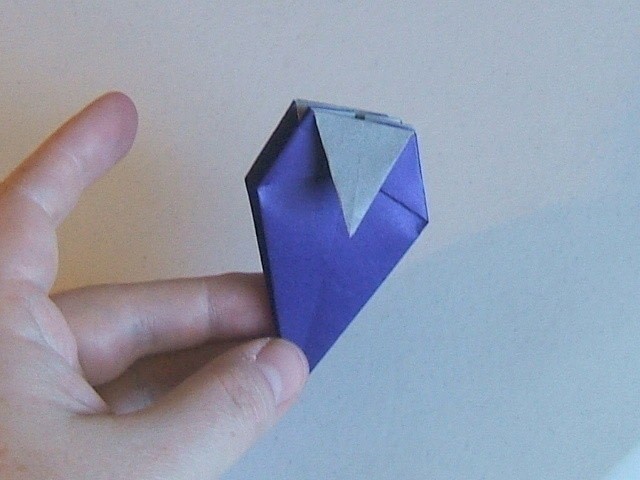
 Step 29
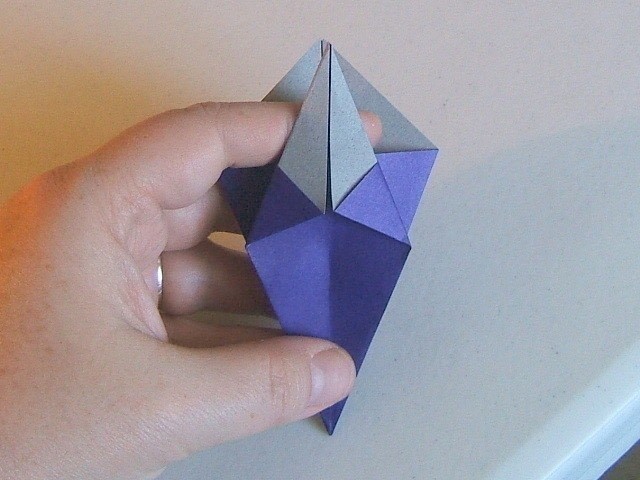
Here is the top view of your completed unit. Look to the next diagram....
-
 Step 30
Here is what your unit looks like from the side.....Now...you have to make 35 more units for a grand total of 36!
-
 Step 31
Sorry for the colour change...I had a personal request for a red/gold colour combo. Here are my 36 completed units. :))
-
 Step 32
Now this is where you get out your needle and thread. Insert your needle a few centimetres from the tip as shown. Make sure you keep your needle straight.
-
 Step 33
Push it down the length of the thread. Leave a long tail of thread. Thread on a total of six units.
-
 Step 34
Here's what you should have thus far...
-
 Step 35
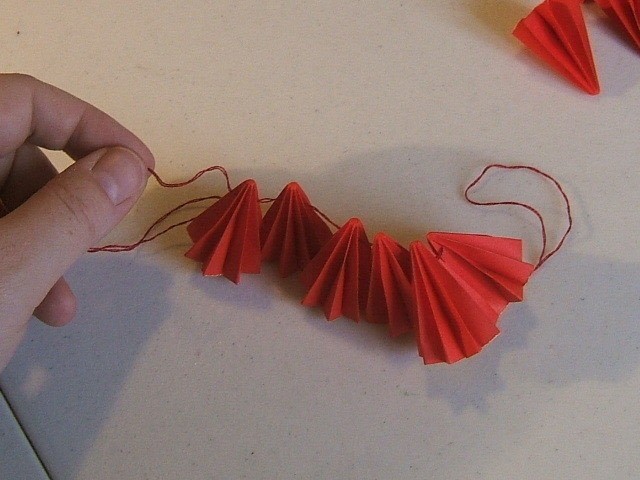
Loosely tie a knot. This will create a circle of units. Make sure you tie it about 3 times for sturdiness. You need to make a total of six groups of these. :)
-
 Step 36
Here are my 6 groups containing six units each which by the way make 36 units! Now we are going to put the whole thing together...won't be long now...promise!
-
 Step 37
Okay...take ONE group, and plop it down in front of you....you will need to centre it on a very very long piece of string.
-
 Step 38
Grab the next grouping, and place on top of the first group, making sure that there are 3 units on each side of the string. Bring the long string up from the bottom of the fist unit and tie a gentle knot. Keep layering in this manner...
-
 Step 39
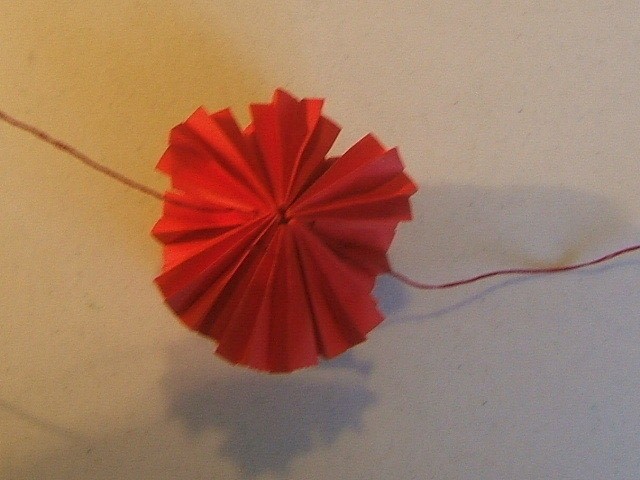
Once all six groups are added, use the string and start wrapping the ball tighter. This will create the uniformity of the ball. Tie into a final knot, and snip excess!
-
 Step 40
Congrats! You did it! I hope you have enjoyed my tutorial!


i like your how to ...
I would love to try this out but don't know if I could handle it ;)
SGx
CO + K User