


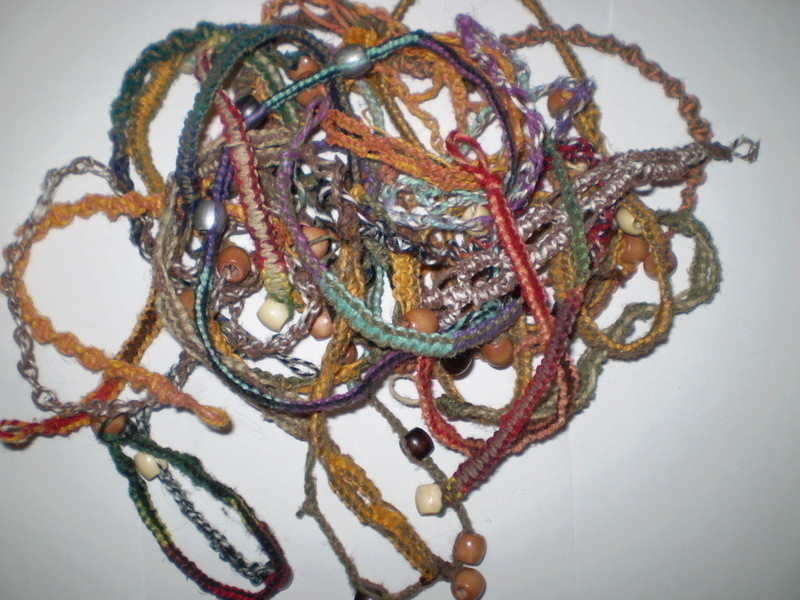


About
A Natural and Beautiful Accessory
Alright, so this how-to is to teach you the Two most Basic knots in Hemp Jewelry making [of course, this isn't restricted to Hemp. You'll see that in order to better view the process, I've used a shoelace and blue yarn].
Those are the Square knot, and the Half knot. [The Half knot is the twisty one :D]
Its a long how-to, but its fairy simple. :D
-
 Amy A. added Hemp Jewelry :D to Hempin’ ain’t easy
05 Jul 02:53
Amy A. added Hemp Jewelry :D to Hempin’ ain’t easy
05 Jul 02:53
-
 julietierney14 added Hemp Jewelry :D to Jewelry Making
15 Nov 17:41
julietierney14 added Hemp Jewelry :D to Jewelry Making
15 Nov 17:41
-
Jennifer G. favorited Hemp Jewelry :D
24 Sep 15:04
-
 Jennifer A. added Hemp Jewelry :D to hemp jewelry
20 Jul 07:08
Jennifer A. added Hemp Jewelry :D to hemp jewelry
20 Jul 07:08
-
Jennifer A. favorited Hemp Jewelry :D
20 Jul 07:07
-
 Banndit1 favorited Hemp Jewelry :D
13 Jul 02:44
Banndit1 favorited Hemp Jewelry :D
13 Jul 02:44
-
 cynthia.wimberly.12 favorited Hemp Jewelry :D
23 Dec 04:32
cynthia.wimberly.12 favorited Hemp Jewelry :D
23 Dec 04:32
-
 Carrie P. added Hemp Jewelry :D to basic freindship bracelets
02 Jun 21:31
Carrie P. added Hemp Jewelry :D to basic freindship bracelets
02 Jun 21:31
-
 Alys J. favorited Hemp Jewelry :D
12 May 14:13
Alys J. favorited Hemp Jewelry :D
12 May 14:13
-
 rosa r. added Hemp Jewelry :D to bracelets
14 Apr 01:43
rosa r. added Hemp Jewelry :D to bracelets
14 Apr 01:43
-
 Step 1
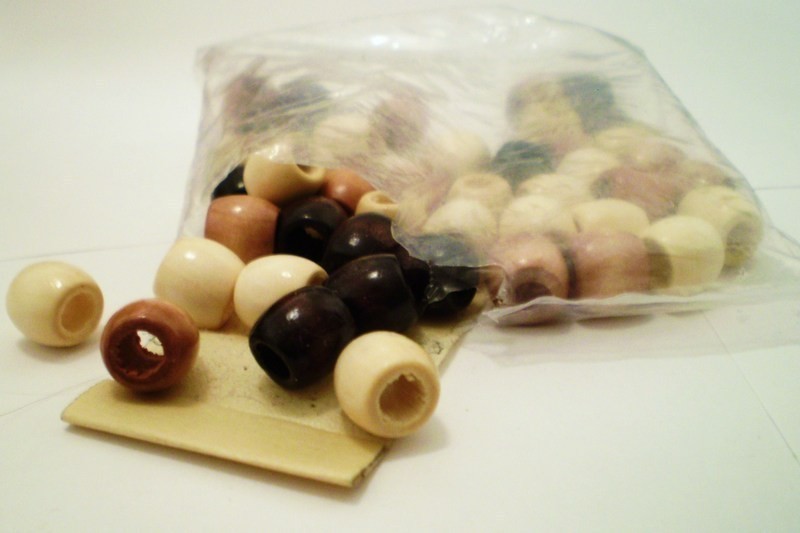
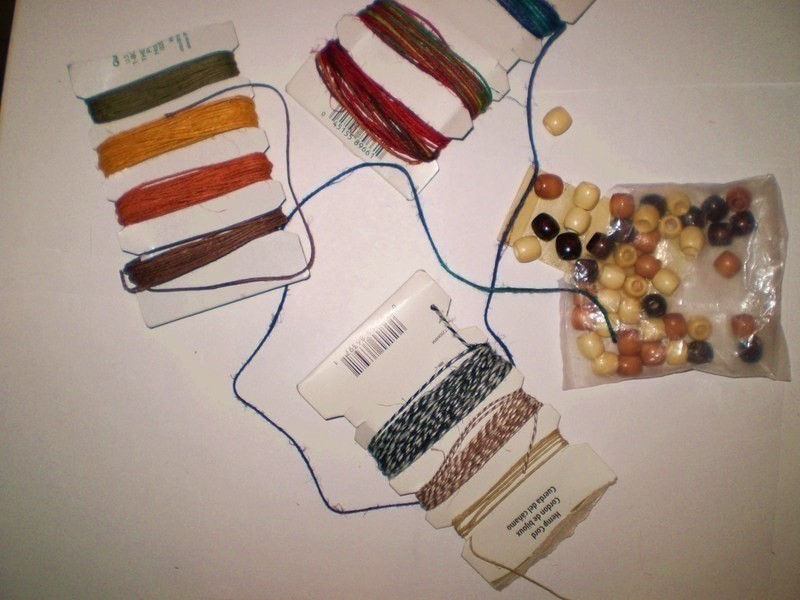
First, you'll need your supplies :D
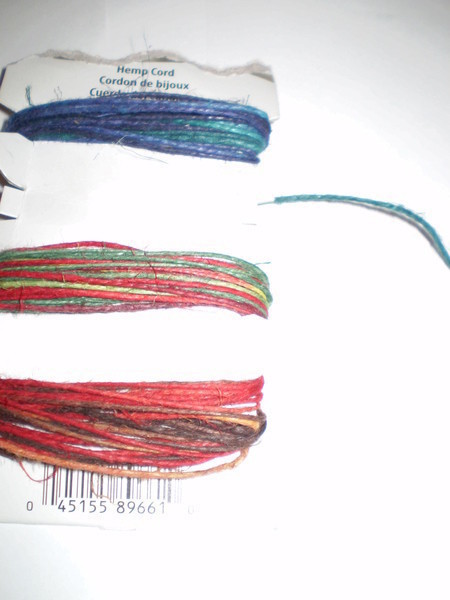
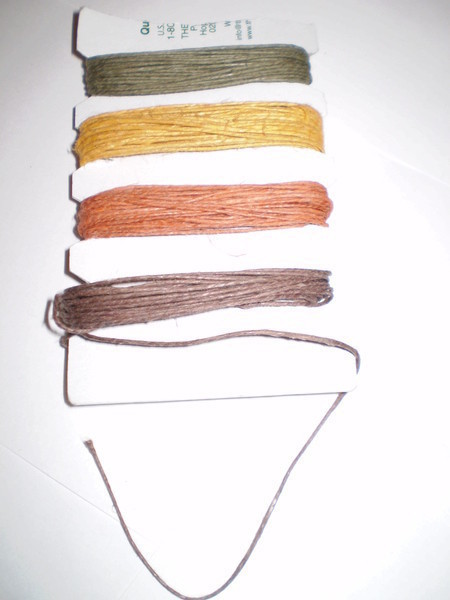
Hemp, Beads, Hands, Eyes, etc. All the necessities.
Here I have 10 colors [I ran out of the Black and one of the fading colors]
I found these at Walmart [I know, I'm a horrible person, I'll get over it :D] but you can find it at Michaels or any craft store really. :D
Green
Yellow
Orange
Brown
Tan
Tan/white twine
Black/white twine
Light blue>Dark Blue fade
Red>orange>brown fade
Green>Yellow>Red fadeAnd I have Light beads, medium beads, and dark beads.
-
 Step 2
Alright, so before we start knotting, what do we need first?
We need to know the lenght of the hemp to cut it! :D
I've found a formula that Minimizes left over hemp but will almost NEVER be to short.
Take one color of hemp, wrap it around your wrist, and make it so that if THAT were the lenght of the bracelet, you'd be able to slip it off your hand easily.
For a necklace, just make it a little bit longer than you would have it for your necklace. -
 Step 3
Now take that and double it. Make it so that the piece of hemp is 5 times That original lenth [just by folding it.
Take that lenght, and cut your second piece of hemp the same size.
[click on the picture to understand better]
-
 Step 4
Fold the Two strings so that one lenght will be a little longer than the bracelet, and the other one is REALY long.
From here there are two ways of doing it, and I change depending on what I'm doing, but the easier one is looping it, so thats what I'm showing you here.
Twist where the fold is a few times, then just knot it.
[Again, the smaller picture cuts off the top, so just click on it]
-
 Step 5
Seperate the "knot holders" from the "knoters". THe knot holders are the ones in the middle, and they are the short ones. They decide how long the bracelet is going to be.
The knoters are the ones on the sides.
-
 Step 6
From here, its mostly a visual learning experience, so just follow the pictures.
This How-To would be MUCH shorter, if only I could make a GIF :D
Alas, I am not very computer savy, so deal :D
Alright, so we are first working with the White string, so this is the "active string". Remember that for later.
-
Step 7
-
Step 8
-
Step 9
-
 Step 10
Well Here you just pull evenly and tight.
You've just finished a Half-knot.
Now HERE is where you decide whether you want a spiral piece of jewelry, or a "flat" one.
If you want a spiral, do the exact same thing that you did before, except use the opposite color string. Remember when I said the white one was the "active string". Well now the blue will be the "active string".
That means you just do the same thing from the same side [in this case, its the right side].
For a SQUARE knot, [which is what I'll show you] the white string will ALWAYS be the active string. That will always be the one to go over the knot holders.
-
 Step 11
TO continue with the Square knot, you are already half way there.
-
Step 12
-
Step 13
-
Step 14
-
 Step 15
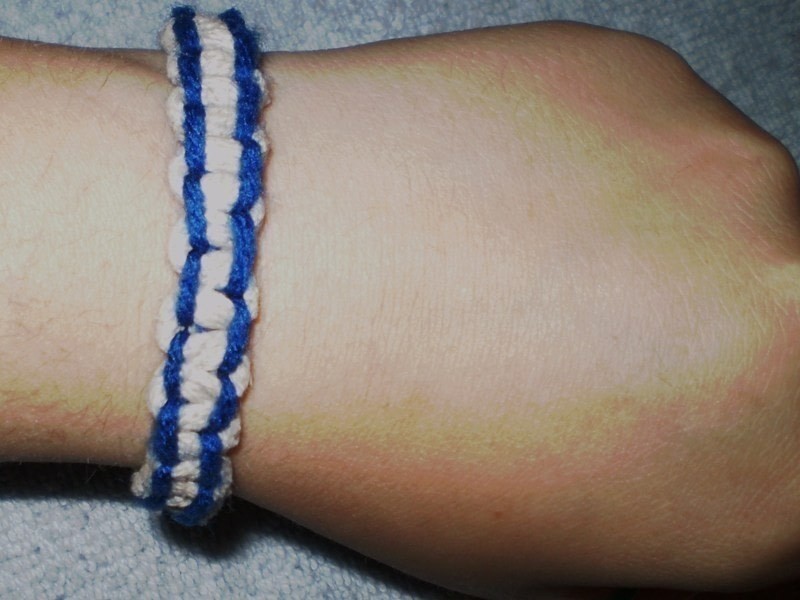
After you again, tighten, YAY! YOU'VE COMPLETED ONE SQUARE KNOT!
woot woot. :D
-
 Step 16
Continue with the square knots. :D
-
 Step 17
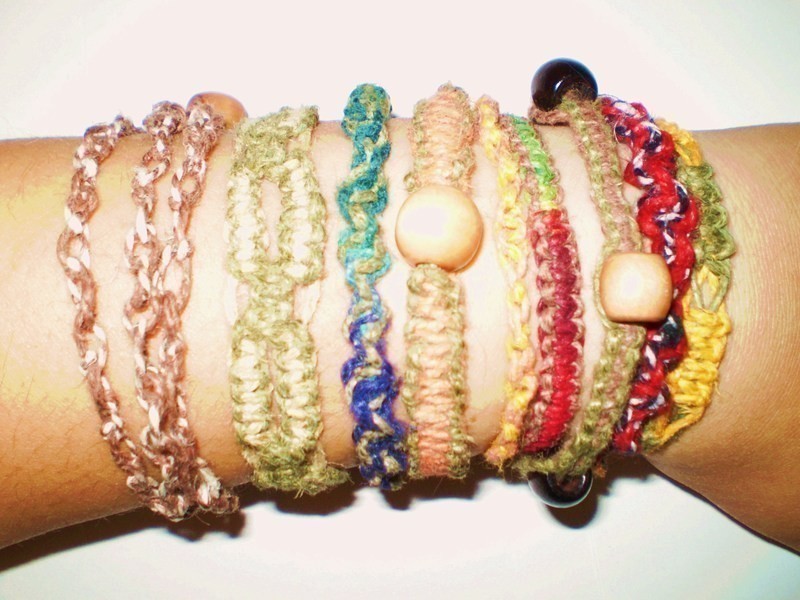
Once you get the piece of jewelry as long as you want it, take the knot holders, tie them together a few times [you can seal it with some clear nail polish].
Now take a bead, put it on one of the Knotters, push it down to the bottom, and knot the Knotters together [as close to the bead as you can] a few times [again, you can seal that with clearn nail polish].
Push the knot into the hole in the bead, and there ya go :D
Put on and wear with pride :D


to finish it off you put a bead on the end of the bracelet as she has explained (put it on one of the "knotters" and then tie the two knotters together.
you can then put this bead through the loop at the beginning of the bracelet, thus closing it around your wrist.
(:
to finish it off you put a bead on the end of the bracelet as she has explained (put it on one of the "knotters" and then tie the two knotters together.
you can then put this bead through the loop at the beginning of the bracelet, thus closing it around your wrist.
(:
to finish it off you put a bead on the end of the bracelet as she has explained (put it on one of the "knotters" and then tie the two knotters together.
you can then put this bead through the loop at the beginning of the bracelet, thus closing it around your wrist.
(:
Keep up the good work and thanks for sharing.
nobody would teach me when I was L.I.T-ing... camper-ing.... you get the point..
so this makes me feel Happyy