About
Cute nails for Hello Kitty fans.
This is a very quick,easy and cheap nail art. As far as we know I am the first one to post this as my sister and I made it up. A must for any Hello Kitty fans!
Tags
-
 tyler t. favorited Hello Kitty Nails
21 Jul 04:08
tyler t. favorited Hello Kitty Nails
21 Jul 04:08
-
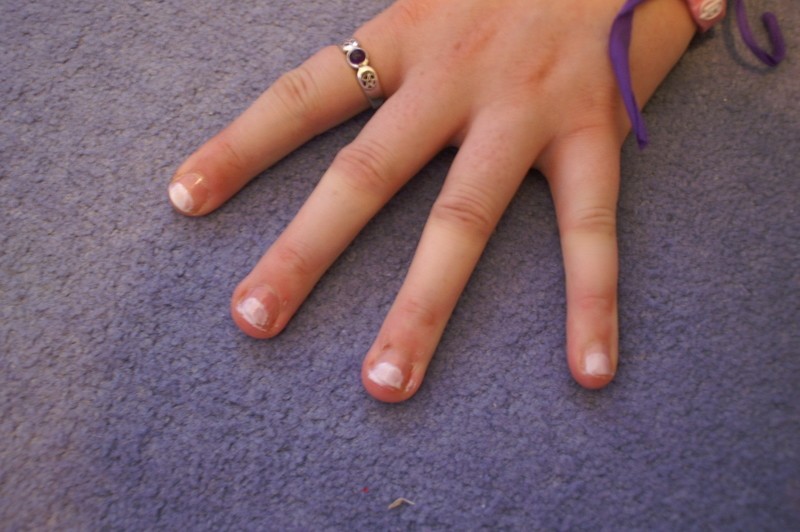
 Step 1
Start by applying a coat of clear nail varnish in preparation.
-
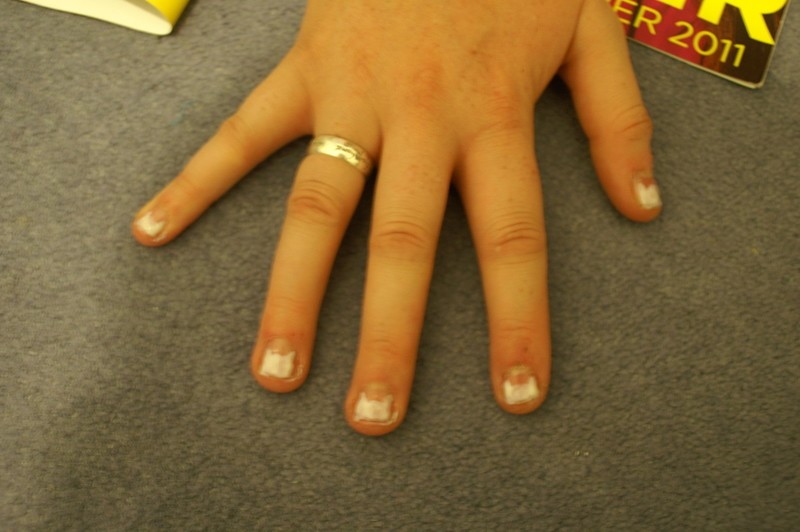
 Step 2
Next by using an ordinary white nail varnish, create a semi-circle at the tip of your nail. You can do this by just using the nail varnish brush.
-
 Step 3
Using a tooth pick, create two triangles either side of the semi-circle to create the ears. This is Hello Kitty's head.
-
 Step 4
By using a tooth pick and an ordinary black nail varnish, dab two black dots on the semi-circle for the eyes.
-
 Step 5
Using the same technique as the last step, use a tooth pick and an ordinary nail varnish, dap a yellow dot in the middle of the face for the nose.
-
 Step 6
For Hello Kitty's bow, again using a tooth pick and an ordinary red(or colour of your choice) dab a dot for the knot of the bow then two triangles either side for the loops.
-
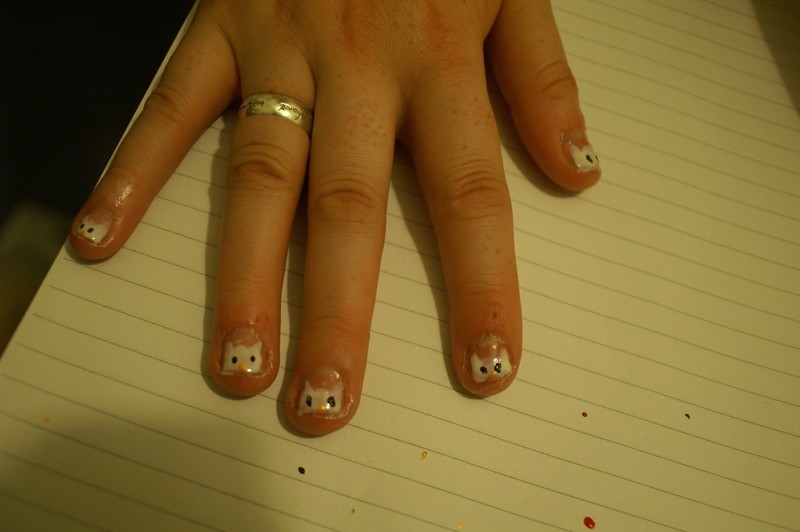
 Step 7
Using a tooth pick and the black nail varnish draw 2/3 lines either side of the face to create the whiskers. Make sure the face is dry so you don't smudge it.
-
 Step 8
Wait for all of it to dry before applying the top coat. This will ensure your nail varnish won't chip. You can also use a cotton bud and nail varnish remover to tidy up the edges.